 Today we’re going to be taking a look at some tips for the new painters out there. Don’t be overwhelmed by bigger projects anymore!
I’ve been painting miniatures for around 30 years I’ve or take and full disclaimer, I’m not artistic.
I always wanted to be able to be an incredible painter but the truth is I don’t have the patience or the eye for it. Sure I could learn but the truth is my day job, family and social commitments keep me far too busy to paint.
Truth be told however, despite my shortcoming I’ve managed to learn a few tricks to enable me to paint minituares that regularly get comments from the casual observer like “wow that’s not bad” and “That looks good”.
The reality is I LOVE the idea of people telling me my miniatures look good, but I feel kind of like a cheat as I know my painting isn’t from a natural skill, or years of talent that I’ve developed.
And after a few years working retail for Games Workshop where we were expected to crank out miniature after miniature I got pretty good at producing fast not too shabby looking miniatures.
My painting “skill” comes from learning a few simple tricks, following a few principles and churning out something that looks somewhat impressive but flawed.
However If you’re looking to get rid of those grey miniatures, and want something that looks like you’ve really put some time into it (even though you haven’t) then my painting guide is probably the one you’re looking for.
This isn’t for the pro’s, or those who already paint incredibly well (I’m jealous of you guys!) This guide is for the rest of us.
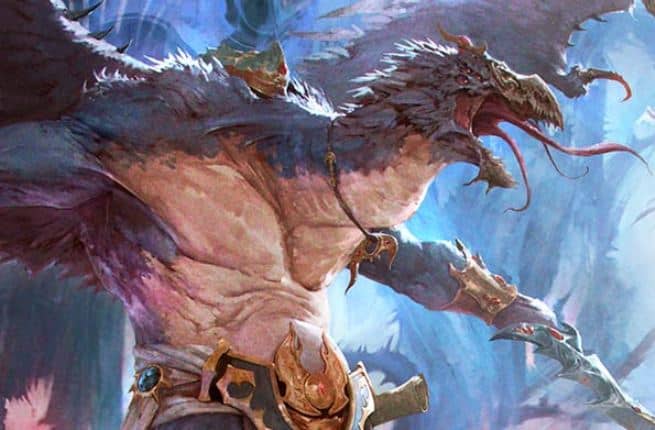
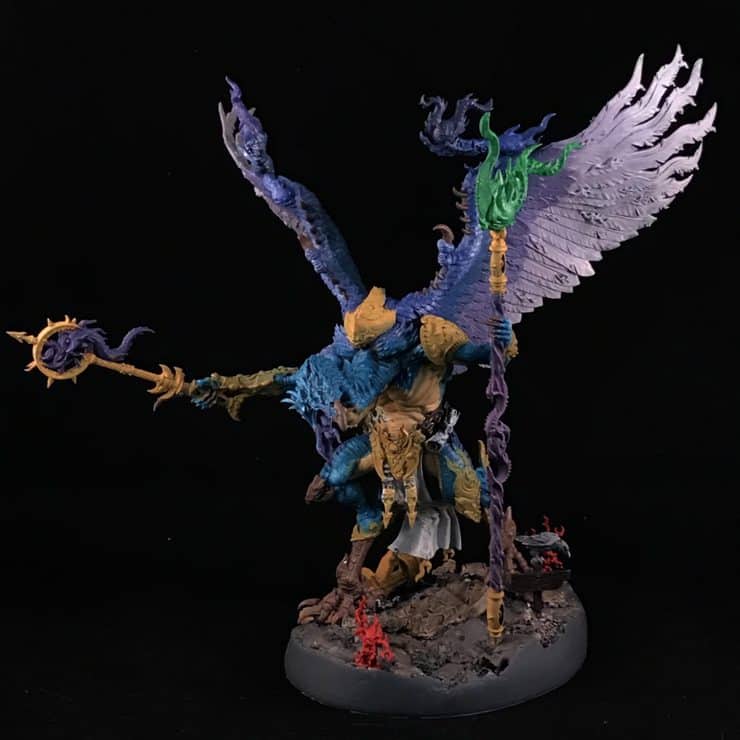
Here’s an example of my latest mini, I decided to paint the Lord of Change on the day it was released. The whole thing including assembly took my about 6 hours.
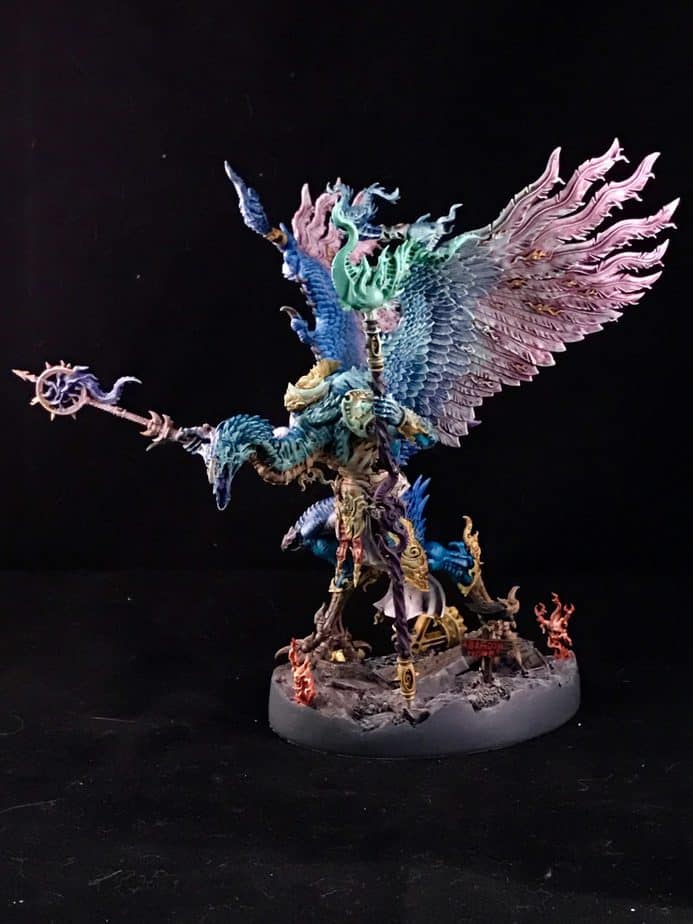 Lord of Change by Adam Lyons
(Excuse the dust on the backdrop, as I said I tend to shortcut things)
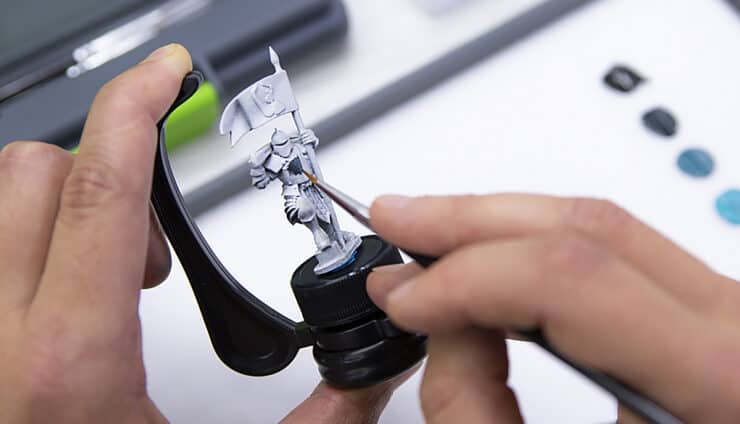
So i always start my miniatures with a little prep. I’ve found Object Source Lighting to be the one factor that gets the most “ooohhhs and ahhhhs” So I almost always include it on big characters.
I tend to base coat in black and then paint almost solid white on the areas that will be the source of the light (as these areas have minimal to no shadow as they’re generating the light)
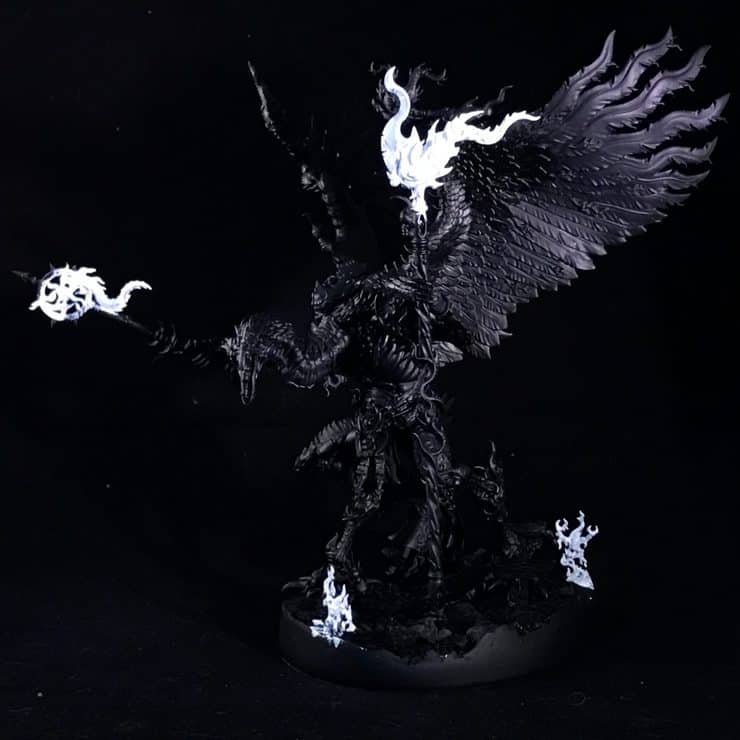 Here’s an example of how I prep the Object Source Lighting
This is such a quick step, but it really helps me understand what I’m painting.
I then dry brush white over the rest of the miniature. However I make sure to imagine the white I’m drybrushing is light coming from the light sources i identified. So there will be brighter whites nearer to the sources where I will go over and over those areas.
However I will be more sparing with the dry brushing in areas of “Shadow” away from the light sources.
At this point I also mentally start to decide on what colors I’ll be painting things.
This is a similar technique used by people in film and photography editing where you’re essentially setting the “contrast” before bringing in the color.
In Layman’s terms we’re deciding what areas are in shadow and what areas are lit.
Not only is this quick to do… it’s fun!
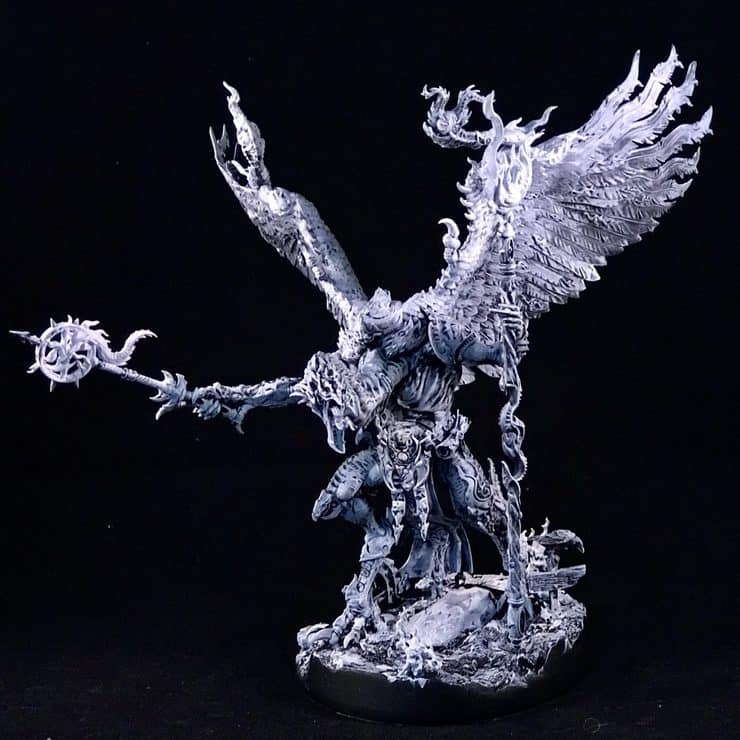 The Lord of change after the initial contrast
Now I start placing colors… badly.
I call this phase color blocking, but I learnt the concept from an incredible miniature artist called James Wappel. The idea is you just get the color on the miniature roughly where you want it to go. You don’t worry about lines or being neat. You just get it into the rough area.
And the big tip here is keep the paint thin.
This way you’re allowing the black and white you drybrushed earlier to dictate whether the color will be shadowed or not. You’re already shading ad you didn’t even try!
Don’t worry about mistakes, don’t worry about mistakes, don’t worry about mistakes. I feel If I say it at least three times maybe I’ll remember it next time I paint.
Seriously though the desire to jump in and fix everything is HUGE. But don’t. You can and will and should fix it later.
 Lord of Change with Color Blocking before layering
So now most of the big decisions are made. The miniature is covered in color and I no longer need to make any big decisions. Well when it comes to this miniature. I still need to tackle the things like what I’m gonna eat for dinner etc.
The good news is at this stage you’ve only been painting for about 1-2 hours and it’s totally useable on the table… well… depending on where your standards are.
Next we start layering. This is simple you add 2 layers of highlight onto every color you’ve placed on the miniature.
An easy method of doing this is to add a little white to the first color… then add a little more than that and go over it again.
Normally I’ll be drybrushing here too. With only the lightest drybrush for the 3rd layer so it really only picks out the tops off the ridges.
Pro tip: Use another color instead of white. Using a light yellow or blue stops the colors looking washed out. (I use the yellow for areas in light and a blue for areas in shadow)
 Lord of Change with layering before washes
As you can see the miniature is really taking shape. The washes add another layer to the 3 you’ve already added and really pick out the details. Adding additional wash to the areas in shadow can really help the miniature pop.
I tend to use a mixture of Nuln Oil with A green, Blue, Red or Brown wash depending on the color I’m using the wash on.
After the wash I add a final highlight to the entire model. Focusing mostly on areas near the Object Source Lighting I identified earlier.
At this point it’s worth mentioning that I’m not using any metallic paints on this miniature. I’ve become a fan of Non-Metallic metals recently and have found the technique I use can really make metals pop without the need for the metallic paints. (Again this is one of those things that can get you some great compliments around the gaming table, so why not add it?)
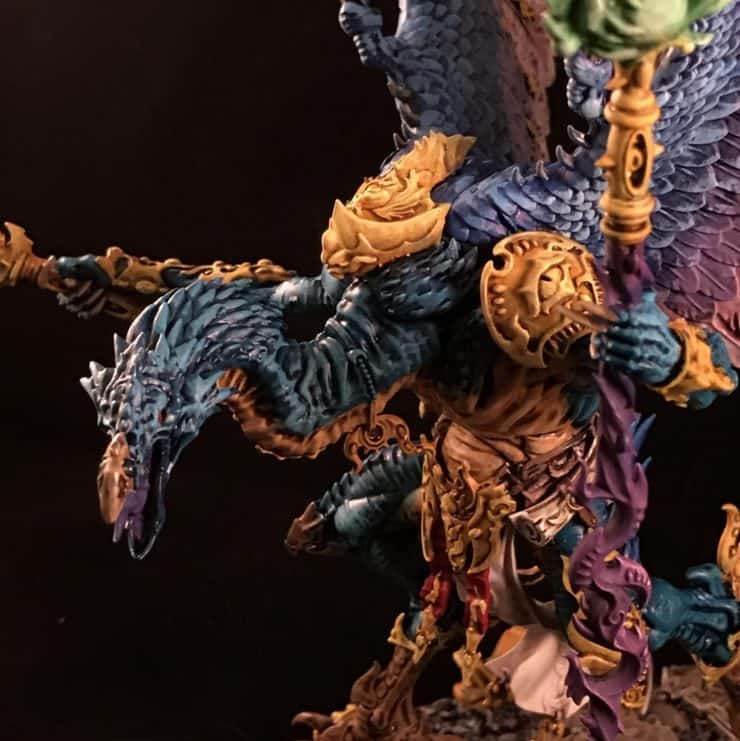 Here’s a close up of the non-metallic Golden Armor
Then this is where I make a decision…
Am I going to spend another 4-6 hours making this look really nice, by going over every detail and tidying it up and making it look really stunning? Or am I just going to rush it to the finish line (Table).
In this case it was a rush, I wanted to complete a big miniature in a single day, and as I was approaching 6 hours of work on it, I decided completing my goal was more important than making it look pretty. (After all I’m no artist)
So the final look is achieved by adding the OSL.
Doing it is simply a matter of finding the color you used to make the light. Green in the case of the Daemons staff. And then watering down the 3 colors you used to paint it and then washing them over all the areas the “light” would touch.
I always felt like I was ruining my miniatures when I first started using OSL. But after a while I realized that actually the lighting effect ends up being the thing people are most impressed with. Even though really you’re just drybrushing a light wash over parts of the miniature 3 times.
And then you’re done!
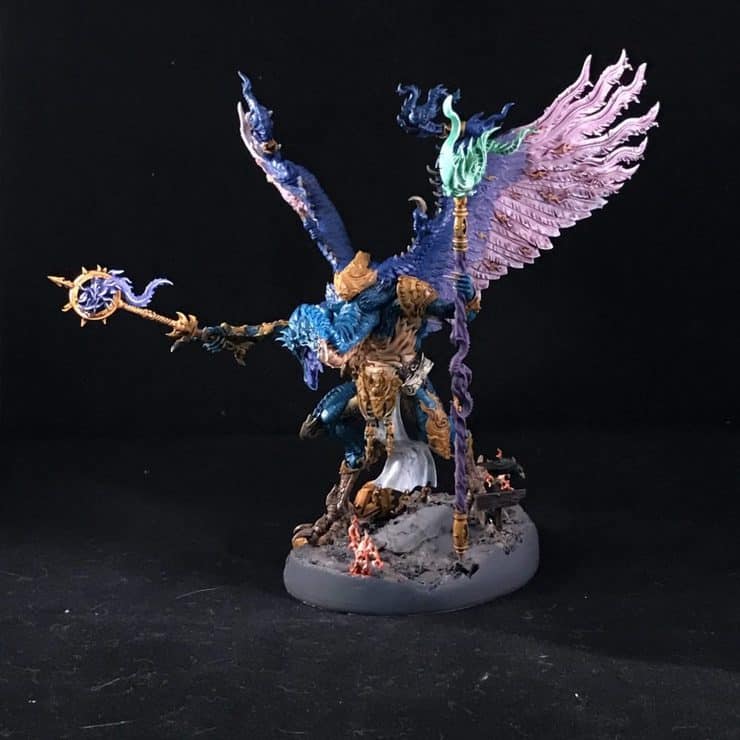
Lord of Change by Adam Lyons
Truth be told there’s still a lot more I could do on the miniature. The Brimstone horrors still Need their red OSL added. And I could add more details to the miniature overall.
But I don’t have to. It’s more than table ready, and I know that it’s going to get some great compliments on the table, even if I’ll feel like I cheated.
Then again, if you can drybrush, wash and glaze a miniature to completion in a way that turns heads what is there to complain about, after all the less time I spend painting the miniatures the more time I get to spend playing the game!
Let me know what you think of the guide in the comments below!
If there is enough interest I’d be happy to write more!
If you want to see some REAL painting tips check out James Wappel’s Blog.