 Today Adam Lyons is going to be going over how to paint the new Eldar Triumvirate, without taking a long time, and still making it look good.
I have to admit there is a direct conflict in my mind every single time an awesome new Miniature is released from Games Workshop.
First I’m all, Yeah! So Gorgeous!
Then I’m all, oh pants, how am I going to paint that thing.
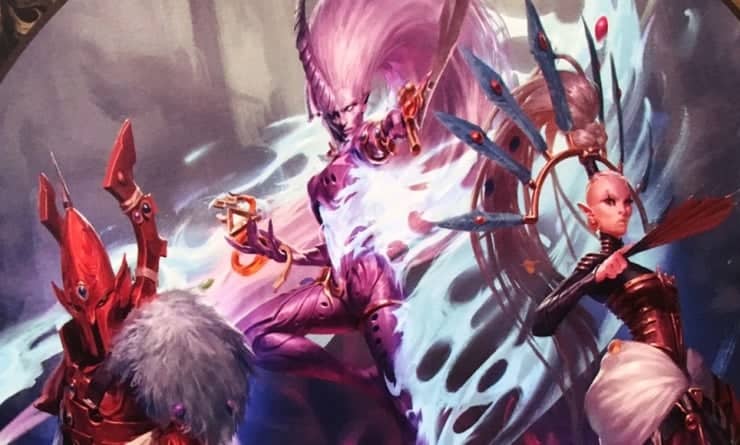
This is exactly what I felt when I saw the new Eldar Triumvirate for the second Installment of the Gathering Storm.
However with my new challenge to improve my speed painting I decided it would make a great follow up to my recent post for Spikey Bits on how I speed painted the Lord of Change.
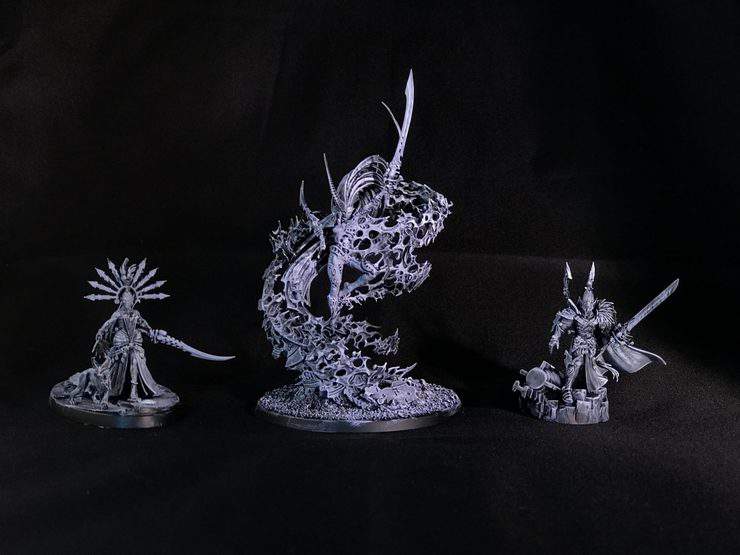
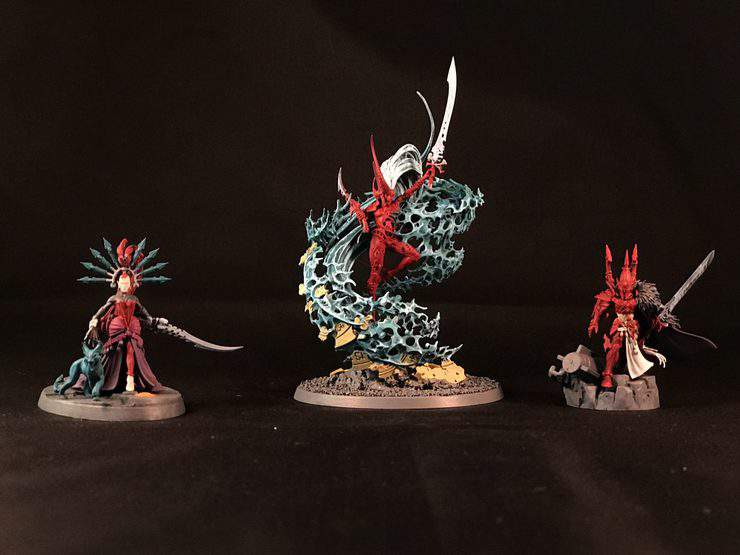
So here’s how I tackled the 3 new Eldar miniatures. (Spoiler: The one I thought was going to be the hardest was the easiest!)
First I did my usual Dry Brush of white over black. The reason I do this is because I want my first layer of colors to be brighter on the higher points of the miniature and darker in the recesses. Normally this is also where I pick out any Object Source lighting, however with these miniatures I decided against doing too much of it.
In the previous tutorial with the Lord of Change i spotted a lot of areas that I thought would be great for some OSL techniques however with he Avatar of Ynead I just felt that swirling magic was the obvious choice for OSL.. and that would just overpower the miniature (as least with the timeframe I planned on using to paint the minis.
With my day Job, kids, and Valentine’s Day coming up, I really can’t justify spending more than the 6 hours i planned on spending for all 3 of these guys (2 hours each) so I knew I needed to keep it simple.
However with a painting guide aimed at giving you a simple yet pretty set of minis going from grey plastic to table ready in as short a time as possible in my mind this was the best way to get it done, and not have it covered in random glow.
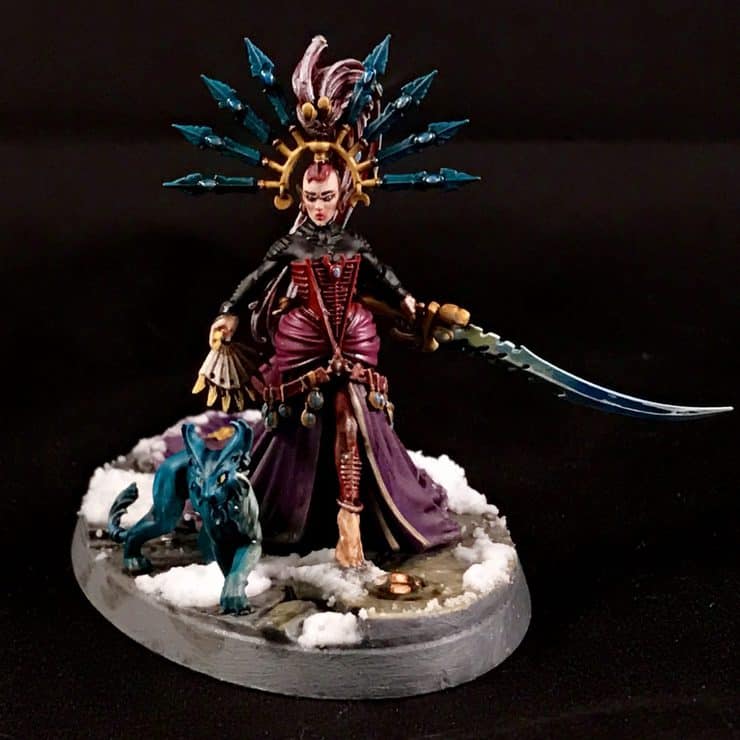
Though my love for OSL did win through a touch when it came to the base of Yvraine and I added a little up glow light.
It’s worth noting here that I used 2 of GW’s Pre-made bases for the two smaller bases. A hero base for The Visarch and one of the Imperium ones for Yvraine. Mostly because I had them to hand, and thought it would be an interesting touch.

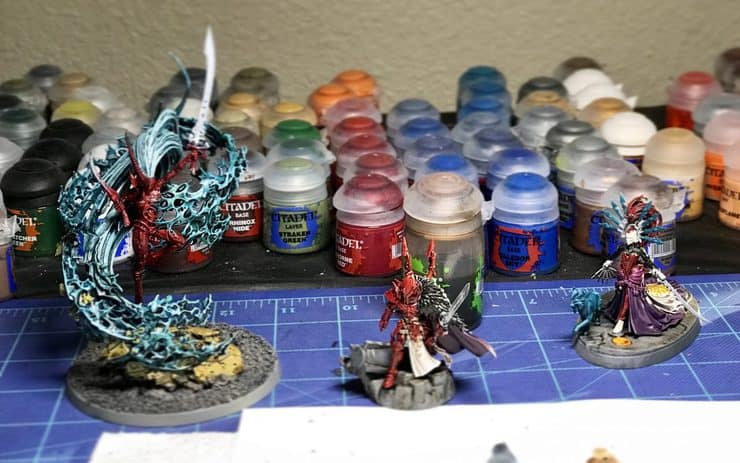
Next I added the Color Blocking, I’m NEVER careful at this stage, color is regularly splashing everywhere in the wrong area’s but thats ok for 2 reasons.
1) I’m going to tidy it up later
2) colors often “Spill” onto each other in the real world as light reflects surfaces onto one another, in fact it can look more realistic if color is spilt than if you have clean lines. (Providing you layer it well)
This was when I realized the Avatar was actually going to be a speedier job than I thought. Initially I was concerned that this miniature was going to take ages. It has a lot of detail with regards to spirit stones etc, and in general is bigger than the other two. However the spill from the Teal magic swirl and her red armored body started to look like a decent blend and I realized blending the 2 colors would be easier than I thought.
With regards to color choices I made a few big decisions here that varied from the GW choices. First I wanted all the miniatures to share a big common color, so I went with Red Clothing. Second I wanted the magic form the three of them to share the same color. In this case Teal.
Then seeing how the VIsarch had no magic I decided to have him and Yvraine share a purple cloak so everyone had something that matched at least one other miniature yet had a purpose and was somewhat thought out to retain their individuality.
The highlight stage is next where I’m really just using brighter versions of all the blocks of color. This time I noticed the lines on the Visarch’s sword and decided I’d try something I’ve never done before. Namely the Power Sword effect seen on a lot of GW mini’s nowadays.
So while the miniature was drying I went online and googled “Power Sword Effect” found a few guides. Spent 15 mins watching them and thought… I can do that. So I tried it.
In general this summarizes how I learn most of my advanced techniques. Usually I paint miniatures using the simple techniques I know and then once in a while I see something that stands out and use that as inspiration to learn one new technique. I try to never use more than one new technique per painting session, so I don’t get overwhelmed.
For some reason I forgot to take a picture of the wash in my usual set up. But thankfully I had one from my work table that I’d sent to my GF earlier on in the day so I still had one for you.
As I’ve mentioned before this is my favorite stage. It’s such a fast technique that really brings out the detail in the miniatures.
Speaking of washes I’d love to share with you one of my latest realizations.
I’ve decided that I HATE painting the color black as it always looks terrible, of late however I’ve found a simple technique that produces an effect I really like.
Instead of painting an area black I use a light grey. Then I add a 50/50 mix of a black wash and place paint. Then I paint this over the area. The thinned black paint drips into the recesses and leaves enough covering to make the area look black except on the highest points which get a nice grey highlight.
I used this on the Visarch’s Cloak and Yvraine body – No-one has spotted this yet and it has saved me a LOT of stress from painting areas black and having them look pants.
Then the only thing left is to pick out the details.
I used the Gemstone Technical paints from GW for the spirit stones (Which is by far the easiest way to paint Gems)
Just paint the area Silver and then add the gemstone paint over the top of it. I then apply another layer before it dries to just the top half of the gem at a slight angle. I know this isn’t the “Official” way GW suggests to use it, i just find it quicker and easier my way. (Possibly something to do with my shaker hands hahaha)
Anyway thats about it. The whole project ended up taking more like 7 hours as I needed an extra hour the following day to touch up the minis and I’m really happy with the effect.
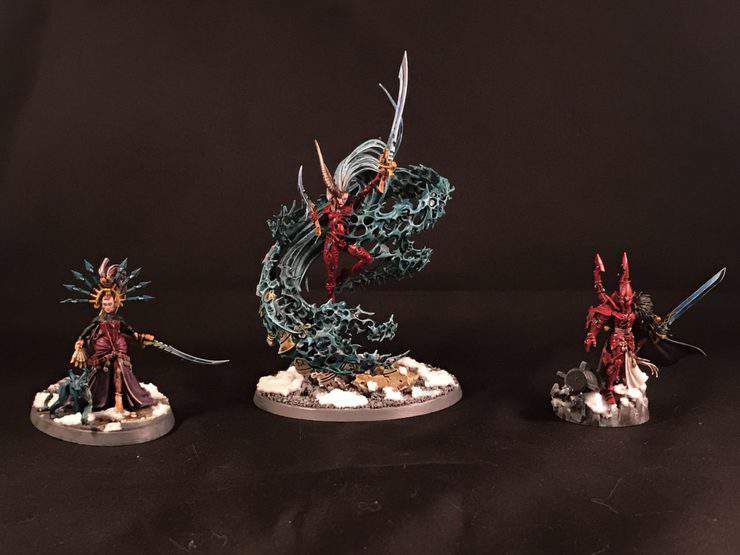
I wanted to add a little snow to the bases as our home table has a snow effect across it, and for the fun of it I wanted to use the Valhalla Blizzard technical paint from GW. (Yes I know this breaks my Don’t use two new techniques rule, but I’d heard it was easy to use)
Now for the close ups.

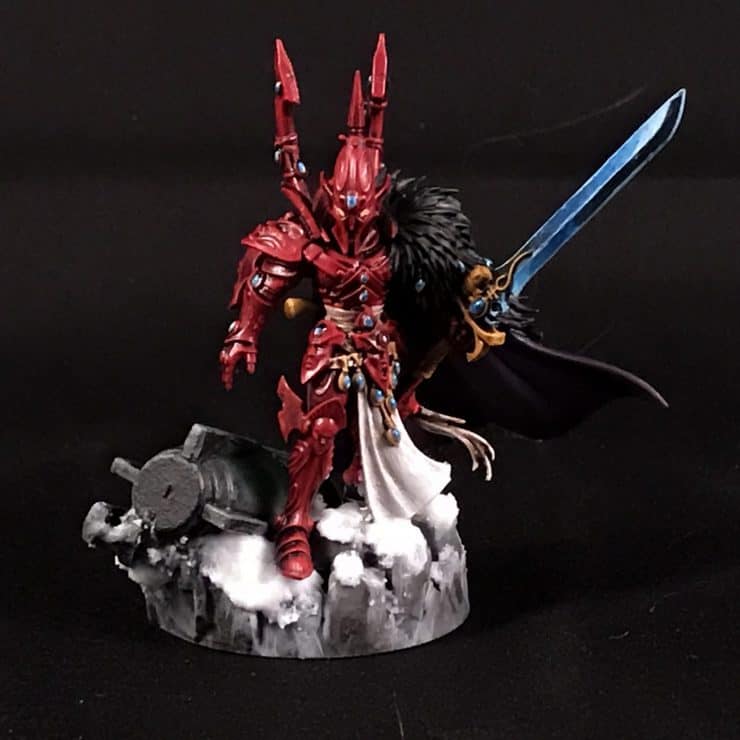
Personally I LOVE snow effects for reasons I can’t explain, and this paint is a joy to use. It’s simple and easy, you just shape it into snow flurries and it dries in the same shape as you designed it in. It doesn’t evaporate down to a smaller size (Which I was worried about) In short it just works, and produces a really nice effect.
That’s about it. Easy and quick paint job that doesn’t take long.
Feel free to ask any questions in the comments below, and I’ll try to look out for them in the coming 24 hours or so after posting.