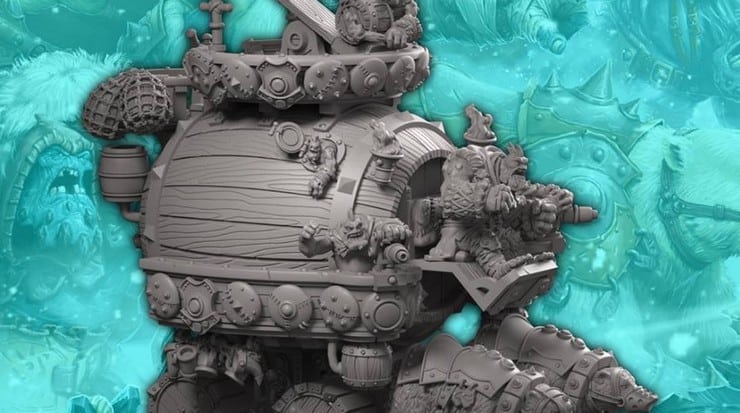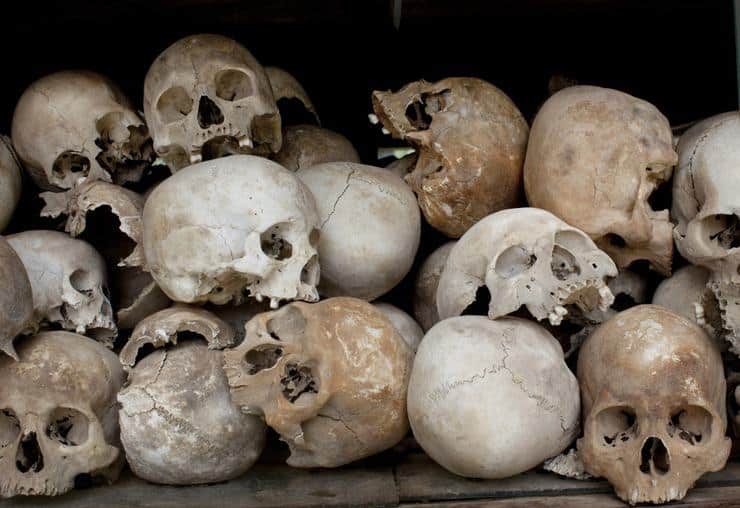
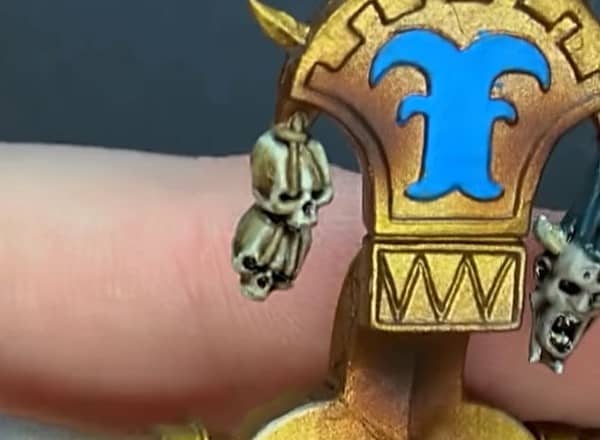
Skulls and bones add great details to any miniature, or base. Painting them up can seem daunting, but can be conquered in five quick steps.
Many miniatures have extra details, such as skull trophies and bone fetishes, to give them a bit more character and life. Painting them up can be daunting, as each one has its own bit of detail. However, it doesn’t have to be difficult! In five easy steps, you can make them look absolutely fantastic and add that great detail onto any miniature! Take a look at this quick overview then be sure to press play on the video below to see the entire tutorial!
Step One – Base Coat
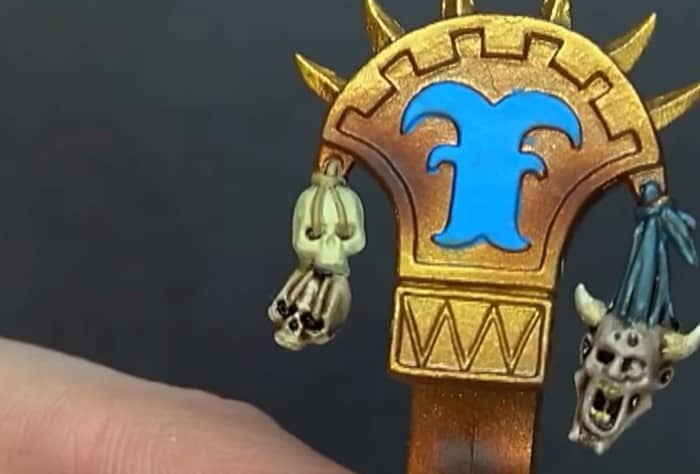
Menoth White Base by P3 is the first color to use to base the skulls. With solid, broad strokes, apply the base coat, working the paint in thinly. Don’t be discouraged if the paint is not covering the undercoat immediately. Instead, apply multiple coats to get a good, solid base coat of the paint. Multiple coats avoids the paint getting too thick and retains the details of the sculpt. At this point, you can also use Zandri Dust by Games Workshop to paint the twine or rope.
Step Two – Wash

Agrax Earthshade Gloss is then applied easily across the skull, tassels, and twine. Apply the wash across the skull then use a smaller brush to remove the glip glops. Pulling some of the wash out of the pools helps prevent discoloration and negative effects that sometimes occur.
Step Three – Highlights
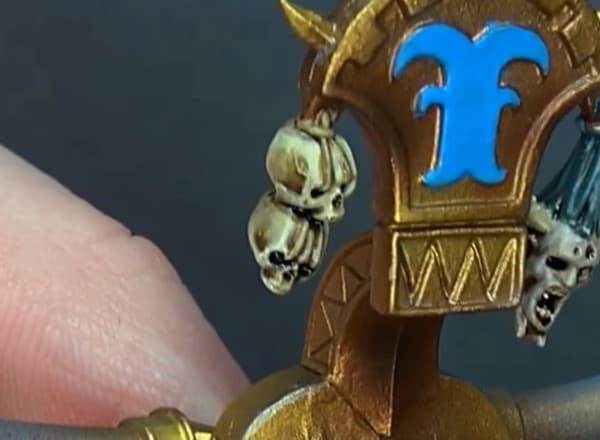
The first highlight goes back to the first base color, hitting all the fine detail areas that were covered by the wash. This includes cheek bones, nose, eye sockets, and any place light will catch on the bone that isn’t recessed.
Step Four – Brighter Highlights

Menoth White Base and Menoth White Highlight mixed together and applied to the highlighted areas will help give a smooth transition to any brighter highlights you may apply later. Adding them to the detail helps pop out the color and be a bleached-bone effect. After the 50/50 mix, apply Menoth White Highlight directly onto all spots that need to be brighter and stand out, such as teeth and ridges.
Step Five – Wash #2
The last step is to apply a second coat of wash over the skulls, including over the highlighted areas to knock them down slightly. This will help bring out definition and smooth out the transitions from the stark highlighting. Finally, apply a matte coat, such as Model Masters Lusterless Flat to seal everything in. Adjust any details you desire to create the look you want, and your bone painting is even better. For painting skeletons, you can highlight individual areas but otherwise
These five steps are quick and easy to up your bone detail painting game. Be sure to press play on the video below to see the entire tutorial.