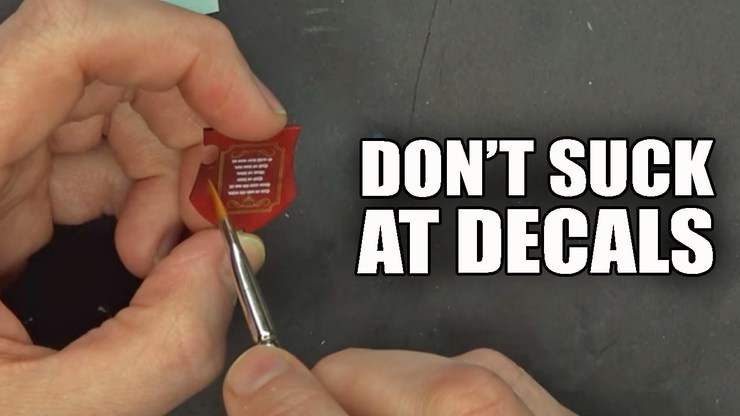
Stop sucking at applying decals or transfers! Check out our walk-through of how to apply decals to your miniatures in a snap!
Decals are great accessories to add flair and uniqueness to your models. However, applying decals can leave an ugly film on the model that can be difficult to get rid of…but not anymore!
Micro Sol and Micro Set have been used by hobbyists for a long time but are still products that aren’t well known in the miniatures world. They are, however, absolutely fantastic for setting decals on models and leaving a great finish.
Take a look at this quick overview and tutorial on how to use Micro Sol and Micro Set. For the entire tutorial and process, be sure to press play on the video below!
Don’t Suck At Applying Transfers & Decals Anymore!
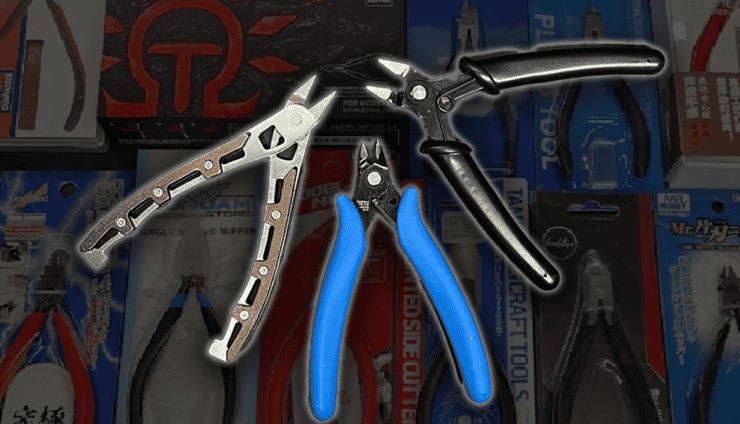
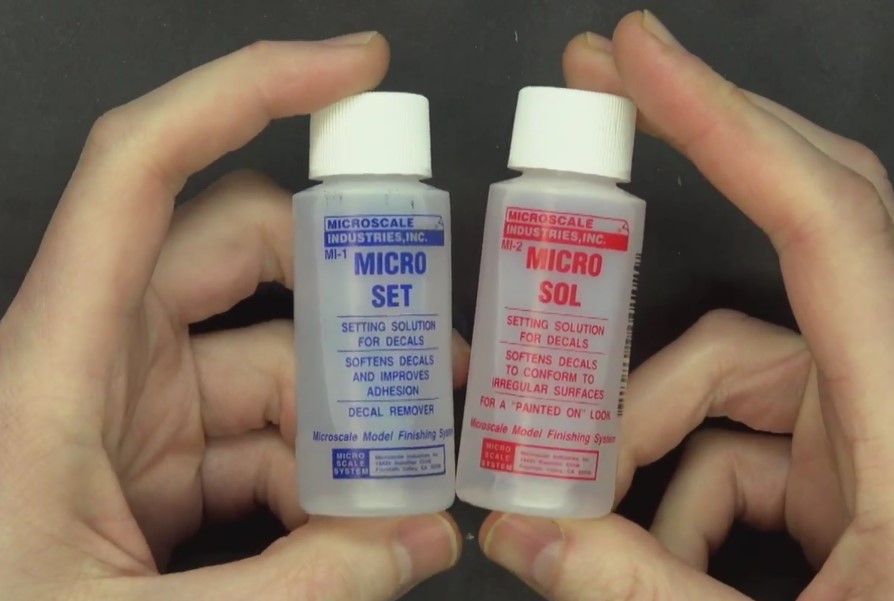 To get started, all you need are snippers (for clipping plastic card and metals rather than scissors), hobby knife, tweezers, Micro Sol, Micro Set, and your favorite decals!

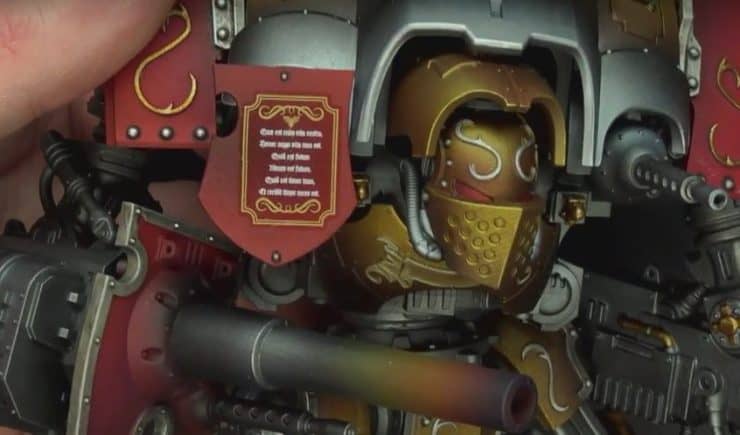
First, select the decal and be sure it is the proper size for the model you are applying it to. Once you select your decal, the next steps need to be done fairly quickly, so be sure you have everything out and ready to go. Soak the decal in a container with a little water to activate. While that is soaking, brush Micro Set onto the surface of the model. Once soaked, slide the decal onto the spot on the model, using either a brush or q-tip to aid.
Once the decal is on the model, use a brush with a little water to move the decal around on the model for exact placement. Using a damp paper towel, pat it down then let the piece dry.
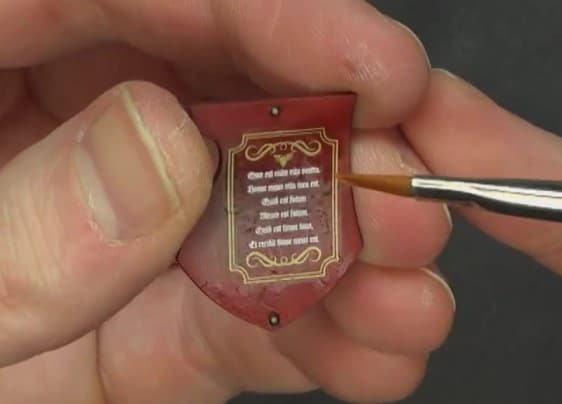
Once dry, Micro Sol is used to set the decal completely. Using it straight out of the bottle, use a brush to carefully brush over the decal itself. This softens the material more. If there are air bubbles or wrinkles, this will help get rid of those issues.
Let the Micro Sol then dry completely. Repeat several more times, letting each application dry completely before applying the next.
When the decal is completely set with no air bubbles and is completely dry, time to apply lacquer! Spray using a semi-gloss, such as Model Master Semi-Gloss Lacquer then, once dry, apply a matte coat such as Model Master Lusterless Flat. This will get the decal piece looking the same as the rest of the model.
There you have it, an easy way to apply decals. You can apply more Micro Sol to dissolve the decal completely and give it the painted on look as well. These are great and inexpensive tools for applying decals and adding another layer of customization to your models.
As always with applying decals, it is easier to apply over flat surfaces. Be sure to press play on the video below to see the entire tutorial!
This post contains affiliate links, meaning that Spikey Bits will earn a commission if you click through and make a purchase.