What’s your hobby resolution for 2019? Follow along with one writer’s quest to learn to airbrush and paint a GT level army in about 10 months, starting now!
Today we are going to kick off a series of articles that will publish once or twice a month following my efforts on learning to airbrush and building an army from scratch. The goal is to both share what I am learning via painting as well as to give you an idea on how I personally like to build an army. Which to be honest is probably about the same as most folks: around cost and how the model(s) look.
Also, your input is welcome! I am an airbrushing novice and have not personally used this army I am building so if you have any tips or advice I would love to incorporate it just hit me up by email perki116 at msu dot edu or leave a comment below.

The Project and Deadline:
This upcoming year I am going to do something special and start an army going from 0 points to 2000, along with a display board in time for the Michigan Grand Tournament in October. Along with this, I am going to challenge myself by using my airbrush as much as possible in the painting process, so that I learn techniques and become comfortable with it.
Once or twice a month I will give a “hobby update” with what I have learned and the progress I have made. I am so excited for this project that I started a month early and finished my first unit in December, but considering I have another 1800 points to go or so and zero display board building experience I think I might need the head start.

The airbrush set-up:
A couple of weeks ago I made the plunge and got an airbrush and compressor and got some input from Robbie B who knows a heck of a lot more about them than I do. I told him my criteria is that I wanted one that won’t break the bank, but also one that will help me enjoy airbrushing. If the one I got broke easy or was a pain to figure out I would quickly lose interest in it and go back to my brushes.
He pointed me to the Harder & Steenbeck Ultra (you can see his video review here) and said this was the brush he wished he had learned to airbrush on and I should give it a try. Along with that, he recommended I get some upgrades to it like a paint pot, Bleed Valve, etc. that will generally make my life easier.
Working full time and a 2-year-old take up most of my time, so I appreciated any time-saving advice he had, as painting time can be hard to come by. Finally, he recommended getting an air compressor that was decent quality and had a tank so that it wasn’t always on, that way if my daughter was sleeping, I wouldn’t be making a ton of noise all the time.
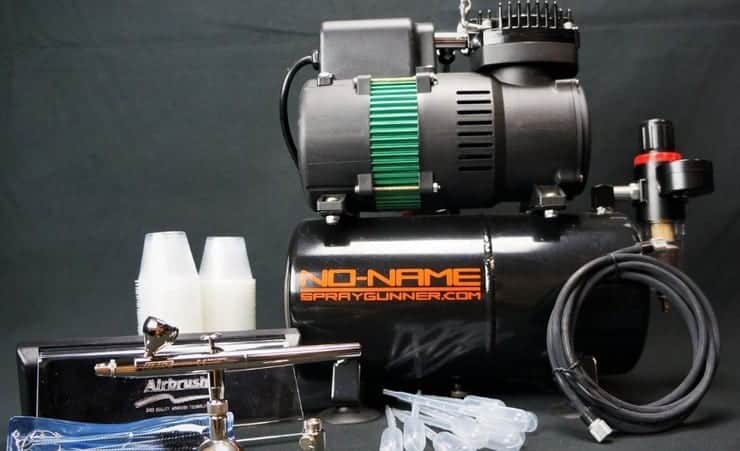
I went with the Tooty Airbrush Compressor by No-Name Brand, everything together ran around $250 from Spray Gunner.
Editor’s note: Inspire by Travis’s request and the #1 question we always get from folks asking about what a good “starter airbrush set up is”, we worked with Spray Gunner to make a combo kit for the modern hobbyist that is easy to use and won’t let you down.
In our opinion, why buy something to just replace it later or get frustrated and quit?
Verdict:
First off for the hobbyist with children out there I have to say that I was most surprised with the compressor and its volume. It isn’t silent per se but I am airbrushing in the kitchen while my kid sleeps down the hall and she has not woken up once when I used it.
Also, the compressor remained cool to the touch and is relatively light so moving it from room to room is easy with the built-in handle. Next, the airbrush is light and fits in my hand nicely, while the trigger pressure is standard. (I don’t have a ton of experience) and seems smooth. I was able to easily figure out at what point paint comes out and used the just air pressure to spray off any hairs (dogs hair gets everywhere) that might be on the model. Cleaning it was easy (more on that later) and I especially loved that the paint cup comes out of the airbrush so that I can clean it easier under running water.
The additional components really do make life easier, I found I was using the bleed valve a lot even during my first painting session to do finer detail work. The long neck water bottle seems so simple, but it really is a must have, I found myself using this a ton throughout my first painting session to clean out my paint cup. With the paint pot, it is a pretty ingenious design and I used it a lot when running cleaner through the brush, I would load the paint cup up with the 50/50 mix of Vallejo cleaner and water and just unload it into the cup. Finally, I used the brushes with the cleaner’s kit, but I am not sure they are required as running the cleaner through and some paper towel seemed to get most of the paint, the additional water trap was empty, so I am not sure if that is doing anything but hey it can’t hurt, I suppose. All in all, I would suggest the Ultra to other new airbrush users as a great way to get into airbrushing and the Tooty compressor is quiet enough for my usage.
Army and First Models:
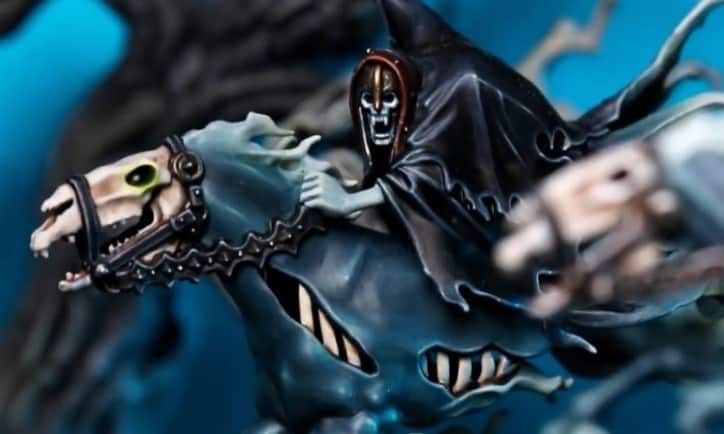
I decided to go with Nighthaunts as my army this project because I have the Soul Wars side and love the look of them. They are also relatively cheap, so I think they make for a great starter army for new players to the game.
Also, on top of that, I have a friend that had a Nighthaunt army before Soul Wars dropped so he was heavy on Spirit Hosts, so I bought 6 off him on the cheap. As with most of my projects I like to start small and then grow it over time, so I am shooting for getting to 1000 points first and then expanding from there.
Along with starting to think about how I want this army to look and play, I also need to start thinking what kind of bases and display board I want to do. This army is going to be from the Realm of Life “Ghyran” and my favorite color is green, so I am going to make them a dirty green color with varying colors for the clothing and bits.
I am thinking most of the “troops” will be using rusted weapons while the heroes might have some glowing bits, but I don’t have that set-in-stone.
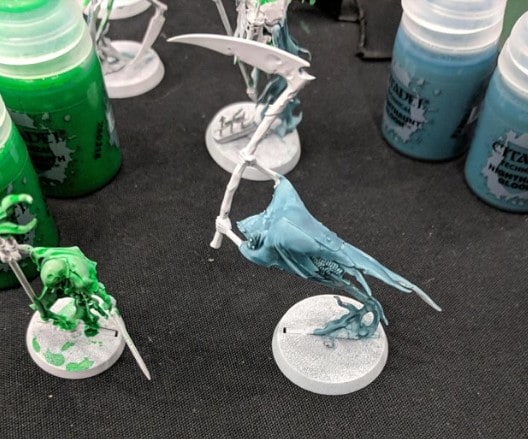
On the Paint Table:
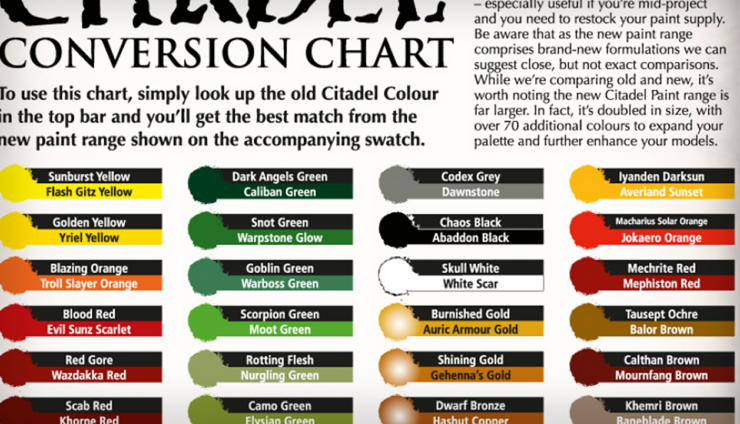
My first Nighthaunt unit will be a unit of 6 Spirit Hosts because they seem basic and would be easy to get my chops wet with the airbrush. Also, they are a battle-line unit, so they will be a requirement for my first 1000 points. I tend to like to knock out the more “boring” troops first and then reward myself with special characters. I am thinking I will do a brighter green color scheme along with rusted weapons and some ancient looking bones. While it is tempting to use the Nighthaunt Citadel Technical paints, but as I want this to be a learning experience with my airbrush as well, I decided to leave those paints on the shelf at my FLGS and do it the old fashion way.
There you have it getting my feet wet with my first Death army, and more importantly my first airbrush so I am stoked to begin this project. I am going to start with the Spirit Hosts and Soul Wars set, but if you have suggestions for additional models let me know in the comments or by email. Also, if you have any ideas for a display board and basing, I would be curious to see and hear about those as well!
![]()