Get your highlights looking the best they can! Don’t miss this tutorial that shows you the one-two punch combo of drybrushing and washes on miniatures!
We got a dope throwback tutorial on the exclusive Owl Bear today! The best part is Kenny is using Army Painter paint system from their Dungeons and Dragons paint set.
2019 seems to be the year of the Army Painter paints. With prices going up on everyone else’s paint lines, Army Painter may be the smart choice to hobby with! Break out your D&D paint set and get ready to drybrush and highlight the Owl Bear!
Drybrushing Miniatures 101
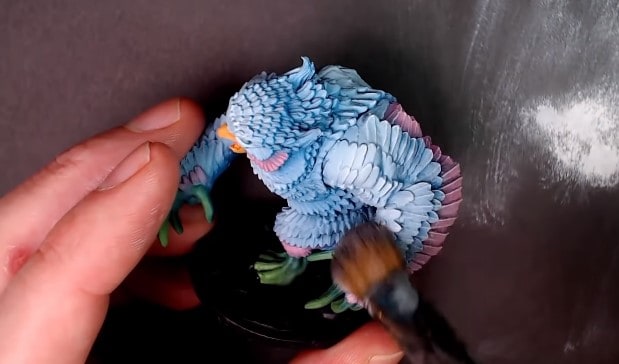
First, get some white paint on your dry brush, preferably an older and softer paint brush. Wipe all the paint that you can off of the brush, using a paper towel or cardboard. Be sure that you are getting all the liquid off of your bristles and keeping only the pigment on your brush.
Use broad strokes, go against the grain from the top down on the Owl Bear model to achieve a lighting effect. Keep doing this until you get the tips of the feathers highlighted.
Washing Miniatures 101
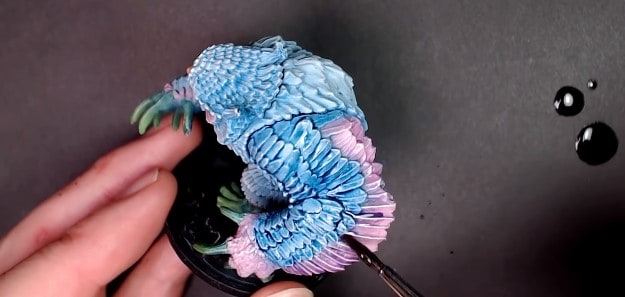
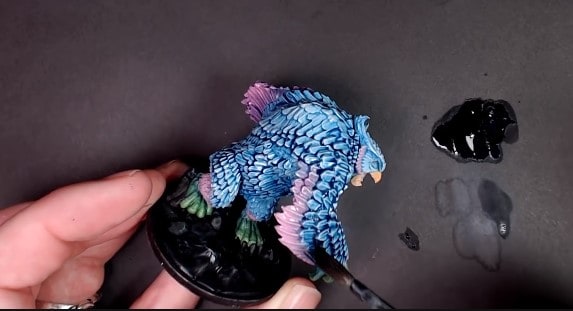
Use some Army Painter Blue Tone for the wash after the drybrushing has dried. Grab a new paintbrush (or wash brush) and use some Flow Improver to thin down the wash, to help it to further disperse over the model. The objective is to get it to settle in the recesses of the miniature without staining anything.
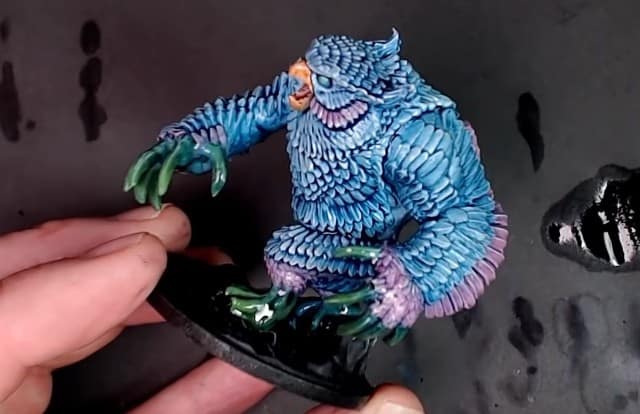
Washing is typically used as an uncontrolled technique, as you drag the mixture all over the model. The ultimate goal, however, is to get the wash to dry in an opaque hue.
Keep the wash moving on the model by adding more Flow Improver to your paint as needed. You want to get the wash over the model evenly without causing any staining. The drybrushing we started this model with is blended in with the wash to create a nice transition.
Press play on the video below to see the technique in action right before your eyes.
This post contains affiliate links, meaning that Spikey Bits will earn a commission if you click through and make a purchase.

