 It’s Wall-Cry! Here’s a fun little tutorial that shows you how to magnetize the boards and terrain for all of GW’s small skirmish-type games like Warcry!
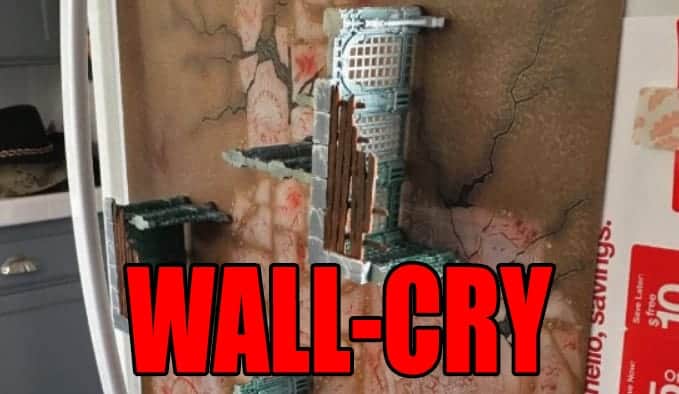
Jstove here, and today I’m going to teach you how to make a permanent magnetized Warcry board. Or as I like to call it, Wallcry.

Yes, that’s terrain stuck to a fridge.
How to Assemble Warcry Terrain

The first thing you need to do is assemble the terrain correctly. Warcry terrain is modular and goes together in any unique way you desire. But in order to make sure you can always create the deployment maps on the cards and set up the game correctly from the battlefield deck, you need to assemble the parts in a specific way.
Thankfully, the geniuses at Waywalker Studios already have an article for this exact purpose. They tell you how to assemble all the Warcry ruins in the studio formation that the game designers used when they wrote the battlefield cards.
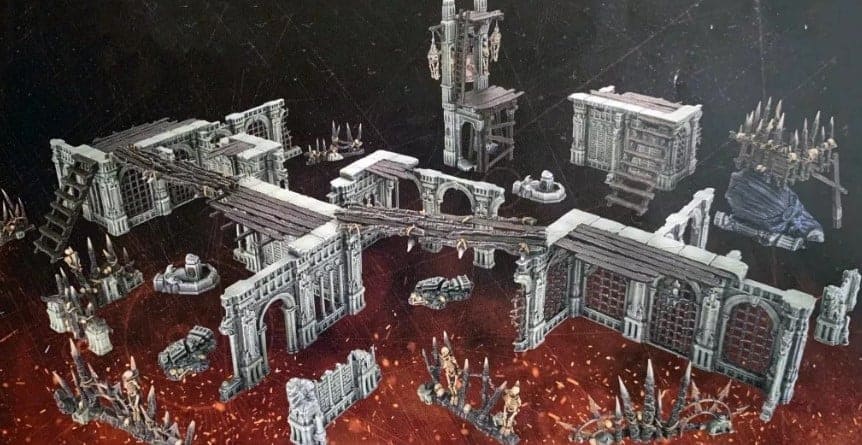
Once you have built all the ruins, you’ll be able to build every symmetrical deployment map in the terrain deck. Including most of the non-symmetricals as well. You’ll inevitably lose some deployment card options with all the terrain glued together, but this configuration gives you the most maps for the least hassle. and the terrain is easier to work with when it’s all glued up and you don’t have to put everything together every time you pull it out of the box.
The $30 Wall Cry Tutorial
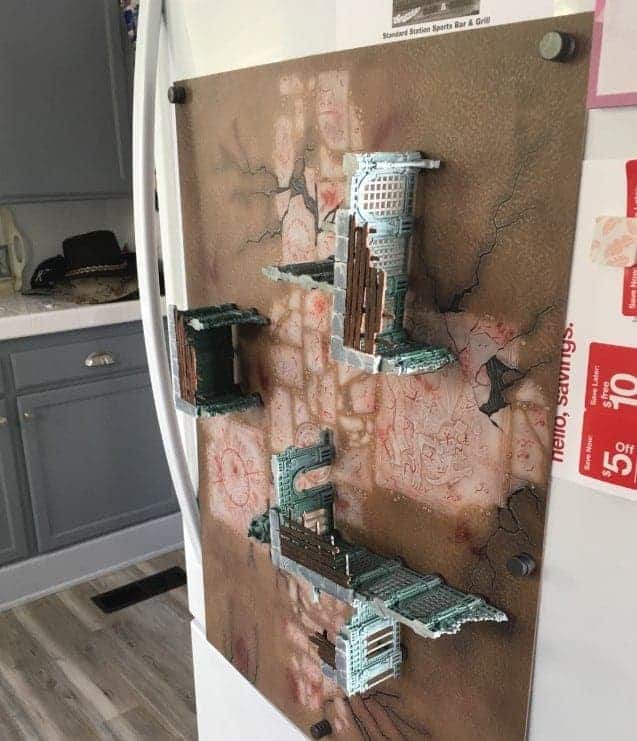
The next step is to magnetize your terrain as cheaply as possible. That way you can stick it on the table and leave it stuck. This is a quality of life thing, and magnetizing the terrain will allow you to keep a table set up that’s resistant to bumps and flying dice and all the other goofy crap that happens around the gaming table. It will also allow you to play Wallcry on your refrigerator if you also magnetize your models… If you’re that crazy.
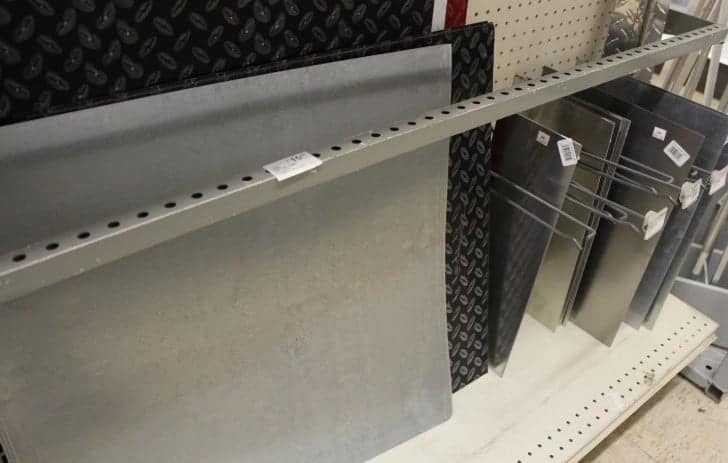
The first thing we need to do is make a trip to the hardware store. We’ll have to find a galvanized metal sheet. The sheet metal must be galvanized. If it’s not, it won’t stick to magnets. You can get a piece of galvanized sheet metal that’s big enough to slip under the 22”x30” Warcry map cheap at Home Depot. You can also get a similar sheet shipped to you from Amazon.
Magnets
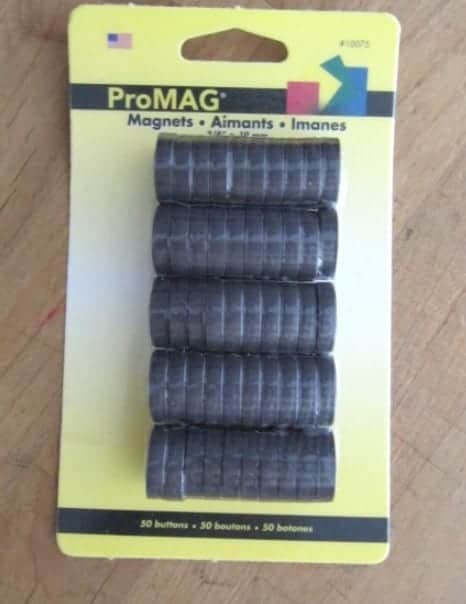
Next, you’ll need to get some chunky magnets. Thankfully, these are also at Home Depot. And if you’re lucky, just one aisle down from the sheet metal. Your mileage may vary. Amazon also has you covered if you prefer to order online and walk to your door.
Don’t use your tiny rare earth magnets that you get for your miniatures on this stuff. Terrain is big and heavy and you want it to snap securely to the galvanized sheet through the map board.
For this job, we need big chunky fridge magnets. Thankfully, chunky fridge magnets are way cheaper than rare earth miniature magnets. You’ll spend less than your lunch money getting enough to slap under all the ruins and spike strips.
Stick It
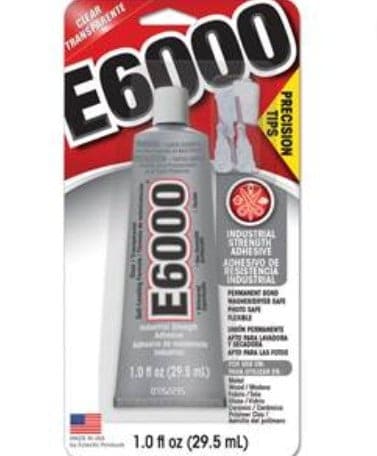
Finally, you need glue. Anyone who’s familiar with miniatures and magnets knows that sometimes superglue alone is not enough to hold a magnet on a model, so for terrain, we need to pull out all the stops. Thankfully, Home Depot also sells epoxies and industrial adhesives, which are way more serious. Grab a tube of epoxy, boat glue, or E6000, and that’ll really hold your magnets to your plastic walls. Amazon also has you covered again in the Home Improvement section of the site.
Give your industrial adult glue a couple of days to dry completely for maximum hold. Then, you’ll have a whole set of Wallcry terrain ready to go anywhere you desire, even your fridge.

More Hobby Articles From Jstove!
This post contains affiliate links, meaning that Spikey Bits will earn a commission if you click through and make a purchase.