 Kenny from Next Level Painting is back to help nail down painting Ork skin tones. Test and expand your painting arsenal with this technique.
Kenny usually does full-scale painting tutorials, but in order to paint you also need to practice! This week he’s helping us by adding a new tool to our arsenal. Kenny proves skin tone can be done in more ways than we thought. Give it a few tries and you’ll have it ready to use on any of your projects.
Painting Ork Skin Tones For Miniatures & Warhammer!
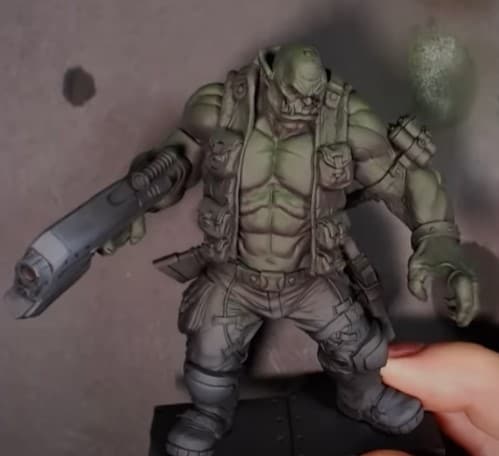
Starting with a lightly pre-shaded model we are gonna take some Pro Acryl Mahogany and Pro Acryl Dark Purple mixed together in the pot, to get the base going. Follow that up with a second, thinner coat of the same paint mix. With the pot still dirty, add some Pro Acryl Dark Camo Green and mix it up.
With this mix apply a highlight over the skin. Toss the pot out but don’t wash it and add some Pro Acryl Camo Green, this time do an even more cautious second highlight. Finally, add more green, this layer will be our brightest green and once again do the top-most highlight. This way all of our transitions will still be there.
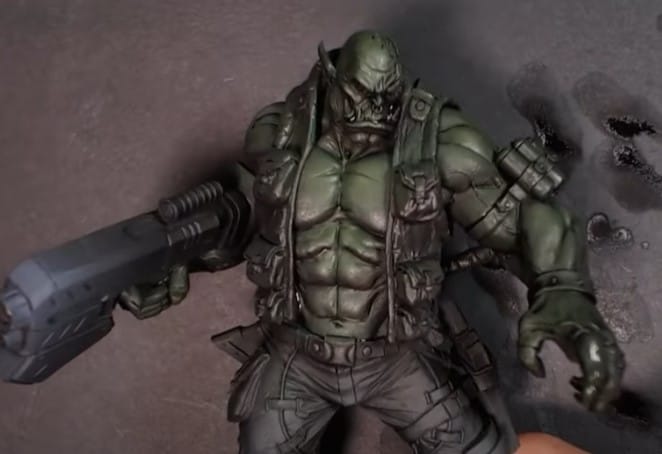
Moving on, we can add some Pro Acryl Olive Flesh to the mix. Only hit the crevices, like muscle lines. This dulls down the model a bit so we are going to have to brighten it back up. Taking the Camo Green from before we can now use it as a glaze and just filter it over. Take some Pro Acryl Tan Flesh and mix it with the green, and either an ochre or golden-brown.
Then once again, use it to highlight those muscles. With the skin at a good place, go ahead and apply your varnish before moving on. Then you can apply your wash and do the rest of the model!
You can support Kenny on his Patreon page, and stock up on all the great Chaos gear over on his Heretic Swag store.