When you have a bunch of miniatures to get ready at once, but don’t have a ton of time, use these batch painting tricks to speed things up!
We hope you have all of your paintbrushes and hobby tools ready because this tutorial is all about speed! Today we take a look at how Kenny uses batch painting to finish a unit of Death Guard in no time flat. This is all part of his 101 painting curriculum. It will help get your army on the table in three easy lessons!
We’ll go over the other products used, but to get started he recommends you have the perfect rack to hold the minis easily for the batch painting. Let’s jump into the tutorial!
Batch Painting Miniatures- Makes Table Ready Easy
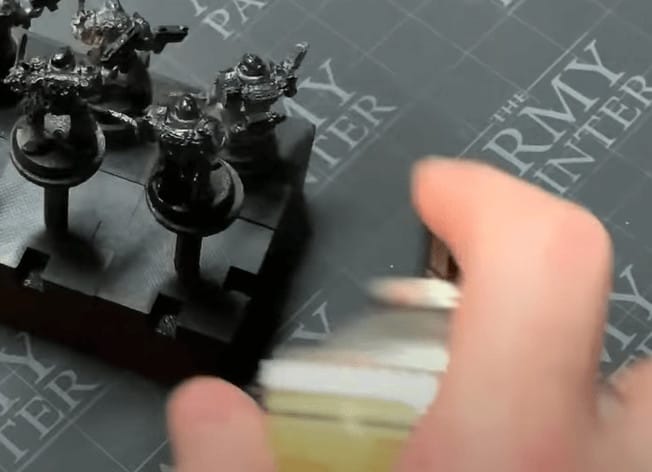 After you have all the models on a base of some kind, use the Army Painter Black Spray to start. He uses this instead of white so it covers up all the recesses, if you use something lighter, it can make for problems later on. Just do short light sprays until all the models are covered, but none are clumpy. Then let the models dry for a couple of hours.
 Once the model is dry we get to hop into the airbrushing stage. If you need some quick tutorials on airbrushing before moving forward, check some out here. It’s really not that hard!
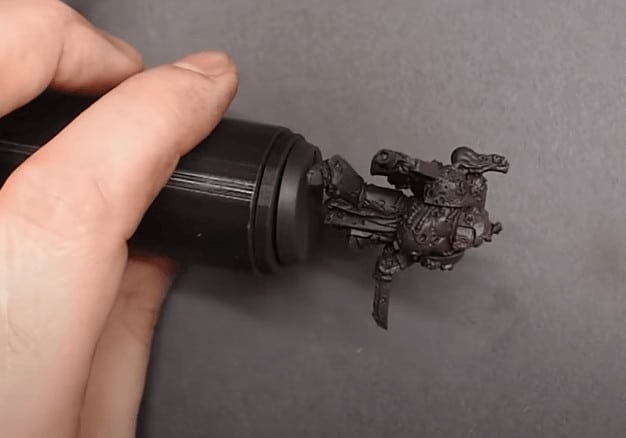
He starts with Monument Black brown and covers the entire model. He uses a wide cone to get even coverage and not get too concentrated on any one point. Anything you can’t reach, the black primer will cover.
 Next, he mixes the Black Brown With Monument Bright Green. This time around he does the spraying from the top down and lets the model shade itself from that angle. Nothing fancy, but just watch your angles here. This will naturally shade the model for you. Add more green to the mix with a touch of Monument Bright Warm Grey and follow a similar pattern to what you just did. Spray from top-down to add shading and color pops.
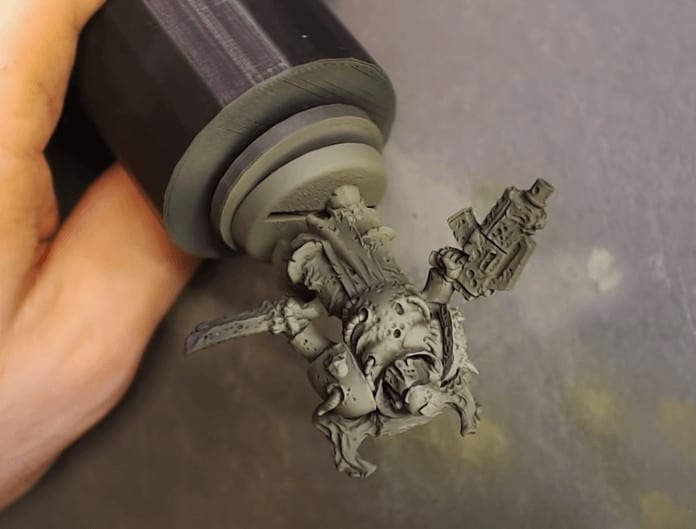 Next, add even more grey to the mix and start spraying the model from the top down again. Here, though, get closer and try to highlight areas that make the most sense. Like shoulder pads, knees, etc… Make sure to get a consistent feel across all models but don’t spend too long on any particular mini. You will start seeing less and less green but do not worry, it’s still there.
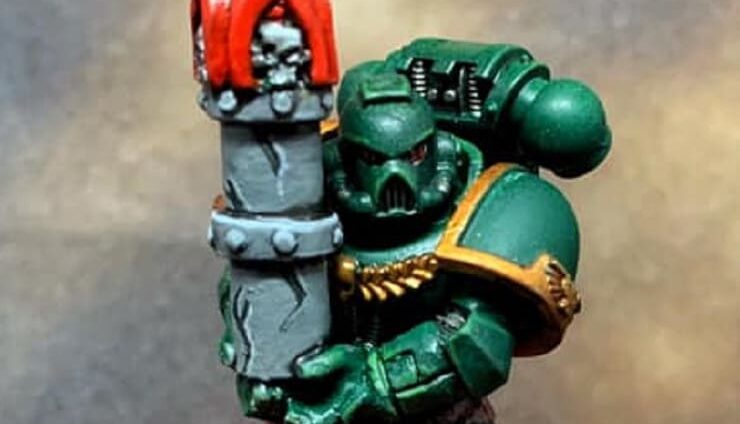
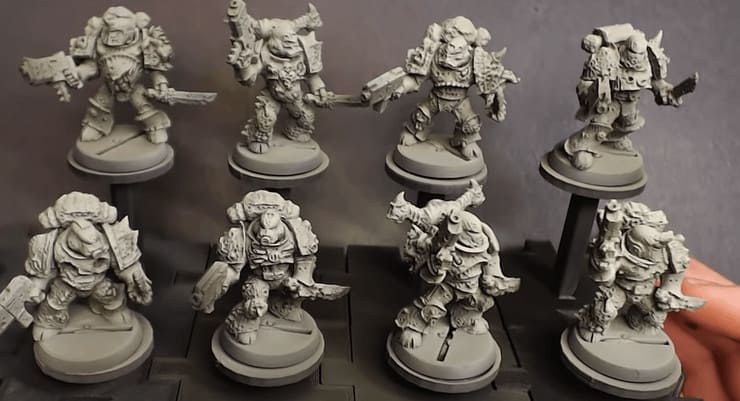 This is how your batch should look at this point
Brush Basecoat Phase
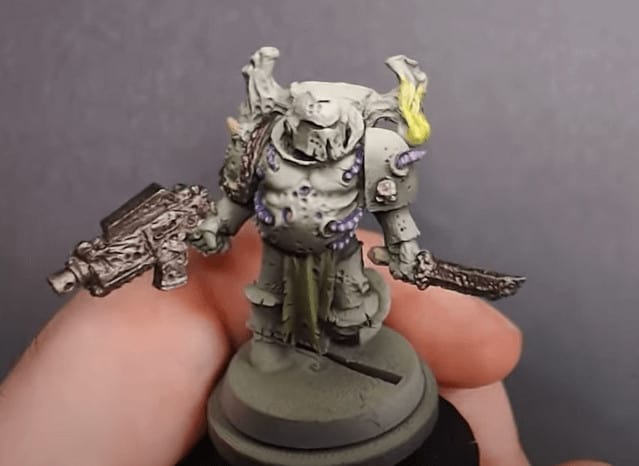 This is where you hit all your basecoats that require a brush. He stresses the idea of good, powerful colors so you only have to do this once, not twice! This is all about speed, so using the right paints is key. He uses Pro Acryl Bronze for the gun and sword, Pro Acryl Dark Purple for tubing, and Bright Yellow Green for the flame base. This stage is all about getting good coverage and moving fast enough to get this done but not mess up the model.
Wash and Highlighting
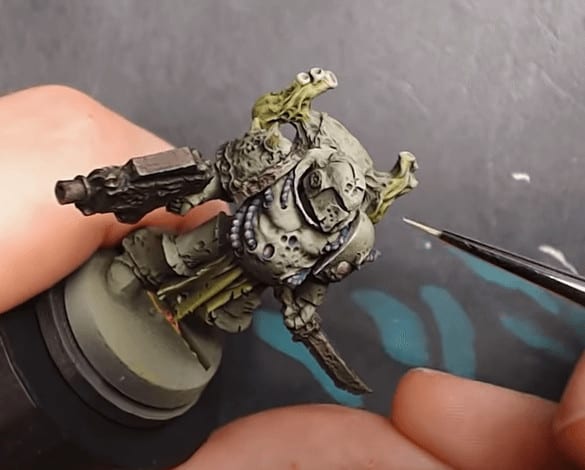 For this phase, you want to use the Army Painter Military Shader to start with. Hit all the armor and really give the model a good once over. Next use the Army Painter Dark Tone and Mid Brown to hit the recesses and anywhere that needs an extra layer of shadow.
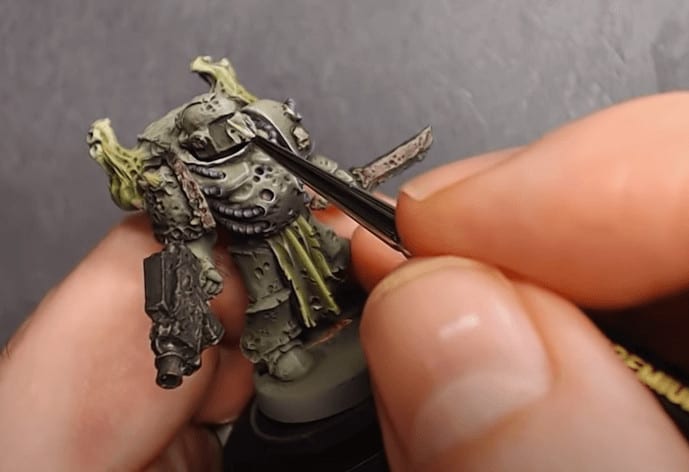 We are going to be going back to the Pro Acryl Blue Grey for this step of highlighting. There’s nothing too special here, just highlight the model where it makes sense. But don’t get too carried away! This is all about speed while looking good. As long as you get most of the highlights on the model it will look great!
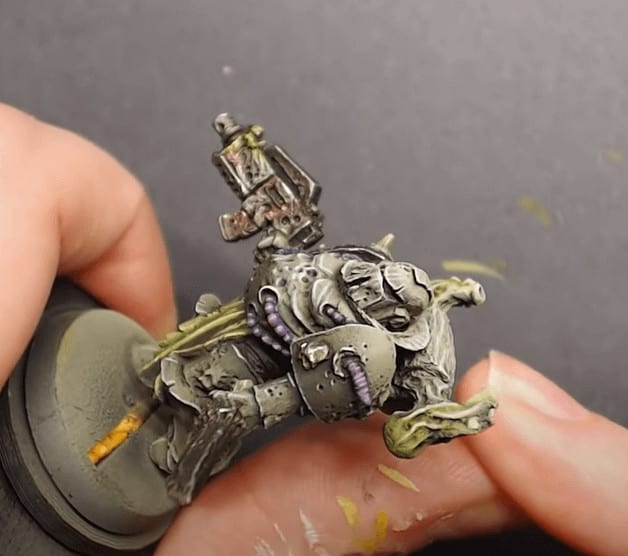 Last but definitely not least! Is the contrast, this is where you really make the correct parts of the model stand out. The higher parts and bright parts being bright, the darker parts staying darker. For this, he goes back to the bright green and the Blue-Grey. thin the paint out just a little and go back and hit everywhere that needs it.
The thing about batch painting is speed, so you may have missed some areas before. It’s really simple here, think about what should be bright and what shouldn’t. If you think something needs to be brighter, make it brighter!
And there you have it! These models look amazing and you won’t have to invest countless hours into your minis to garner attention from your gaming group!
If you want to get an even better look at how to pull this off, check out Kenny’s full video! If you liked this tutorial, you can also support Kenny on his Patreon page, and stock up on all the great Chaos gear over on his Heretic Swag store.