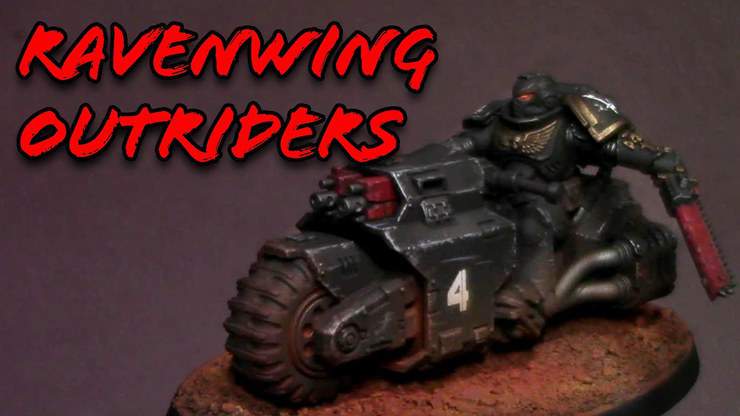
 Learn how to get your Dark Angels Ravenwing Outriders battle-ready with this awesome painting tutorial from Wyatt at Jack of Clubs Painting.
Jack of Clubs Painting is a regular here and today he’s giving us some advice on how to getting your own Ravenwing Outriders ready to throw-down.
Follow along with the video for a detailed tutorial to get these minis done fast! Or check out our highlights below.
Get Your Ravenwing Outriders Battle-Ready With This Tutorial
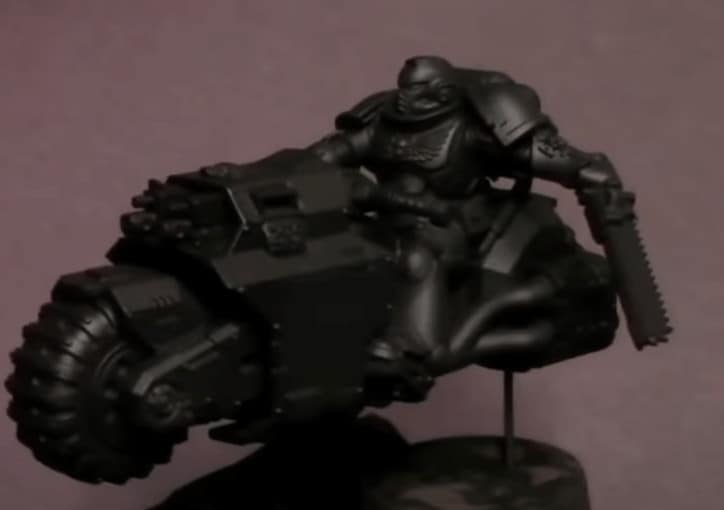 First thing, prime the model black with Synylrez black primer. Get very good coverage here to make sure the shadows of the later stages stand out. Then hit the model with some Dark Neutral Grey using the airbrush from a topdown angle to get some highlights.
Decals And Varnish
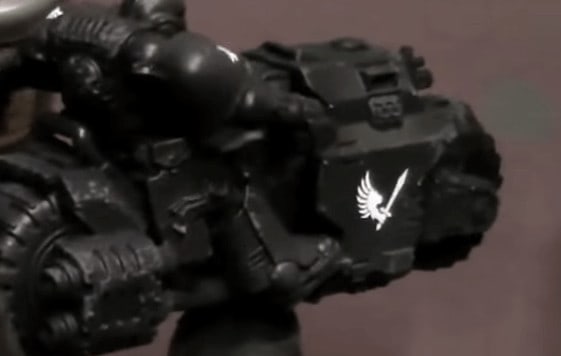 For this, he starts with a gloss varnish all across the model to seal in the initial base coats and give a good base for the decals to rest on. He then uses Micro Set and Micro Sol to help get the decals ready. He does a light brushing of the solution over the whole decal and lets it sit on the decal until it is totally wet. You have to move quickly with this step while using a brush to lightly push down the decals. Simply apply the decals where you want them.
Base Coats And Sponging
 Once the model is fully dry we move on to the next stage. Starting with the Dark Neutral Grey we get to sponging the mini. Take a sponge and put it on the end of a hobby tool. Just hit all the edges of the bike to bring out the highlights and give it a battered feel. Just highlight all the edges and don’t worry about being too careful here. You are giving battle damage here, so go wild. After that, do the same thing with Bright Neutral Grey all over the biker. If you want you can then take the same color and finish off the edges with a normal highlight using a brush.
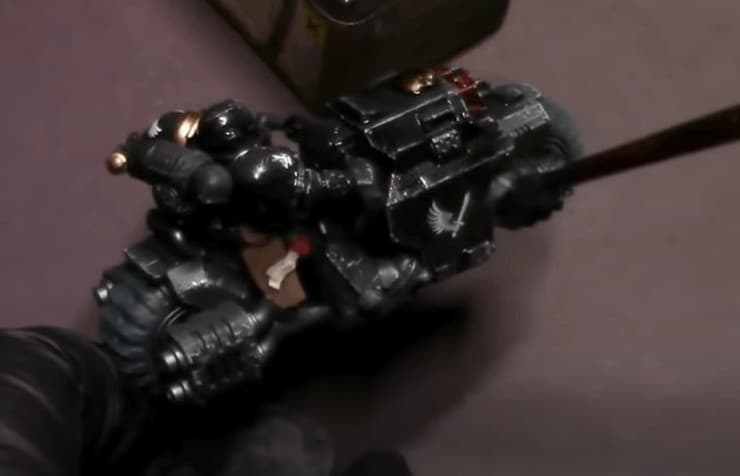
Finally, we move onto the base coats of the metal bits. He starts with Bronze Metallic and hits all the insignias and anywhere you want some bronze! This is a base coat so make sure to get good coverage here. Black can be hard to paint over so do a second coat if the coverage isn’t as good as you want it. Once you’re happy with the bronze move on to Dark Silver. Hit the sword and any part of the model you feel should be silver. Anything you don’t want to leave black hit with this. Like Exhaust etc…
The last base coat is Burnt Red Followed by Burnt Umber. Just hit the gun mounts and the non-metal part of the chain sword. Then use the Burnt Umber to hit all the holsters and such.
Highlighting
 Start by watering down the Burnt umber and hitting another highlight layer on all the previous brown. This is just a way to give the areas a little highlight quickly. then mix the red down with a little grey and do the same thing. Hit all the red areas with a slight highlight. We don’t want the paint to be pink here, just lighter red. He then hits the tires with a combo of black, green, grey, and blue. This is a mixture of colors he uses often. Just cover the entirety of the tires here.
If you don’t love the color of the mix you can airbrush it with Dark Neutral Grey to mute down the color. The last step here is a Mr. Weathering Color multi black oil wash over the entire model, keep the brush moving fast, and not letting paint build up on anyone part of the model.
Painting the Base
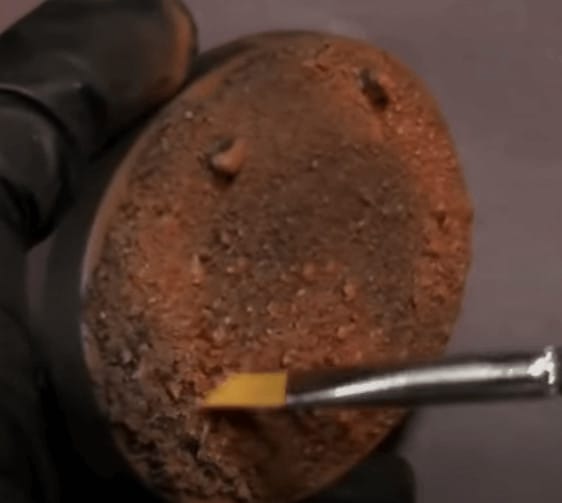 He starts by airbrushing the Burnt Senna on the base, giving the majority of it a light airbrush. Next, start highlighting the base with the Burnt Orange. For this, he just hits a semi-circular pattern around the base. And lastly, hit some drybrush highlights with the Yellow Ochre all around the base to pull out the color. Nothing crazy but just until you like the look of it.
Final Touches
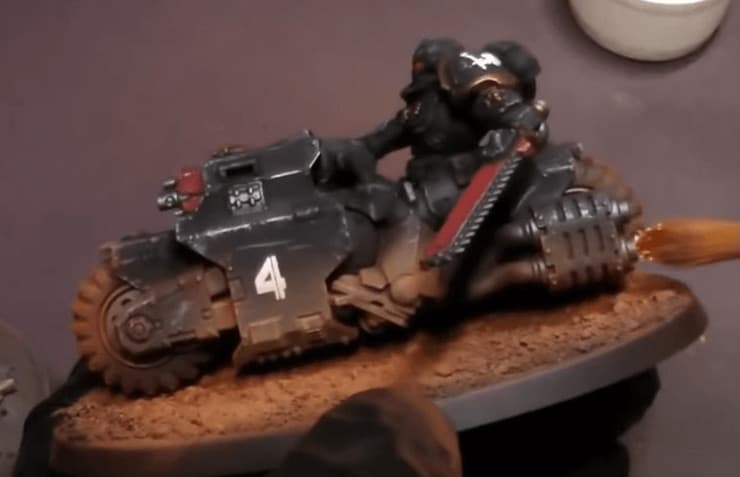 The last stage is to put the model on the base and give the wheels and bottom of the bike some dirt effects. He uses Vallejo Burnt Siena and Dark Yellow Ochre pigment paint for the colors here. He starts with the Burnt Siena and just grabs some with his soft brush and lays it down on the bottom of the bike and the base. Next, he takes the yellow and uses the same strategy but just hits the highlights.
To finish the whole thing off he hits the entire model with a matte finish.
 With that, the model is looking battle-ready and you can feast on your ten extra VP’s! If you want to learn more from Wyatt’s insight, watch the full video! And if you love his work, check out another great set of painting tips here.
Follow along with the latest from Jack of Clubs on YouTube or LIVE on Twitch four nights a week!
This post contains affiliate links, as an Amazon Associate Spikey Bits earns from qualifying purchases.
Travis has been a Warhammer 40k hobbyist since the 1990s, playing the game since Third Edition. Through extensive traveling, he’s seen a lot of the miniatures hobby from across the world, giving him a unique perspective on the latest gaming topics and trends.
Travis’s brother even owns a commission painting studio, where he’s picked up a lot of good advice and techniques for painting Warhammer and tabletop miniatures over the years, as well. Travis joined the Spikey Bits team in 2019 and has been the lead writer since 2020.