 Squidmar is back with another tutorial showing us how to paint power swords and giving us some other great words of advice!
Squidmar’s channel is rapidly growing due to his great tutorials ranging from full-scale models to tips, even to practical physics! Painting sword effects can be hard but you really just have to get into it and not care what other people think! Let’s check out the tips!
How to Paint Power Swords: Squidmar Tutorial
 You can paint power sword effects on all kinds of minis, like Marines, Fantasy, D&D, and why not a My Little Pony… Well, maybe not the last one! Here’s a list of things you’ll need:
- A mini with a sword (shocking, we know!)
- Vallejo Black, any white, Teclis Blue, and Kantor Blue.
- Wet Palette
- And obviously some brushes!
 Now that you have your supplies, this is the mini he’s going to be using today! You can use anything with a sword and just use the same process. This mini is from the lost Adventure Kickstarter, it’s really amazing and you should go check it out!
Step One:
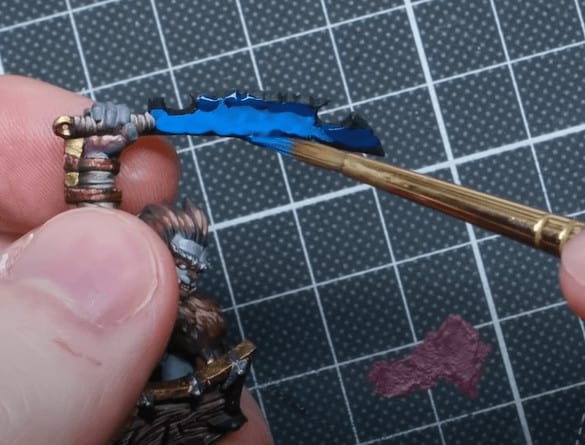 Start by priming the mini black. You can always start by airbrushing the sword in layers with the blues. But he’s going to do this with the brush today. First layout the two blues and the black on the wet palette. He then makes some transition colors between all three of the colors by mixing them on the palette. This is where you can’t be afraid to fail! Start with the lighter blue on the inside of the sword and the darker blue on the more out edges.
 Then you start blending them together with the transition colors you just made. Just keep moving and don’t let it dry. It can be hard to wet blend on a small surface, but when it dries it looks better. If you don’t get the effect you want, you can do this step over until you have the effects you want.
Step Two:
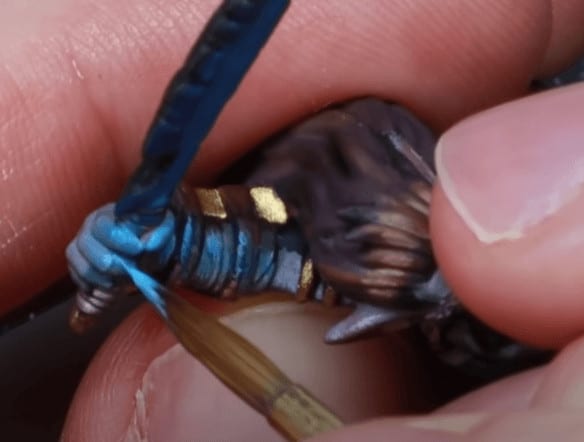 Make sure it is fully dry before you move onto this step. He goes in with a slightly watered down Teclis Blue and hits the top of the hand and everywhere the light would be reflecting from the sword. Then adds a little white to the Teclis Blue and does some small highlights.
Step Three:
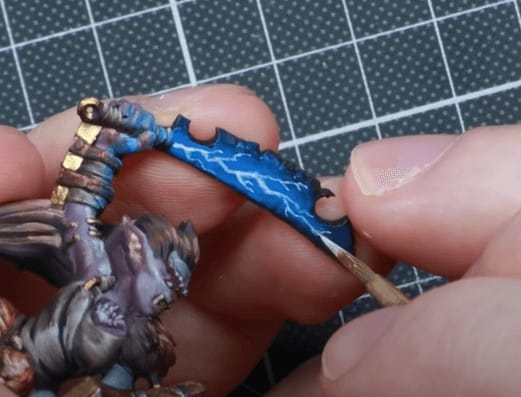 Lightning painting! He recommends looking up some lighting to make this easier. Having a reference is always the way to go. He recommends using a higher-quality white for this. Because once you start thinning it down, it gets very hard to use. He uses Schminke Titanium White, but it’s not available everywhere. So just grab a good white for this! Take a very small brush and put on a little watered down white and make some lightning! Just try to make it as close to your reference as possible.
Step Four:
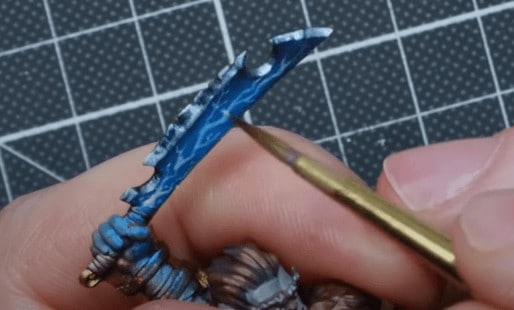 Then take a very watered down light blue and do a semi wash down the sword so the white looks more like part of it and not something totally separate! Then you do a little white highlight on the raised sharp edges to pull it together.
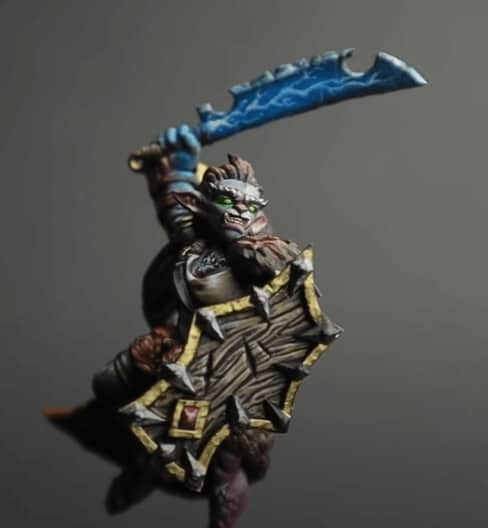
And bang! You have a sweet-looking mini!
That does it for this awesome tutorial. He really recommends finding real-life examples of lightning or this can get hard. Hopefully, this helped you get your power swords looking magnificent!
Subscribe to Squimar on YouTube!
Squidmar Miniatures is a great place to learn all kinds of painting techniques! Be sure to subscribe to Squidmar Miniatures YouTube channel for more tutorials.
This post contains affiliate links, as an Amazon Associate Spikey Bits earns from qualifying purchases.