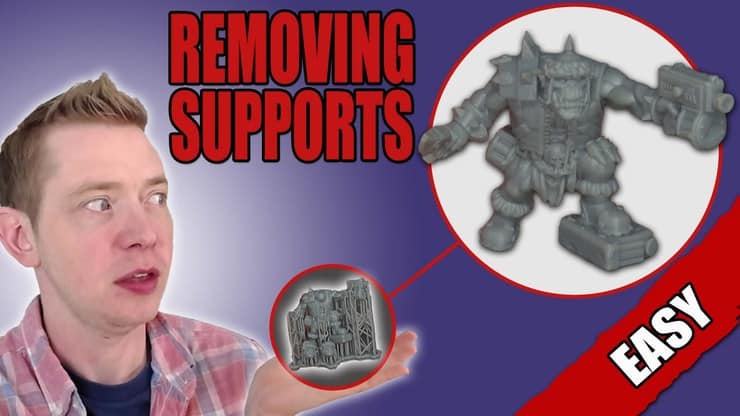
 Today Rob takes us through how to remove resin 3D printing supports with ease and keep your miniatures undamaged.
This is a tutorial that had been requested by a few people. Especially now that we have printed minis for sale, a lot of people have been wondering how to get those 3D printing supports off their miniatures after they print. We do include instructions with the minis, but we’ll also be breaking it down.
Because, if you don’t know, it can actually be frustrating. However, as it turns out, it’s super easy to do! You can even get these prepped up while doing something else. Then when they’re ready, come back and finish it up.
Let’s get ready to make our lives easier and jump into it! Just to note, Rob filmed this by himself so the pics may not be the best.
Removing Printing Supports From Resin 3D Prints: Tutorial
 Besides your cured part, all you really need is some hot water, a bowl, some tongs, and a model knife.
Curing or not curing first is a personal preference, but for me, I find that prints can sag or warp if not connected to supports before curing. You also should wear gloves if you are removing printing supports from uncured 3d prints or models.
To Start
 Rob takes a plastic bowl filled with water and microwaves it for about 5 minutes. Just be very careful when taking it out because it will be hot and the water can splash or boil over on you! You don’t want the water boiling, but want it hot to the touch only.
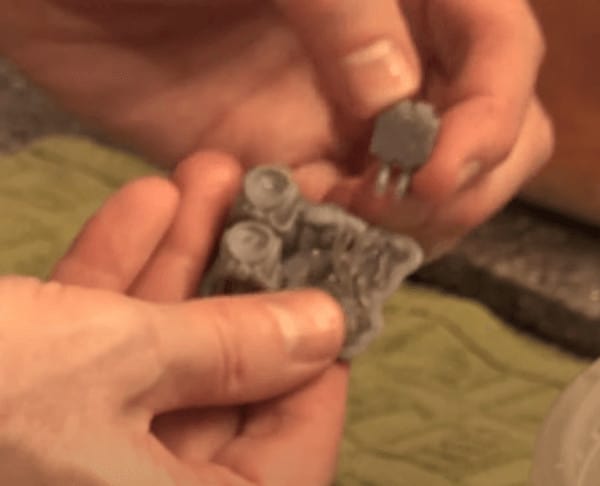
Then take your tongs and pull the mini out. After that, dab off all the water and put it on a towel. The supports should be wiggling once you take them out, so let them soak in the hot water for about 5 minutes before pulling them out with the tongs.
Getting rid of the Extra Pieces
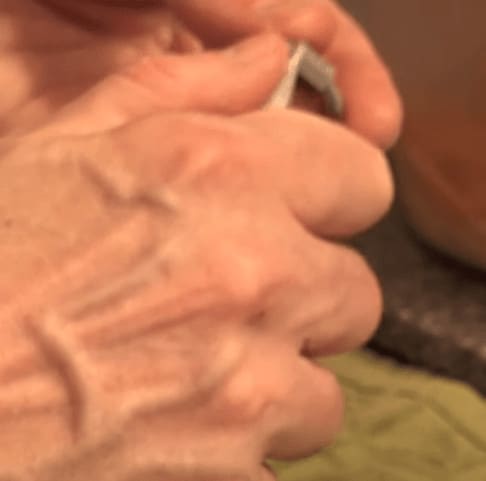 While it’s hot is a perfect time to take your knife and finish off what’s leftover while it’s hot. Don’t be a dummy always cut away from you!
Cleaning Up Bigger Minis
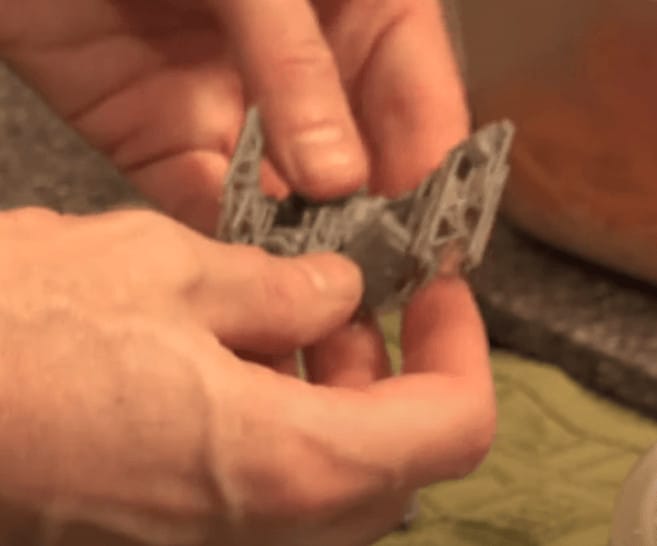 For bigger minis, you can take a pair of clippers and clip off the bottom of the supports. Do not do this when it’s room temperature, make sure it’s still hot! Then throw the mini back in the hot water. Once it’s warm again, you can then just repeat the process from before, just keep moving up the stack of printed supports until you get close enough to the actual 3d part.
Once that’s done, you can just toss the 3d printing supports you removed (assuming they are cured), and you’ve got the part(s) ready to hobby on!
If they are still wet, just put them in a container with some paper towels to let them dry.
Essential List of 3D printing Hobby Supplies & Products
This is the Way?
 Take the extra time to remove your 3d printing supports the correct way. If you just start clipping on an unheated mini, it will just break the resin. It only takes a few seconds and saves you a ton of hassle!
Once you get your printing supports removed your parts should look great! It really takes almost no time at all to remove them- less time than assembling and trimming a miniature that is for sure!
Also, if you missed any tiny supports (like in cracks or underhangs) once it’s glued together, you can take a knife and trim the little tiny printing supports and it *should* not damage your model.
Is this how you do it? Do you have a better method to make removing 3d printing supports even easier?
Let us know in the comments of our Facebook Hobby Group, and make sure you enter the latest monthly giveaway for FREE today! You can also support us on Patreon and get ad-free access to the site, plus a ton of minis that helps support some of the best creators out there!