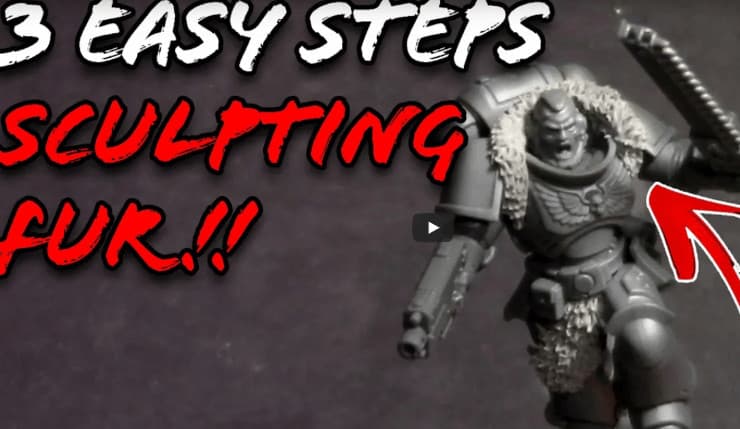
 Learn how to sculpt fur on your miniatures in 3 easy steps with this simple tutorial from Wyatt at Jack of Clubs Painting.
Jack of Clubs Painting is a regular here and today he’s giving us some advice on how to sculpt fur without pulling your hair out!
Follow along with the video for a detailed tutorial to get it done fast! Or check out our highlights below.
How to Sculpt Fur on Miniatures: Jack of Clubs Tutorial
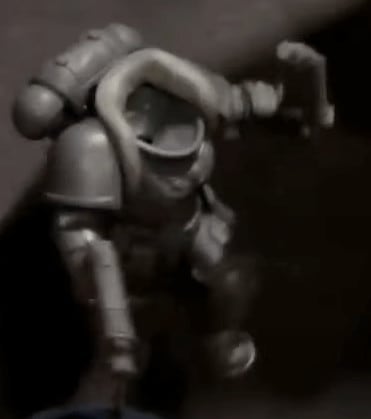
 Just look at this poor Marine without any fur. He may not get cold, but he’ll surely be scolded for not being up with the latest fashion!
What You Need:
 He grabs some two-part epoxy, a dull hobby knife, and a silicone sculpting tool. He’ll only use the sculpting tool for one part so that’s not as essential.
 He painted this mini over on Twitch, and this is the end effect we’re going for.
Step 1:
 Grab your Epoxy and mush it together until it’s nice and mixed up. His is gray, but other colors work as well. Then gently roll it into your palm until it’s in a little sausage shape and press it onto the model. Pretty easy start! He does use the sculpting tool to help press it on but you don’t have to.
Step 2:
 Take your dull knife and press a bunch of little divot holes into the epoxy, think of a golfball. He’s doing rows, but they don’t have to be perfect since it’s fur. Just try to make them somewhat uniform and get a ton of tiny holes in there. Having some water nearby can help the process when the tools gets stuck on the epoxy. You can even add a drop of dish soap to the water to help if water alone does not work.
Step 3:
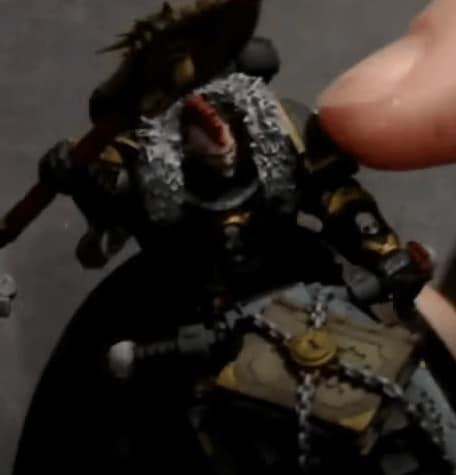
 Starting with the lowest hole, use your knife and pull it out downwards or sometimes to the side. Then keep going up in rows and pull it over the bottom layer. This will create that layered effect you see in real life. You want to try and create a grain, or growing direction of the fur. just make sure to get good little points that make sense. You may have to change the direction when going around a curve, but try to keep it in one direction.
 For ease, he likes to leave the head off when doing this. Do a test fit of the head before everything dries to make sure it still fits. You can either leave the head off to paint or glue it on right now. You can do this for any section of fur, not just around the head. Just make sure it’s pointy and not bulbous on the ends like hair actually is!
And that’s it! When you have a bunch of minis to do this on, it’s super easy to do and fast. Just a great effect without much work! If you want to learn more from Wyatt’s insight, watch the full video! And if you love his work, check out another great set of painting tips here.
Make Sure You Follow Jack of Clubs Here!
Follow along with the latest from Jack of Clubs on YouTube or LIVE on Twitch four nights a week!
This post contains affiliate links, as an Amazon Associate Spikey Bits earns from qualifying purchases.
About the Author: Travis Pasch

Travis Pasch
Job Title: Head Writer & Editor
Socials: @paschbass
About Travis Pasch: Travis has been a Warhammer 40k hobbyist since the 1990s, playing the game since Third Edition. Through extensive traveling, he’s seen a lot of the miniatures hobby from across the world, giving him a unique perspective on the latest gaming topics and trends.
Travis’s brother even owns a commission painting studio, where he’s picked up a lot of good advice and techniques for painting Warhammer and tabletop miniatures over the years, as well. Travis joined the Spikey Bits team in 2019 and has been the lead writer since 2020.
Currently, he’s working on converting all his 40k Adeptus Mechanicus models and becoming a true tech enjoyer, complete with both sad and happy robot noises!