 Kenny from Next Level Painting is back to help us get Mortarion to a battle-ready standard for the tabletop and to get those extra points!
Today Kenny helps us tackle Morty and get him battle-ready with both airbrushing and paintbrush techniques. If you still need to grab the big guy you can grab here! If Death Guard isn’t your thing, you can check out his other tutorials here!
He’s going to be using techniques from his awesome 101 painting curriculum, which is a set of three easy lessons to get your minis on the tabletop fast and looking good! Get your paints and brushes out and let’s go!
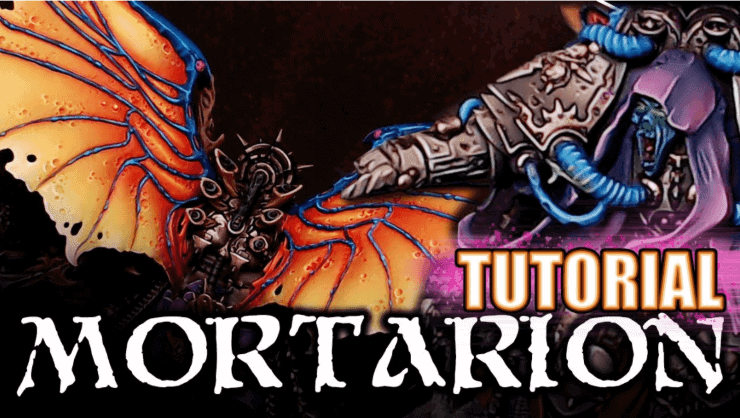
Painting Mortarion: Next Level Painting
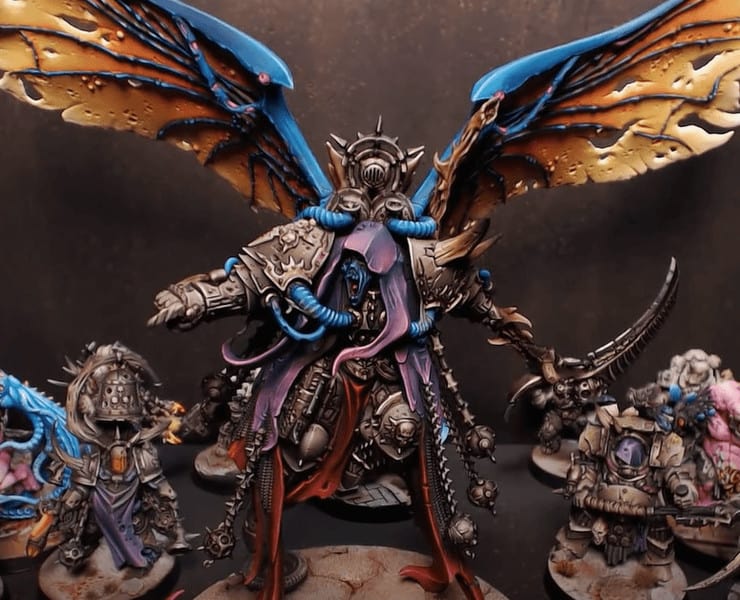 This is the end result we’re going for! It’s a lot different than some other paint jobs for this guy, so it’s cool to see this style! Let’s see how to do it.
Base Coats
 He starts with the mini primed black and then hits the entire thing with Black Brown from Pro Acryl. Next, he grabs some Dark Purple in the airbrush and hits all the cloaks. You don’t want to get this on the other parts, but it’s not a big issue if you do. Because you can just go back and hit it with the Brown.
Painting the Armor
 Black Brown, Bright Yellow Green, and Light Grey are the colors you need here. He mixes the Dark Brown with the Light Yellow Green in the airbrush and starts working up the armor. Just make sure to take your time here and get good layers of paint. He leaves some of the brown behind and doesn’t cover everything. He then just keeps adding lighter and lighter colors as highlight layers.
 Make Your Army Look The Way YOU Want With These Bits & Kits!

Keep the layers small and keep moving. The brighter you go, the smaller your spray should be. just keep working your way up for better transitions.
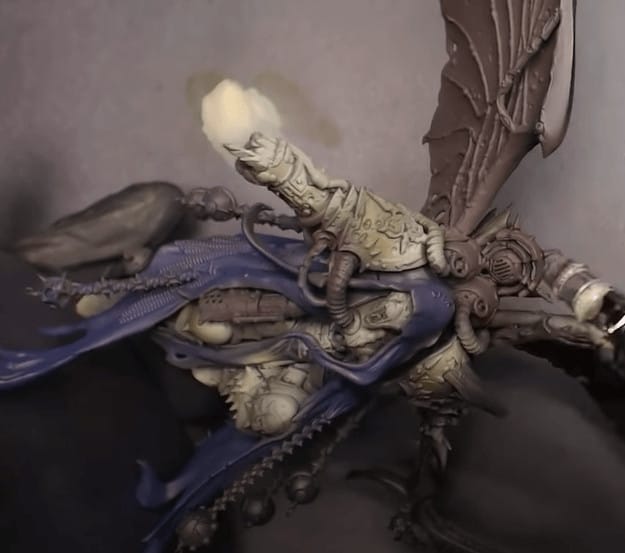
Wing Base Coats
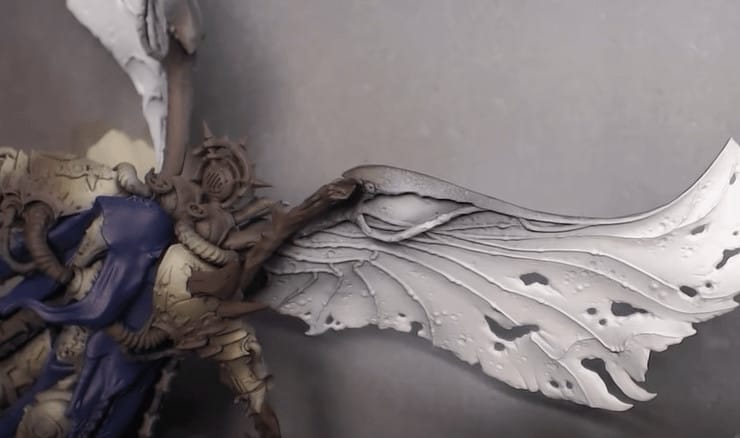 Pick something as the focal point on every mini you paint. This time he’s picking the wings. He uses the Dark Brown and the Light grey as a mix here in the airbrush. He just tries to get a good base coat here with good opacity. While the wings are drying he goes with a medium-level purple from before and hits all the robe parts. Now, while, that’s drying he then puts the bright Warm Grey in the airbrush and does another layer on the wings.
To make it even a little brighter, he adds a little titanium white to the mix and does a couple more passes.
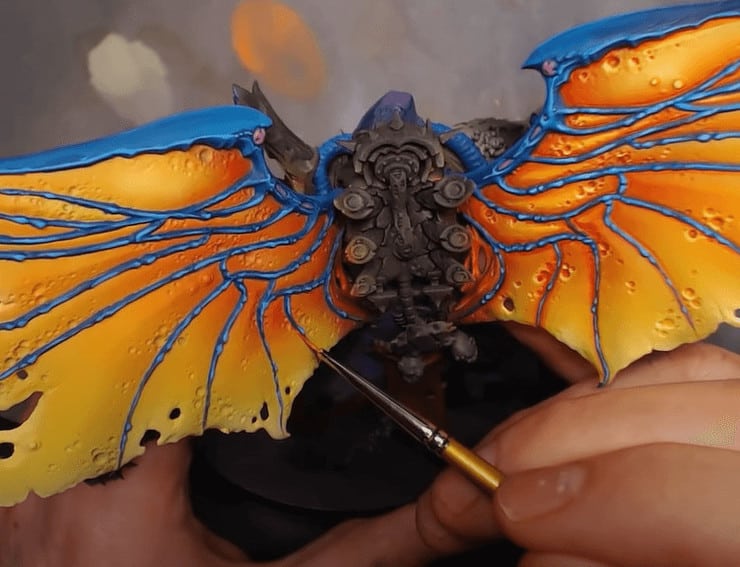
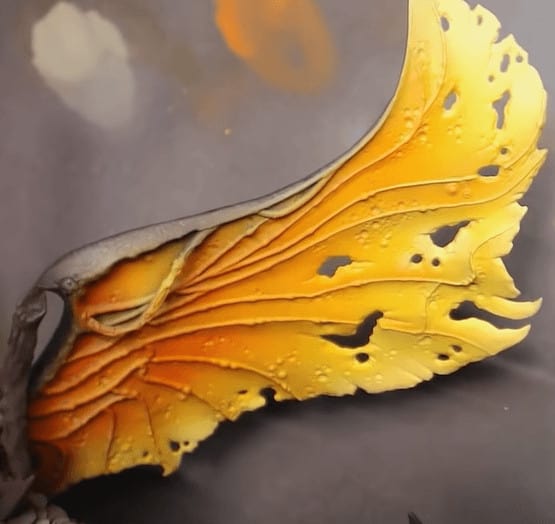 Time to pull out the Golden Yellow. He then hits wings all over with it. Then he mixes in some P3 Infernal Orange and aims with low opacity to everywhere that should be shaded. He’s going backward here, so let it all mingle. Then he mixes in the bold red from Pro Acryl and does the same thing but in an even smaller area. To finish it off, he goes back in with the yellow and hits the areas where he wants them to be brighter and saturates the wings. He’s really trying to let all the paints blend here for nice smooth transitions.
Brute Force Laydown
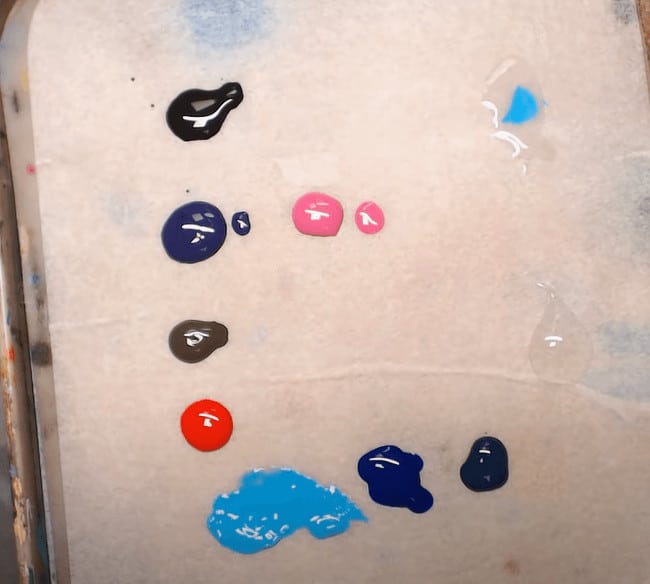 We’re jumping back to the robes now. He breaks out his wet palette here and lays down a bunch of colors that he’s been using for the rest of his army.
 He just tries to keep this one and done coverage. Nothing fancy, but just keep everything at a good level where it’s not too wet and not too opaque. He starts with the darker blue and lays it on everywhere he wants it. This is an easy way to wet blend, you’re going to use the airbrush later to smooth everything out. Don’t worry so much about the transitions, but make sure the layers of paint are smooth to the touch. He then adds some red to the purple and hits all the robes again.
Detailing the Wings
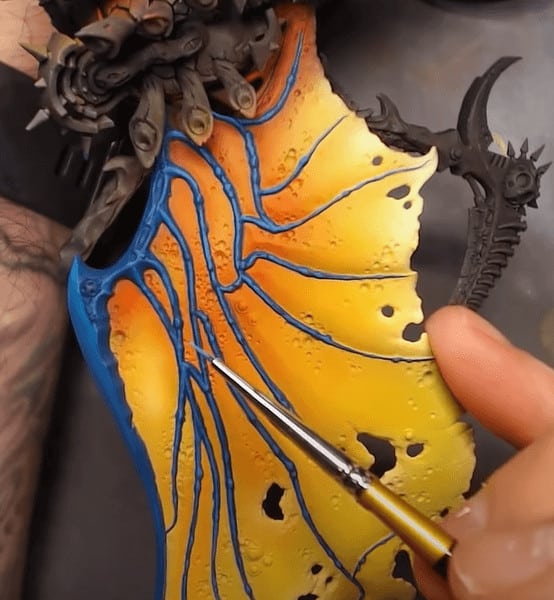 Since these are the focal point, be ready to sink in some hours to get them looking great. First, he goes through to paint all the veins in the wings. He starts with a Dark Blue and then goes through on the points and slowly makes it lighter and lighter with Sky Blue. This takes a lot of time, so just be patient.
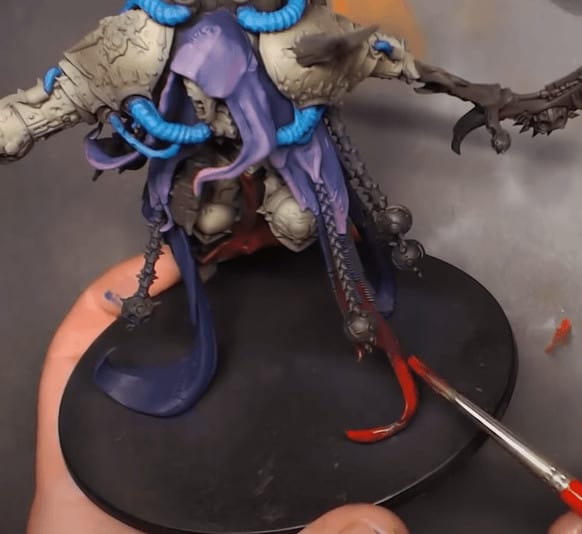
Pin Washing
 He keeps the paint semi-opaque and fairly wet for his pin washing. He uses the same colors from before to keep everything tied together. He lays down the red, orange, and yellow from before. He then mixes them together to have all three colors and the in-betweens. He mixes the colors to what they match on the model on the fly. He then pin washes all around the veins to make them pop.
Edge Highlighting
 He just goes here to make the bright stuff brighter and the dark stuff darker. He then just edge highlights all the areas on the wings where it needs to be.
Metal Trim & Miscellaneous Details
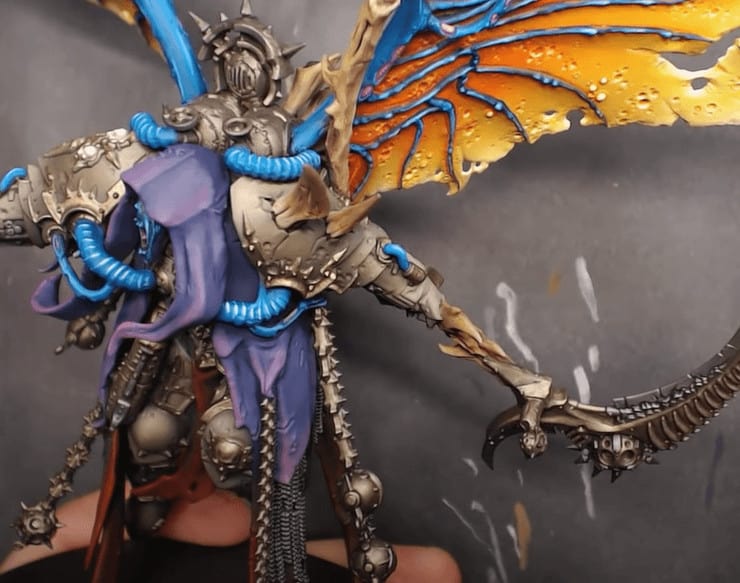 This part is kind of like paint by numbers. You just want to go in and fill all the metallic parts. He uses Copper, Black Silver, Bronze, and Light Bronze for his colors here. He starts with the copper and hits all areas he wants to be gold and black silver for all the silver parts. He lets everything dry fully before hitting them again.
While drying he then hits everything else he wants brown, any brown will work here. While that dries he then hits the face with the green from before. For the face, he then goes blue in almost a wash and then edge highlights with a lighter and lighter blue.
Washing
 Washing is all about making the dark stuff darker. He uses an Army Painter blend here of a bunch of their Quickshades, with browns, greens, and blacks. He hits all the recesses here and a ton of parts of the armor. This just brings out all the colors. Then he mixes in some Dark Shade into the mix as a second wash to make things even darker.
To finish it off, he goes back with the dark greenwash and hits a pin wash on all the areas he needs another coat. Remember, this is a battle-ready paint job with one serious focal point.
Finished Mini
 If you want to get an even better look at how to pull this off, check out Kenny’s full video on the Thanos diorama! If you liked this tutorial, you can also support Kenny on his Patreon page, and stock up on all the great Chaos gear over on his Heretic Swag store.
Join The 101 Painting Curriculum From Kenny
This post contains affiliate links, as an Amazon Associate Spikey Bits earns from qualifying purchases.