Painting smoke & fire exhaust clouds does not have to be hard, and Deadly Print Studio has the tutorial to show you how to paint them!
Most people aren’t in love with the GW stands, well, neither is Deadly Print Studio! They have a ton of amazing flight stands for all kinds of minis, which you can grab here. But today we’ll be talking about how to actually paint up their awesome smoke stands that can be used for a bunch of jetpack minis. Let’s jump into the guest tutorial by Deadly Print Studio!
How To Paint Smoke & Fire Exhaust Clouds: Deadly Print Studio
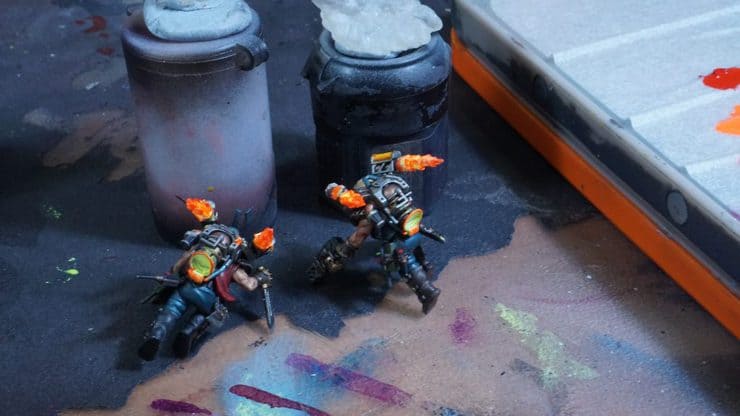
 We have developed a broad range of smoke and fire bases to substitute the GW stick. Here is a small guide on how to paint it, full of small tricks that will help you to paint all kinds of smoke and fire Fx. We are going to follow the painting of 2 bases and fire thrusters of these Orlocks.
Materials
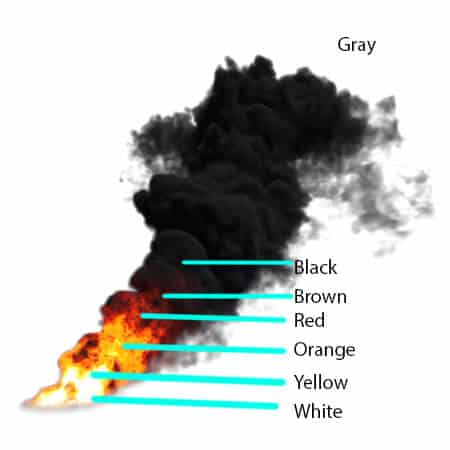
 For this particular case, we wanted to create a really dark smoke color, like an old train smoke with really bright fires.
You can use any kind of paint, but the paints that are key for our method are Vallejo Fluo paints.
Preparation
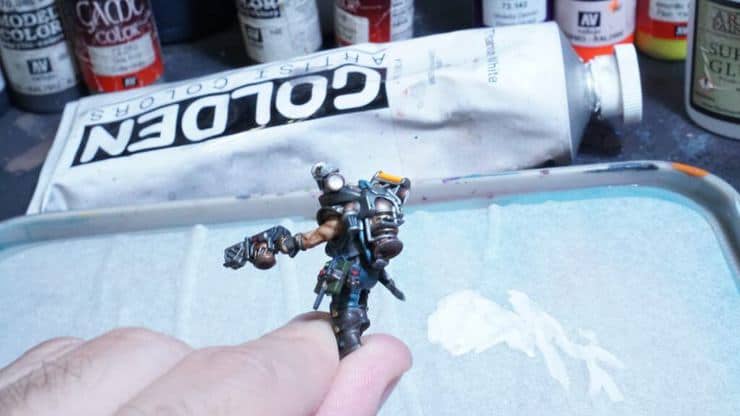
 Those paints are really thin and don’t cover really well, for that reason you need a white base. Create a mix of 50/50 of white paint with water and leave the white in all the recesses and parts that you want to be fire.
Also, add white in the holes of all the thrusters zone. Why I do that? We print 90% of our FX with translucent resin, and It’s good to keep a bit of translucency in the fire parts and we want to keep the center zone of the fire white, the more bright part has to be the inner thruster.
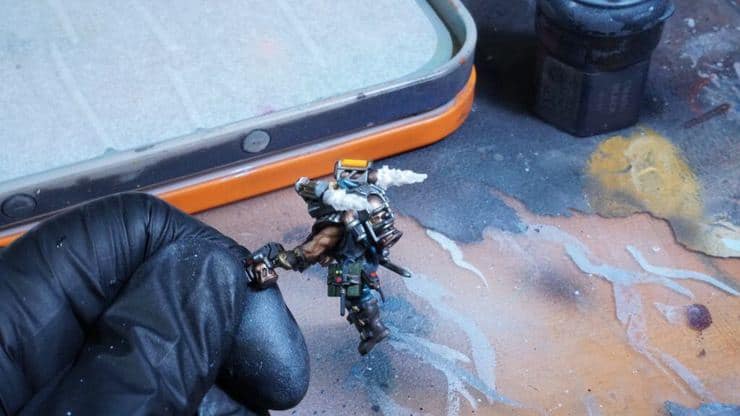
 It’s time to prime and create a gradient for the smoke! This is the more tedious part, but always a good base for painting will help you painting details. We use Airbrush but you can do this gradient with the water blending technique.
 We add a bit of golden titanium white to the more bright part of the fire. 50/50 thinned with water.
 We did the same to the fire thrusters.
Adding Color
It’s time to add some color! We always start painting the fire from the more bright to the darker.
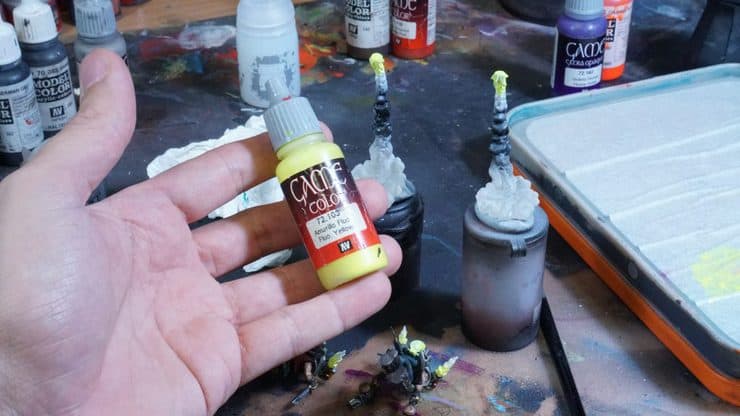 The inner parts of the fire are brighter and we use this fluo color to have the maximum brightness and possible. To add contrast, we try always to add orange/red close to those parts too to create the maximum contrast possible.
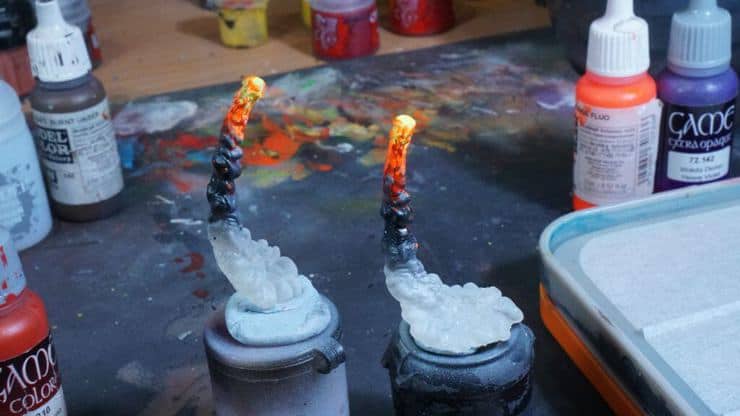
 Here is an example. Close to the white/yellow part, we add some orange/red to create contrast.
Time for some Orange Fluo paints! Some parts can be done with overbrush or drybrush, but be very careful, this paint it’s really thin. Probably, you need to do 2-3 thin layers to achieve a really bright color.
 We add some embers in the smoke to give that look of an old tech backpack. You can start to add orange to the brim and closer zones of the miniature to create an OSL.
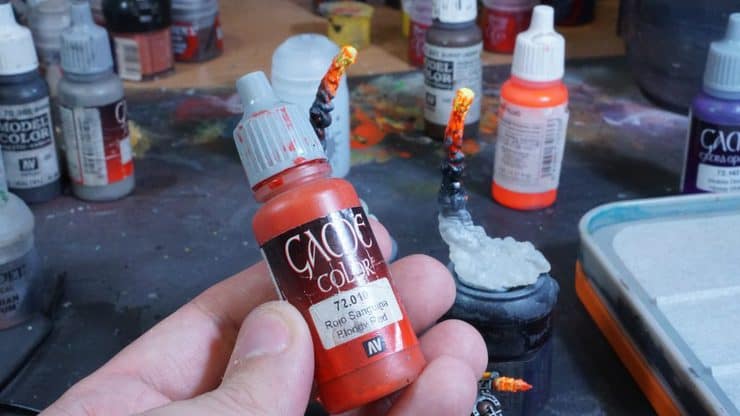
To add more contrast to the fiery part and paint a bit more down at the smoke stick we add this bright red.
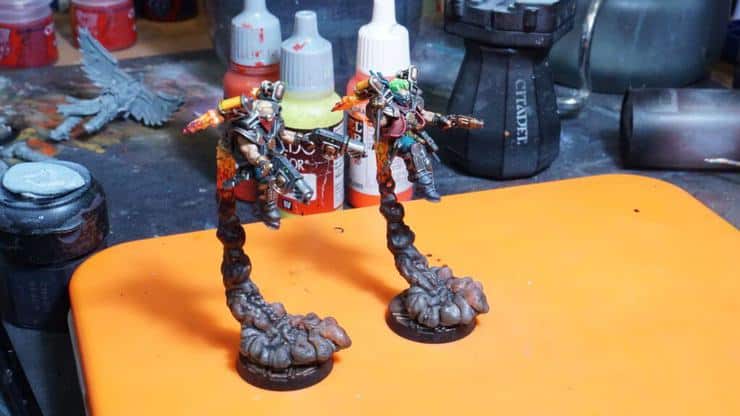
 At this point, it’s time to glue the miniatures to the smoke stick base.
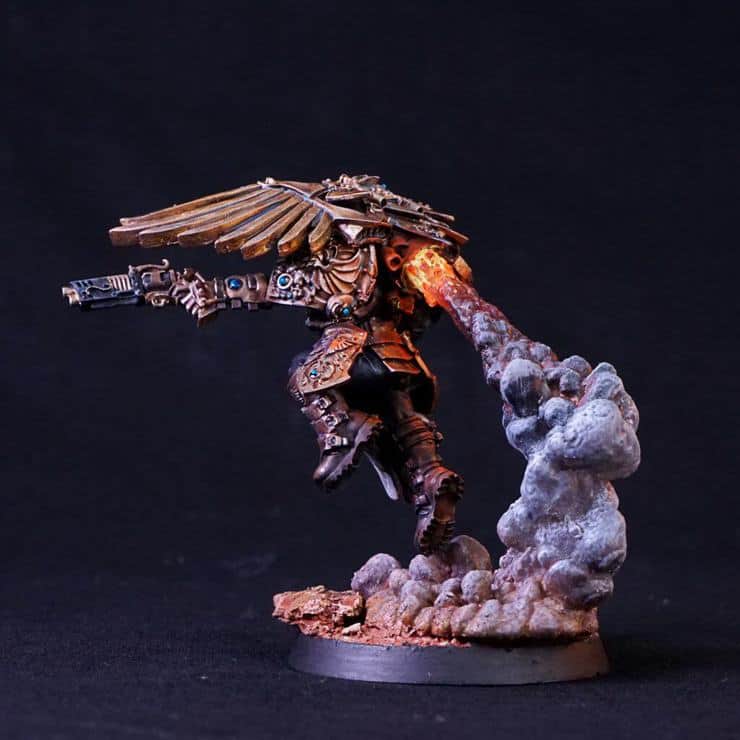
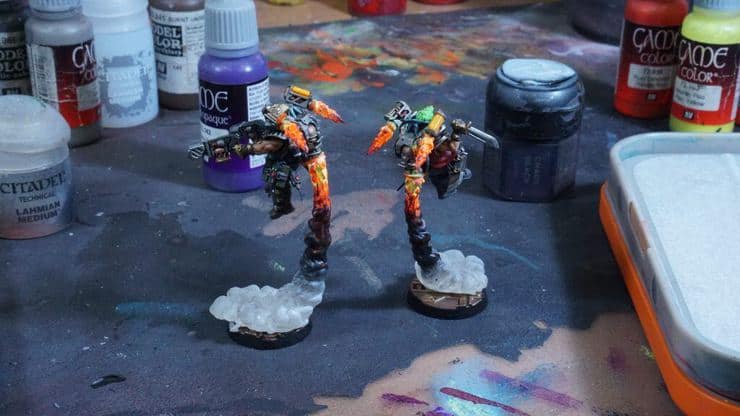 At this stage, the miniatures are looking really cool, but we want to push the painting a bit more!
To add more contrast we create a mix of dark purple and we add it closer to the brighter areas and the tips of the fire thrusters.
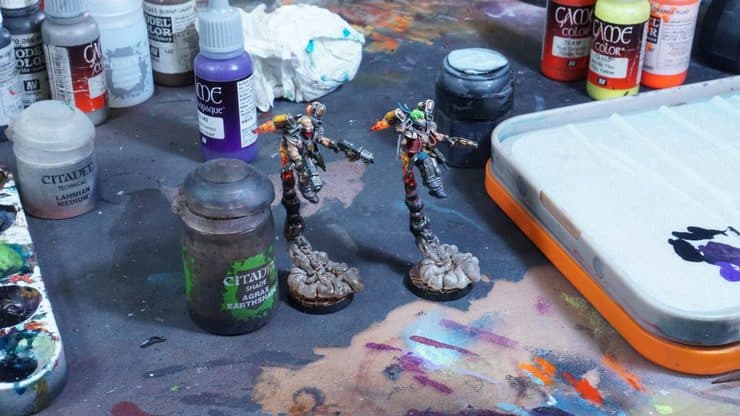
 Time to work a bit more on the bottom smoke part. We start with some inks to create a gradient from the dark part of the plume to the lighter part but keeping the translucency of the resin.
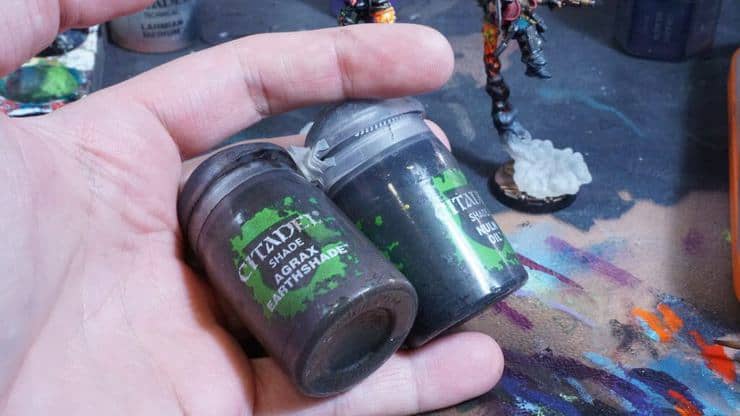 Agrax and Nun oil, our friends!
We start with Agrax on all the surfaces and Nuln oil to the part closer to the dark part of the smoke.
 Agrax
Agrax
 Nuln Oil
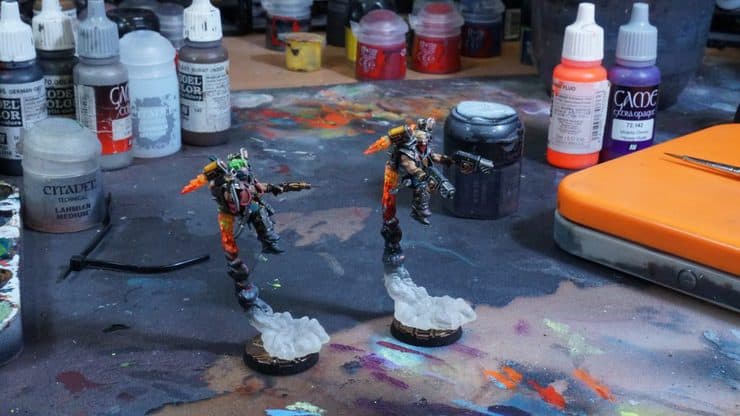
Final Touches
For the final touches of the smoke, we did a bit of dry brushing of light grays in 2 stages with makeup brushes.


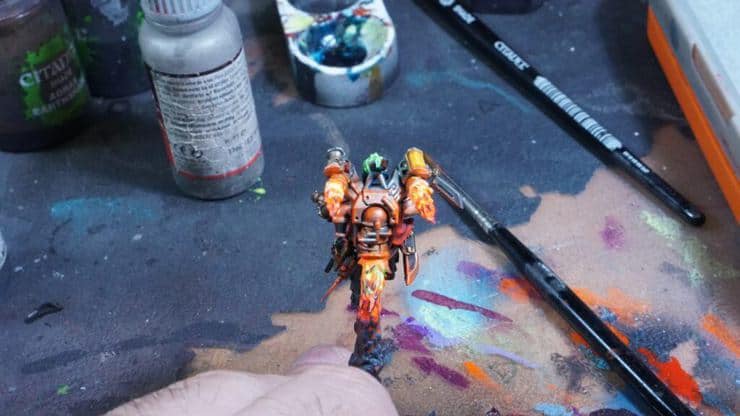
 The last part it’s the OSL of the fire parts. We only use Vallejo fluo orange paint in this process. It’s a long process with a lot of thin layers of Fluo orange with thinner. More layer, more bright, and better gradients.
We have to think a lot about the light source and how it’ll affect the surface around it and the shadows that it creates. One thing that helps me a lot it’s using my phone light to check where I have to add more orange or less and where are the shadows.
 Hope you find this tutorial useful!
There you have it! A great way to get some amazing-looking flame effects. Don’t forget to grab these amazing files (or bits), by clicking the link below.