These tips and tricks from Rob’s OG tutorial will help you with how to set up and clean an airbrush for painting miniatures!
So, you just bought a shiny new airbrush, but now what? Well, there’s a lot that goes into airbrushing other than just the techniques for painting. You need to know how to keep it running, get it set up, and last you longer than a few uses!
This is geared towards beginners, but is full of tips you may have never heard of before! So if you’ve been struggling with the technical side of it, this is definitely worth checking out!
Rob is using the Iwata Eclipse, which is a pretty good airbrush and will last way past the “starting out phase”.
Be Careful of Harsh Chemicals
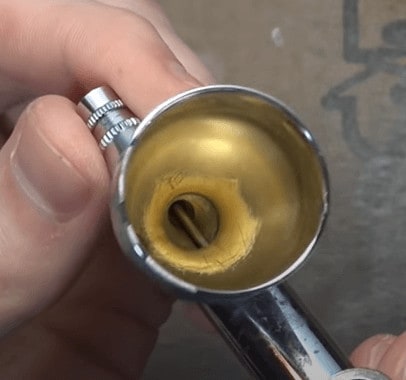 As you can see, the inside is wearing away of this one. That’s because Rob used too harsh cleaning materials in his sonic cleaner at first. So learn from his mistakes and don’t do the same thing!
Parts & New Airbrush
 Since his airbrush was around ten years old, Rob actually grabbed a brand new one for this video. They usually come pre-lubricated from the factory, so everything should run smoothly to start.
You can take the front nozzle off to check your parts on the inside and make sure everything is lubricated, but just be careful when putting your pieces back on. You don’t want to overturn them, so get it close with the wrench and then just hand tighten it to finish.
Lastly, you want to take some Teflon tape and wrap it around the bottom where the air hose comes in. This will give you an even more airtight seal.
 You can also pick up a quick-release valve, so you don’t have to constantly twist everything off when you go to clean it, and gives you quick access to adjusting the level of air coming through the brush.
 For his compressor, Rob used a Badger at first, but also really likes the Tooty No Name. Make sure to hook it up before you put paint in and check for air leaks anywhere. Then push some air through the brush to make sure it’s working.
Then feel around for any leaks. This also gives you a good idea of how much paint you’ll be pushing through when you do put it in. So do some exercises first like writing your name in cursive and such before hopping right into a mini.
How to Clean an Airbrush for Painting Miniatures
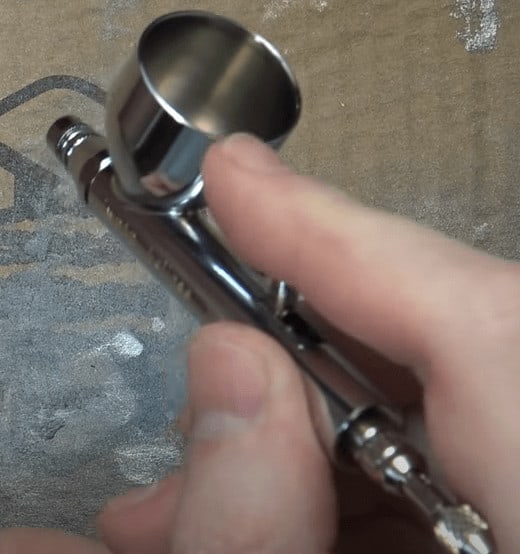
 Take a squirt bottle and clean out all the big chunks and loose paint in the reservoir. Just give it a couple of rinses. Then, put a little more water in there and take some foam and clean out the rest. If you’re doing more gradient colors, you don’t have to clean it out this much every time. There still will be a little left in the nozzle and such, so now you want to backflow.
Put a little water in the reservoir and put your finger over the tip (without piercing your skin). Then just pull the trigger and this will push everything back through to the reservoir. Then rinse it out again, just repeat until the water is clear.
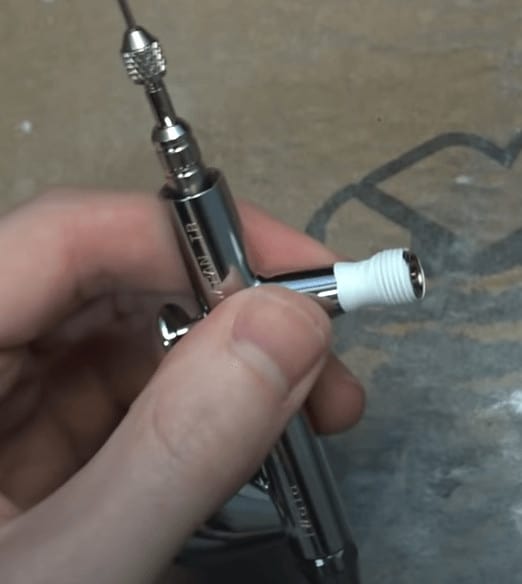
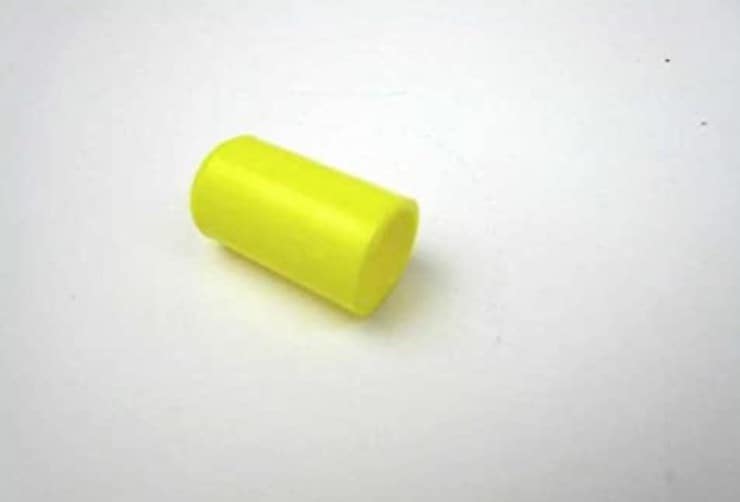 H&S also makes a yellow cap that you can use to cover up the end of your airbrush for a perfect seal for backflushing too.
You can also pull the needle through the back and clean the paint off of that. Just be very careful any time you touch the needle! After a while, you probably want to re-rube the needle and work that substance into all the parts of the airbrush as you re-insert the needle. Rob loves Iwata’s own lube, but keep in mind that if you’re constantly re-lubing your airbrush, you are probably also cleaning it too much!
When it comes to your internal parts good news is that with the Iwata, if you ever damage your needle or even the nozzle, mostly all these replacement parts are available locally if you have a Hobby Lobby around.
If you get build-up on the tip or around the nozzle use a plastic bristle brush with some water to remove the paint gently.
Storage
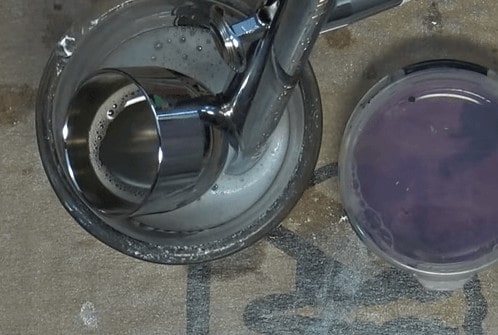 Now that you’ve finished and cleaned your airbrush, it’s time to put it away. Sometimes you haven’t got all the paint out or may still have something wet in there. Rob fills up a shot glass halfway with the Vallejo airbrush cleaner or a few drops of the Grex 10:1 cleaner (usually last 5 years or so a bottle) and then fills the rest with water. He then pours a little in the top reservoir and then just plops the front end of the airbrush into the shot glass.
Have you tried to clean your airbrush yet after painting miniatures? Do you have a method that you swear by?
Let us know in the comments of our Facebook Hobby Group, and make sure you enter the latest monthly giveaway for FREE today!
Get ad-free access to the site, plus a ton of miniatures, and support some of the best creators out there for as little as $6 a month on Patreon!

This post contains affiliate links, as an Amazon Associate Spikey Bits earns from qualifying purchases.


About the Author: Travis Pasch
Travis Pasch
Job Title: Head Writer & Editor
Socials: @paschbass
About Travis Pasch: Travis has been a Warhammer 40k hobbyist since the 1990s, playing the game since Third Edition. Through extensive traveling, he’s seen a lot of the miniatures hobby from across the world, giving him a unique perspective on the latest gaming topics and trends.
Travis’s brother even owns a commission painting studio, where he’s picked up a lot of good advice and techniques for painting Warhammer and tabletop miniatures over the years, as well. Travis joined the Spikey Bits team in 2019 and has been the lead writer since 2020.
Currently, he’s working on converting all his 40k Adeptus Mechanicus models and becoming a true tech enjoyer, complete with both sad and happy robot noises!