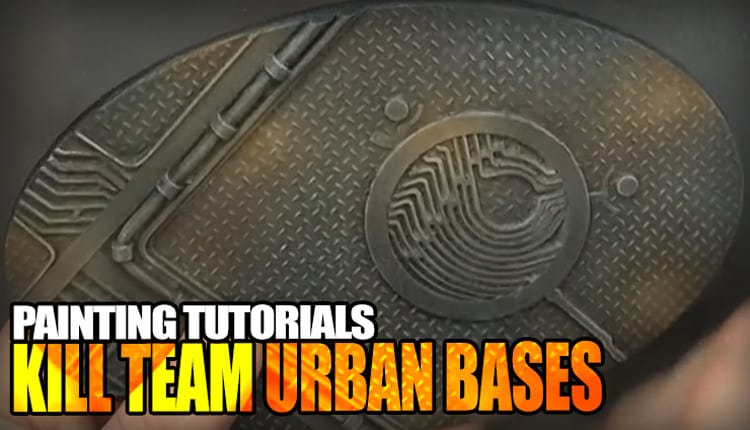
 In this 2 minute tutorial, Rob breaks down painting Cityfight Kill Team bases and urban terrain, if you need a quick fix, this is perfect!
Normally Rob does longer tutorials, but sometimes things are easy enough to be done fast! Painting bases and terrain like this is super easy and will give you great results. Getting your bases ready for your models really brings your scheme together. Knowing the proper steps to make your bases look their best requires a little bit of work, but not that much. We will break down these steps to get your bases’ tabletop ready in no time at all.
Editor’s Note: Inspired by the Hellfire Painting Article using Cyberpunk base by Elriks.
Painting Cityfight Kill Team Bases & Urban Terrain: Tutorial
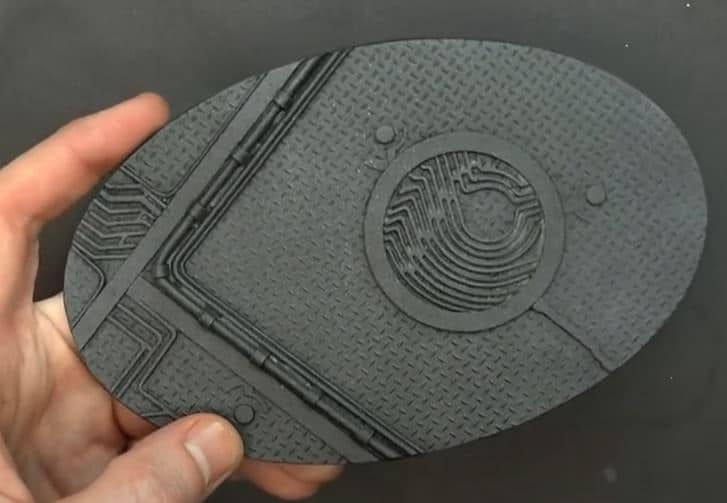 This is the base we’ll be painting up today. Obviously, step one is making sure what you’re putting on the base actually fits! Step two is priming the base black. This is a short tutorial so we’ll be moving quickly. To finish the initial stage, Rob takes the Army Painter Uniform Grey primer and spritzes it over the black primer. Don’t go too crazy here because this is just supposed to be a splash of color, we’ll make it more dynamic over the next few stages.
Airbrushing the Browns
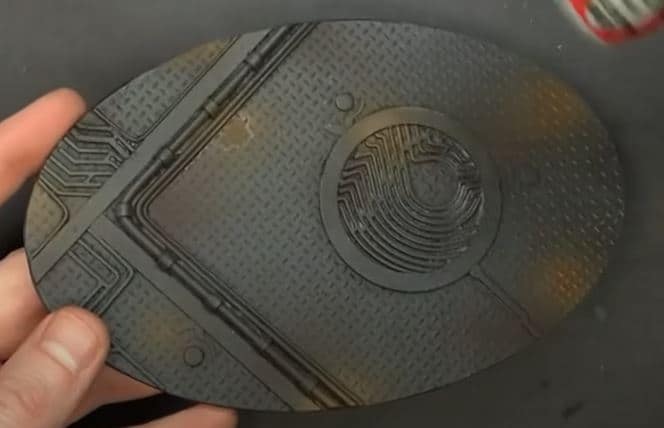 Start with Citadel Rhinox Hide, load it in your airbrush, and start spritzing across random areas of your base. Just hit where you think looks good and give it a good accent. Next, load Skrag Brown into the airbrush and spritz some new accent areas, but be sure to overlay some of the browns from before, almost as a highlight.
Dry Brushing
 For this start with Celestra Grey and load it onto a big brush. This is a liberal drybrush, so don’t be too worried. This goes over everything and blends it all together. Once that’s done, break out the Ulthuan Grey and do a more strategic dry brush. Where the last color was everything this is the tops of certain areas, over the browns and basically, anywhere you think it looks good, just not nearly as much as the previous stage.
The Final Step
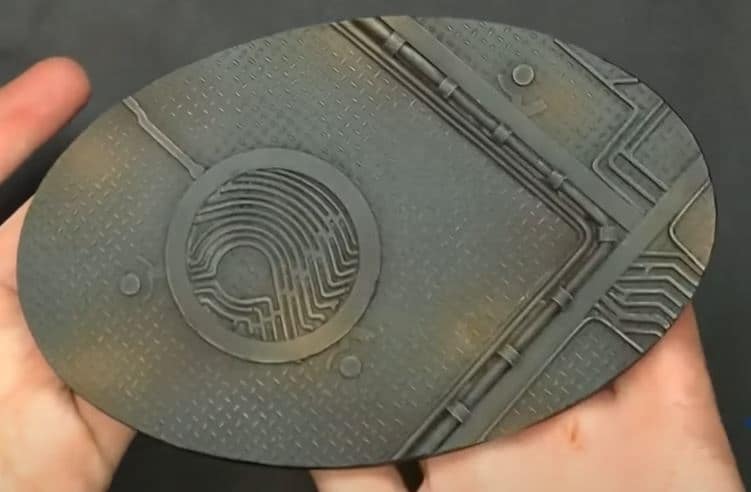 The last thing to finish off your bases is a Vallejo Black Surface Primer. With this, you just go around the edges to clean up the side of the base, just be careful to not go over the lip and ruin what you’ve just done. Boom, just like that you have some cool-looking bases that literally only take a couple of minutes!
Do you like this quick way to get through your bases? Have you used this method?
Let us know in the comments of our Facebook Hobby Group, or our new Discord server, and make sure you enter the latest monthly giveaway for FREE today!
Get ad-free access to the site, a monthly crate of miniatures, and support some of the best creators out there for as little as $6 a month on Patreon!

This post contains affiliate links, as an Amazon Associate Spikey Bits earns from qualifying purchases.
About the Author: Travis Pasch
Travis Pasch
Job Title: Head Writer & Editor
Socials: @paschbass
About Travis Pasch: Travis has been a Warhammer 40k hobbyist since the 1990s, playing the game since Third Edition. Through extensive traveling, he’s seen a lot of the miniatures hobby from across the world, giving him a unique perspective on the latest gaming topics and trends.
Travis’s brother even owns a commission painting studio, where he’s picked up a lot of good advice and techniques for painting Warhammer and tabletop miniatures over the years, as well. Travis joined the Spikey Bits team in 2019 and has been the lead writer since 2020.
Currently, he’s working on converting all his 40k Adeptus Mechanicus models and becoming a true tech enjoyer, complete with both sad and happy robot noises!