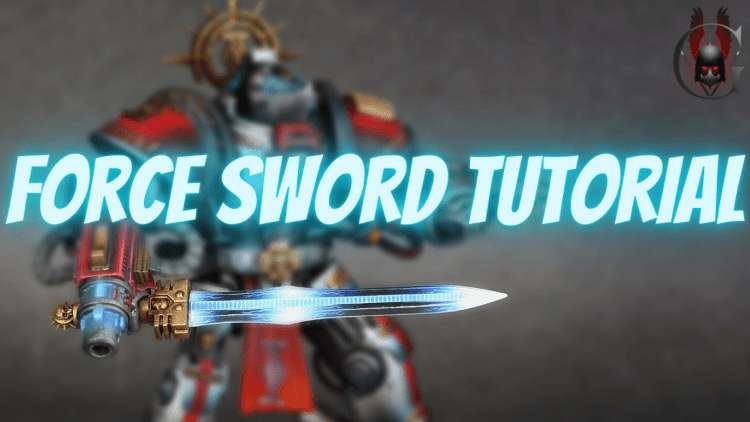
 Learning how to paint Force Swords doesn’t have to be hard, check out this painting tutorial to get your miniatures on point!
Galharen has some amazing hobby content and if you need some sweet tips, you should follow him to get up on all your painting and conversion techniques!
This time around he paints up some awesome swords without taking too much time. It’s a pretty easy way to get a really cool effect without a ton of effort. Let’s get into the tutorial!
How to Paint Force Swords: Galharen Tutorial
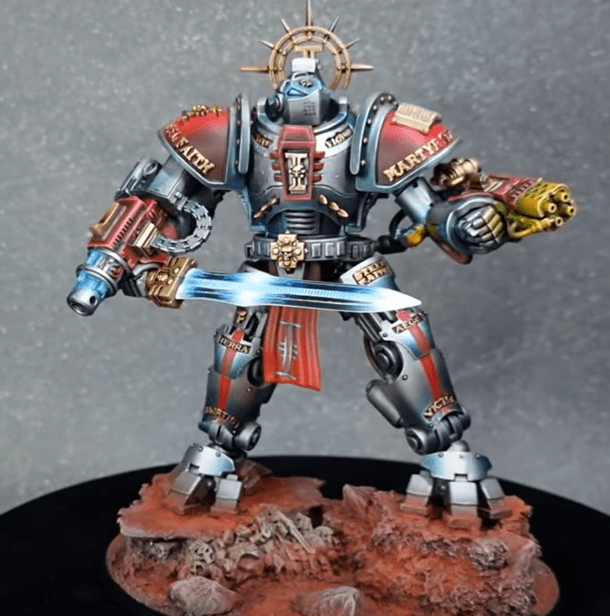 This is the model we’ll be starting with today. You can see it’s almost finished but really needs that one extra effect to be really awesome! Let’s see how he does it. Just to note though, he started with a black primer and did some white closer to the hilt to bring out the effect later.
Step 1
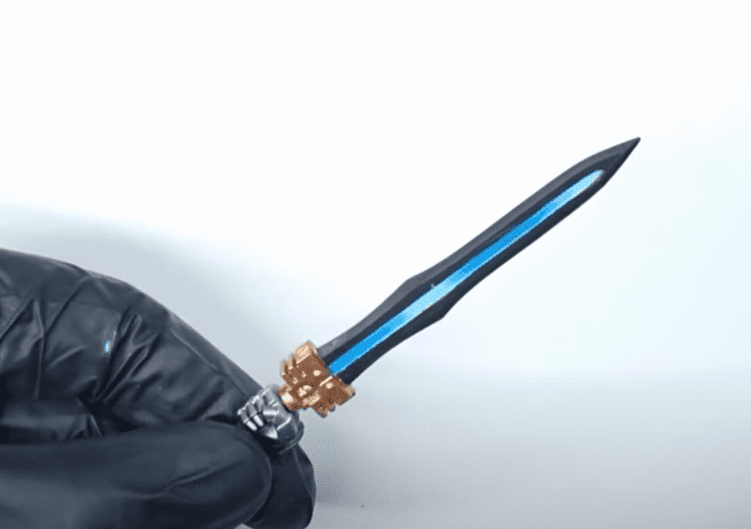 He starts by painting the middle of the blade with Andrea Blue from Vallejo, he does this to use it as the light source of the power. He then mixes some white with the blue and highlights the areas he wants to be lighter down the road.
 Next, he heavily dilutes a White Ink with an airbrush thinner. He then puts this throughout the center of the blade to blend it all together. To finish this stage off, he brings back the saturated blue color to make it pop more.
Step 2
 Next, he masks off one side of the blade with masking tape because he’s going to break out the airbrush and doesn’t want to ruin his previous work.
 Once that is done he highlights the blade with the white ink from before. He goes slowly here and builds the transitions from the black paint. Next, he blends it all together with the Candy Blue Ink from Green Stuff World. Just keep in mind to leave the final white highlights clean. He then masks off the other side and does the same thing, just be sure to let the paint completely dry before masking it off!
Step 3
 Now he goes back to the brush. He starts with the white from before and highlights the edge and tip of the blade. He then comes back and does the inner edge of the blade, just be careful here with your brush as you don’t want to get white everywhere.
Step 4
 To finish it off, he takes the white again and paints some tiny lighting bolts all around coming from the white. You don’t have to do this, but if you do, just put them where you feel they work the best.
There you have it! Some great-looking effects without that much trouble!
Click Here To Follow Galharen on Instagram or YouTube
Have you tried to paint your force weapons yet?
Let us know in the comments of our Facebook Hobby Group, or our new Discord server, and make sure you enter the latest monthly giveaway for FREE today!
Get ad-free access to the site, a monthly crate of miniatures, and support some of the best creators out there for as little as $6 a month on Patreon!

This post contains affiliate links, as an Amazon Associate Spikey Bits earns from qualifying purchases.


About the Author: Travis Pasch

Travis Pasch
Job Title: Head Writer & Editor
Socials: @paschbass
About Travis Pasch: Travis has been a Warhammer 40k hobbyist since the 1990s, playing the game since Third Edition. Through extensive traveling, he’s seen a lot of the miniatures hobby from across the world, giving him a unique perspective on the latest gaming topics and trends.
Travis’s brother even owns a commission painting studio, where he’s picked up a lot of good advice and techniques for painting Warhammer and tabletop miniatures over the years, as well. Travis joined the Spikey Bits team in 2019 and has been the lead writer since 2020.
Currently, he’s working on converting all his 40k Adeptus Mechanicus models and becoming a true tech enjoyer, complete with both sad and happy robot noises!