 Today The Army Painter walks us through how to paint a Chaos Knight fast, while also making it look great- check it out!
The Army Painter is known for having some of the best and most affordable paints on the market! But they also have an extensive collection of painting tutorials and paint guides- like this one on getting your minis looking great with Speedpaints.
Their tutorials are perfect for learning how to get your models on the table and looking great. If you want to see everything The Army Painter has released and their other painting tutorials, check them out here.
Just as a note, all the paints and tools used in this video will be from them, and you can pick up all the colors and Speedpaint here. Let’s see how to do it!
How to Paint a Chaos Knight: Army Painter Tutorial
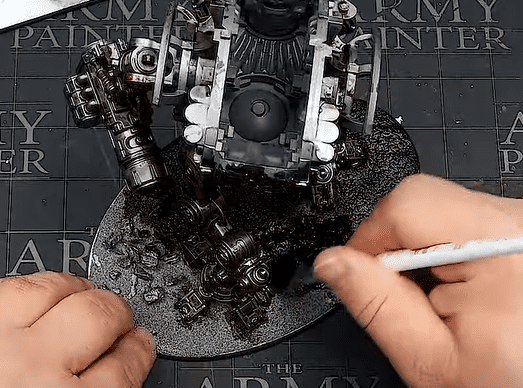
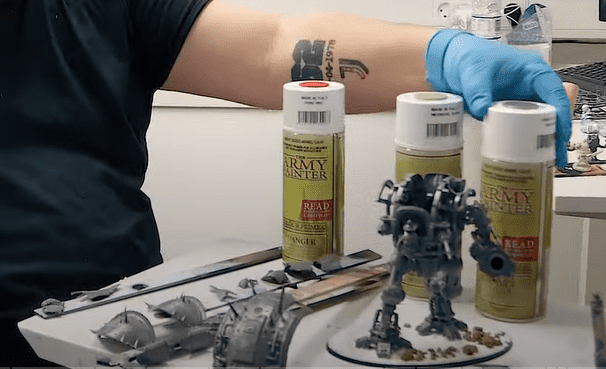 They are doing this tutorial a little bit differently, but we’ll still break it all down into steps for you. To start, to make this actually go quickly, they will be using three different primers. He sprays all the models with Gun Metal for the main body, Necrotic Flesh for all the armor parts, and the shield and banner sprayed with Pure Red. You can see in the picture above how they have the model broken down for painting.
You want to spray the models from about 7 inches away in long strokes.
Step 2:
 Next, they move onto the main body and apply a Quickshade Dark Tone over all the areas of the metal. This is super simple and does a lot of the work for you.
Step 3:
 Next, is applying some stencils to the shoulder pads as the Quickshade Dries. Just soak your stencils in some warm water until they are ready. Once it’s nice and damp, he slides the sheet off and straightens it off with a hobby knife. To help cure it, he uses a Matt Varnish.
Step 4:
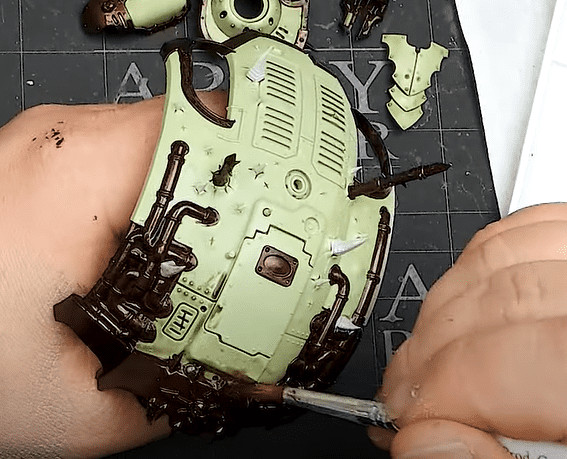
 Now, go back to the metal and apply a Mid Brown Wash over the Quickshade. As that’s drying, he moves onto the base and Covers the whole thing with Dark Wood Speedpaint.
Step 5:
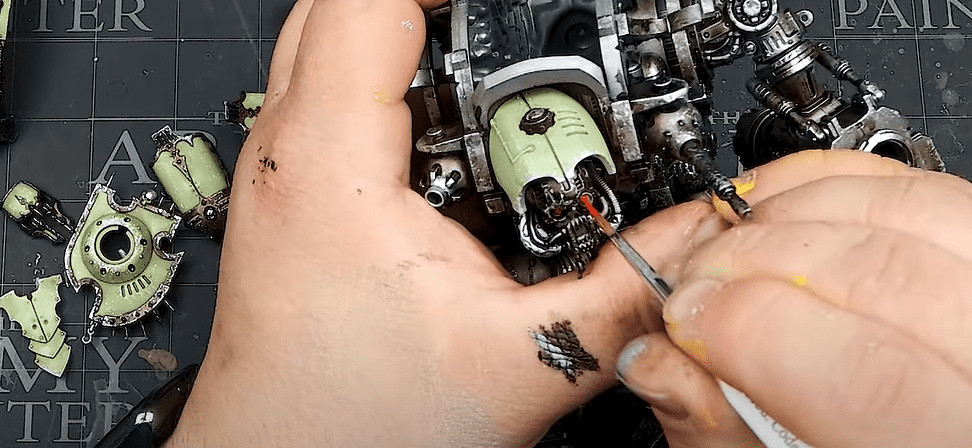
 Now, as the wash is drying he goes back to the carapace and does a base coat on all the metallics with Rough Iron. Just try to get a nice smooth coat here and the paint should cover very well. He also does Gun Metal on all the chains at this point. To keep going with the base coats, he uses Brainmatter Beige on all the spikes. For this, he does two thin coats instead of one thick one.
To finish this stage off, he does a Strong Tone on all the parts that are still green.
Step 6:
 Now it’s time to start weathering. He takes Shining Silver and puts it on a sponge. Then sort of does an edge highlight with it. This cuts down on highlighting time a ton! Just to note, he does this on all the metal, not just the shoulder pad.
Step 7:
 He then applies some Red Tone on the base of the spikes and horns to give it a quick and easy highlight on the base of them. Then he goes to the same technique with the sponge but does it with Brainmatter Beige on all the green parts.
Now, with the same technique, he takes Tanned Flesh on all the red primed parts and does the same thing. For the eyes, he uses Pure Red and does a Banshee Brown drybrush on the base of the mini.
Step 8:
 To add that little bit of detail to the base, he does a further highlight/ drybrush with Brainmatter Beige and finishes the base off with a matt black finish on the rim of the base. To finish the base, and the model he applies some tufts of grass to it!
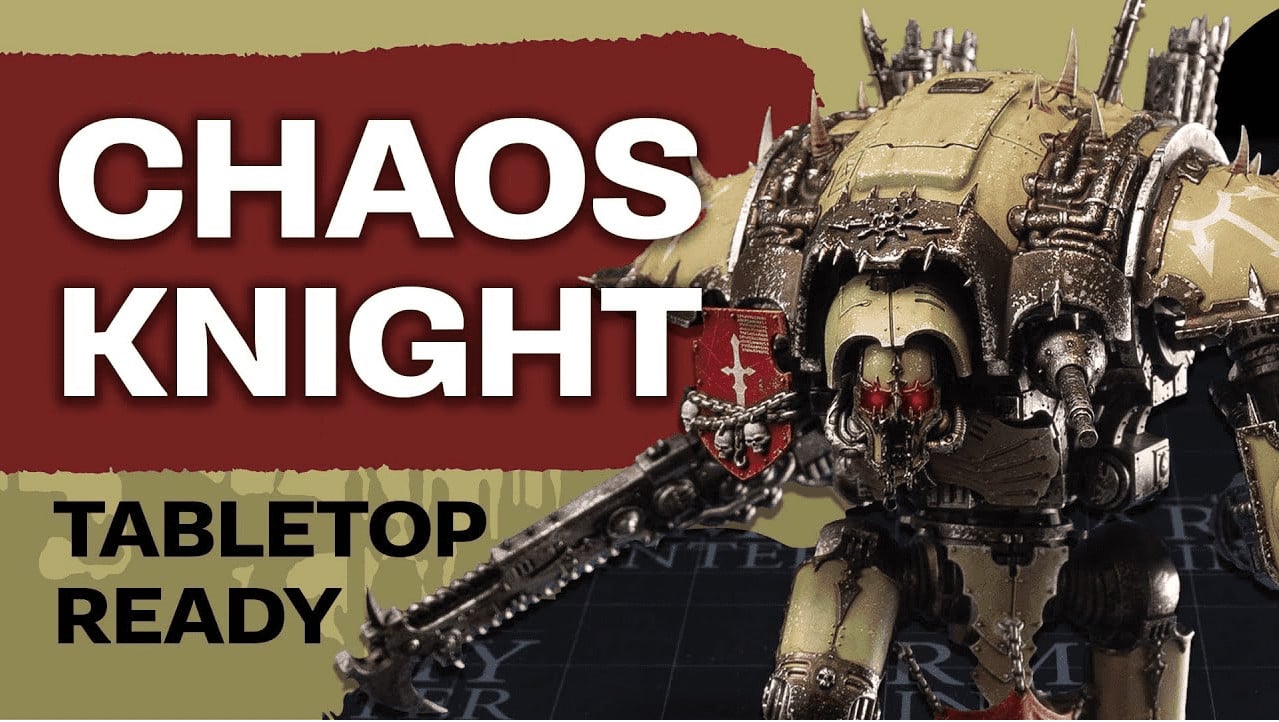
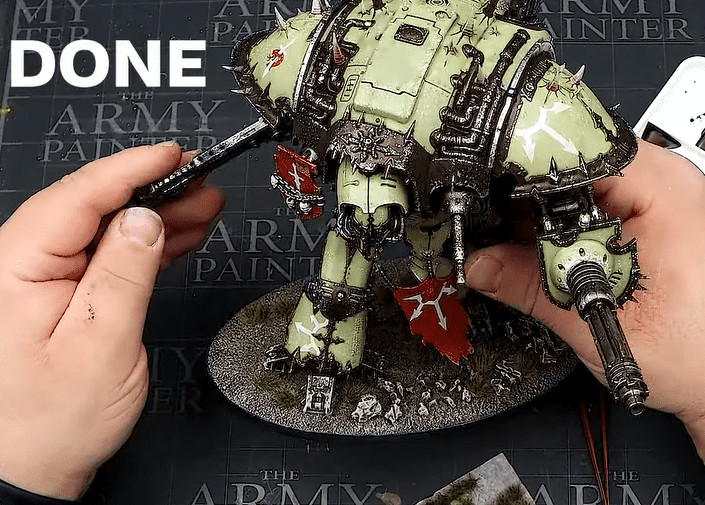
Finished Model
 That does it for this one, a pretty fast paint job that looks great on the tabletop!
Be sure to follow The Army Painter on Youtube for more great content like this.
Click Here To Get Your Army Painter Paints!
About the Author: Travis Pasch
Travis Pasch
Job Title: Head Writer & Editor
Socials: @paschbass
About Travis Pasch: Travis has been a Warhammer 40k hobbyist since the 1990s, playing the game since Third Edition. Through extensive traveling, he’s seen a lot of the miniatures hobby from across the world, giving him a unique perspective on the latest gaming topics and trends.
Travis’s brother even owns a commission painting studio, where he’s picked up a lot of good advice and techniques for painting Warhammer and tabletop miniatures over the years, as well. Travis joined the Spikey Bits team in 2019 and has been the lead writer since 2020.
Currently, he’s working on converting all his 40k Adeptus Mechanicus models and becoming a true tech enjoyer, complete with both sad and happy robot noises!