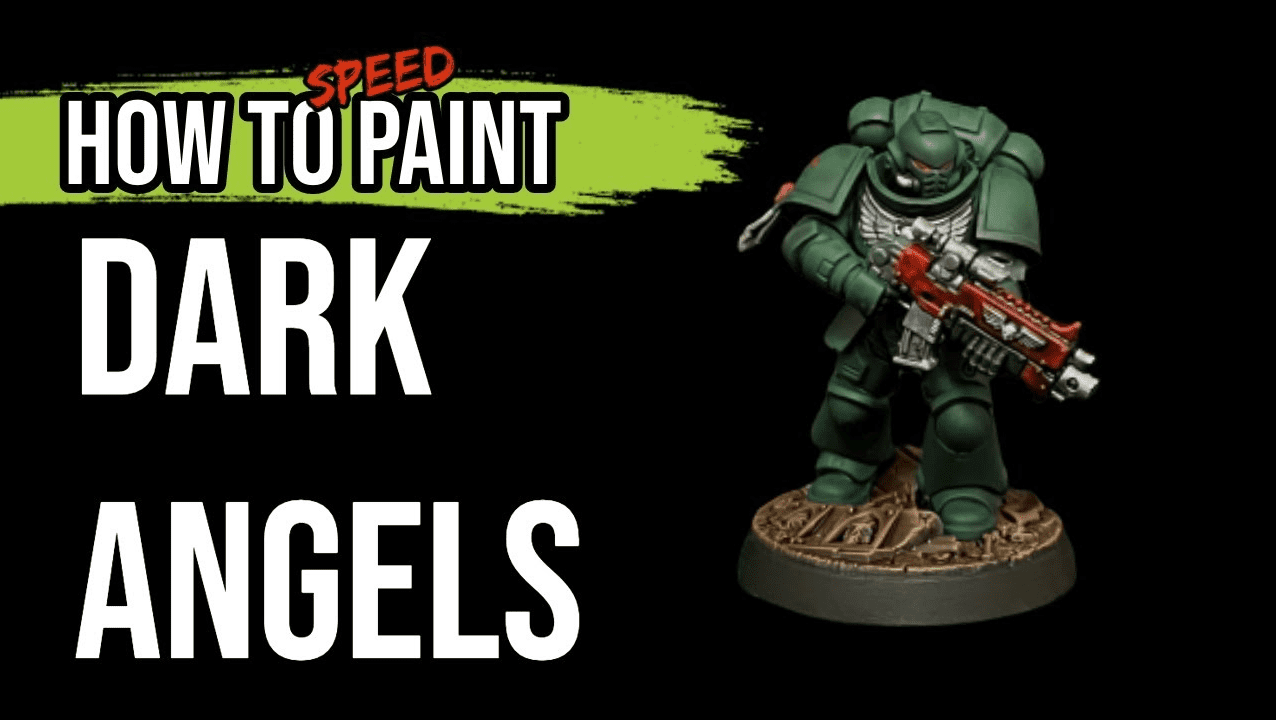
If you plan on going with the First Legion of the far future, you must get good at painting green! This painting tutorial will help you tackle the steps without much hassle. Just keep in mind this is for a battle-ready standard, so not the highest quality ever, but if you want to field a painted army fast, this is a great tutorial.
Let’s see how to do it.
Painting Dark Angels Space Marines: Hellfire Hobbies Tutorial
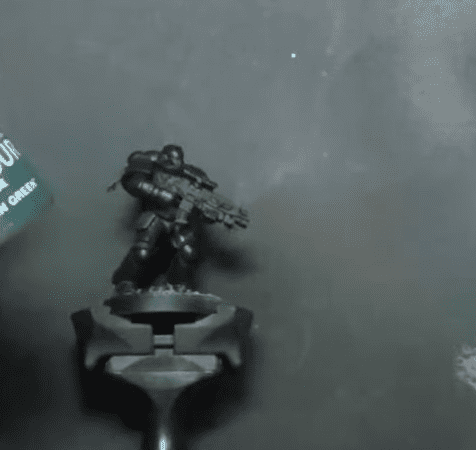
The airbrush just makes it that much faster.
Step 1:
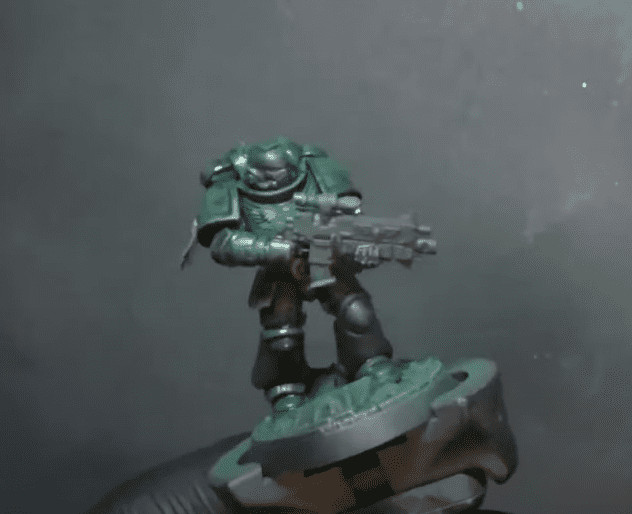
Once dry, he goes back and does a Nuln Oil Wash all over the armor, bringing out the dark green and making the recesses pop. Once that’s dry, he returns and does another light highlight with the Warpstone Glow.
Step 2:
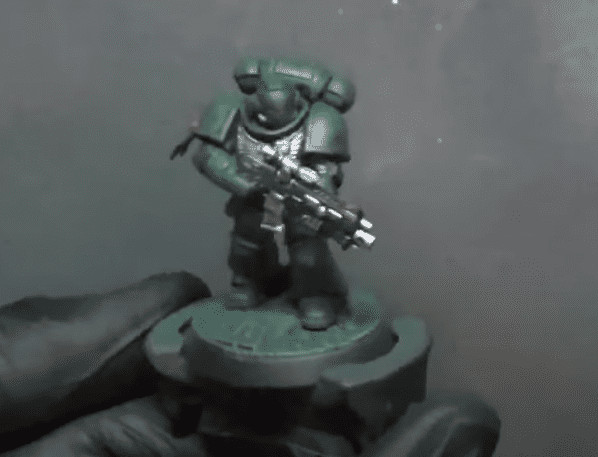
For all the joints, he uses Incubi Darkness, as it has some green tones inside it. Then, he does Nuln Oil wash over all the colors he just did, but not the armor again. He uses red for the seals, eyes, and gun, and with that, all the base colors are blocked in.
Since this is speed painting, you’re almost done!
Step 3:
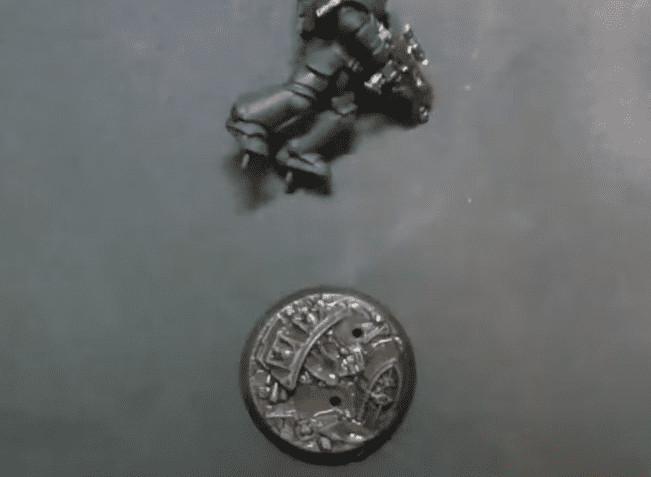
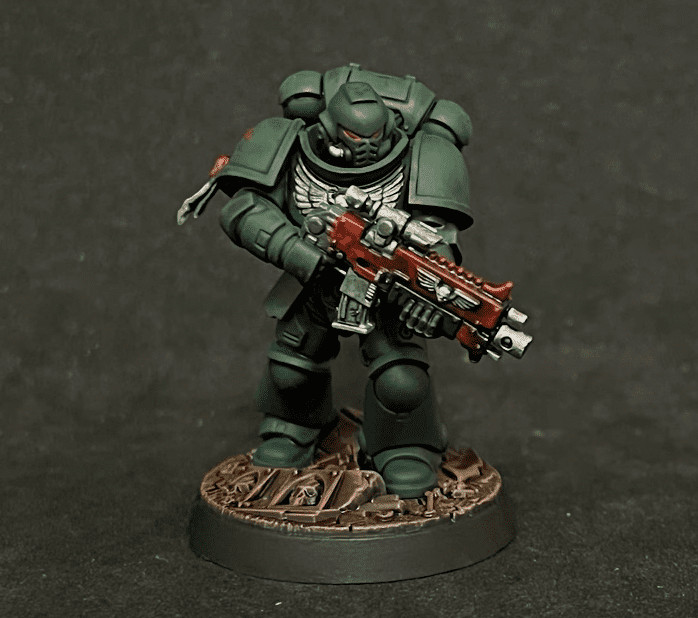
Finished Model:
Be sure to watch the video below for all the insights!
That does it for this one! If you want to see more, check out Hellfire Hobbies’ own tutorial by clicking this link.
Go Follow Hellfire Hobbies Here!
This post contains affiliate links, as an Amazon Associate Spikey Bits earns from qualifying purchases.

