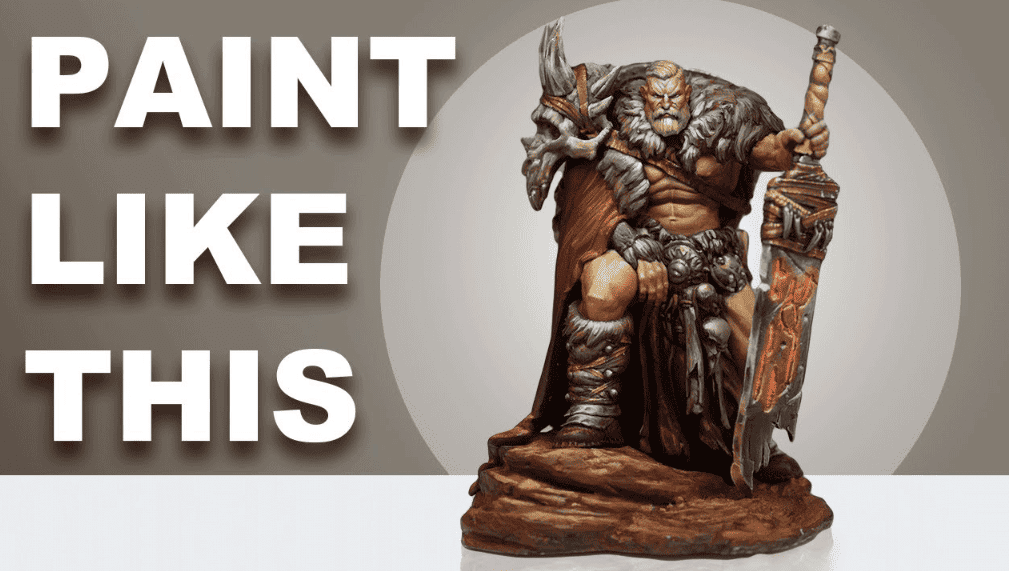
 This week, Squidamr shows us a ton of professional painting secrets on how to paint NMM and get it looking fantastic!
Squidmar’s channel is rapidly growing due to his great tutorials, ranging from full-scale models to tips and even practical physics! This time around, he has a giant video with many tips. Since it’s so long, we will break this into three parts, with the third being focused on the metal.
Professional Painting Secrets: Squidmar How to Paint NMM Tutorial
 This is where we left off from last week’s tutorial, which you can check out here. So, if you want to get to this stage, go watch that. Now, let’s get into the steps for painting metal!
Step 1:
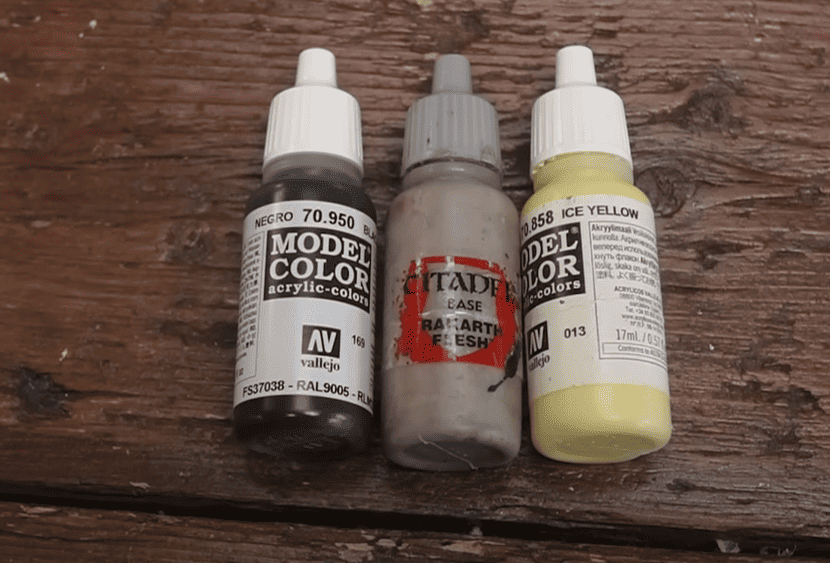 He will use three main colors for all the metal, as you can see above.
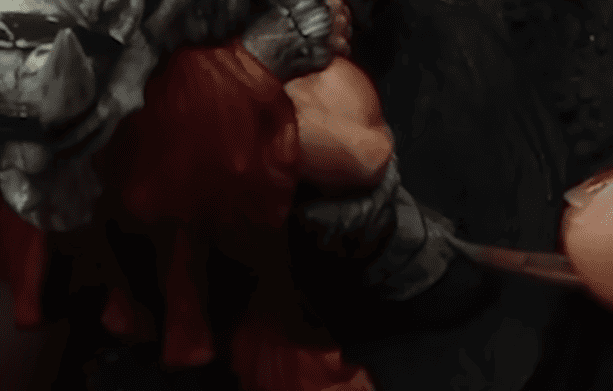 He starts by putting all the colors onto his wet palette. He then mixes 50/50 Rakarth and black. He then uses that mix to block out his steel areas (but leaves the very edges black). Then, he makes the mix slightly lighter and highlights about 25% of the area from where the light would be hitting the model. Be sure to paint everything in the same direction. He then uses the same colors and adds secondary and tertiary reflections. This is super important when painting metal, as a single highlight will look very fake.
Step 2:
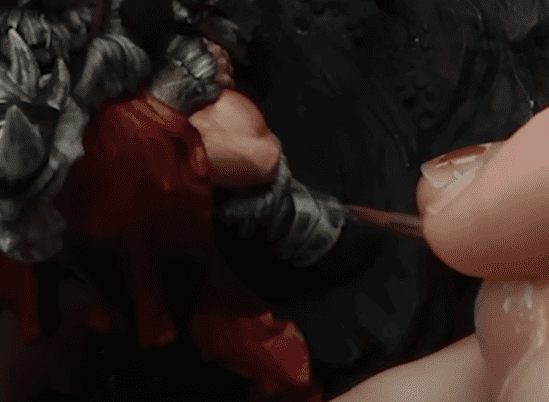 As a second highlight, he’s adding a clean Rakarth Flesh. This highlight will not be added to all the highlights to give more gradience. This is where the light would be hitting the strongest and near the outside edges of the panels. To finish that off, he then adds a little bit of yellow to the mix and highlights just the center highlight here. This means there are three different highlights, all with their own highlights. This will give you nice transitions.
Step 3:
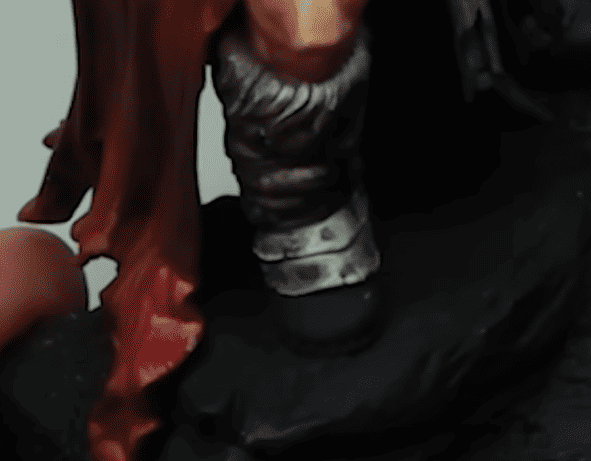 On his figure, he felt he went a little too crazy with the yellow, so if yours looks a little too yellow for your liking, you will have to add a glaze. To do this, he highly thins down some black and lightly glazes this over the side of each panel. These are the steps for any NMM, and he just then repeats this for the rest of the model—things like the sword, buckles, etc. The only thing he does differently is do a more edge highlight on the rims of protruding objects. The last real thing to do (other than the base) is paint the shield.
Painting the Shield
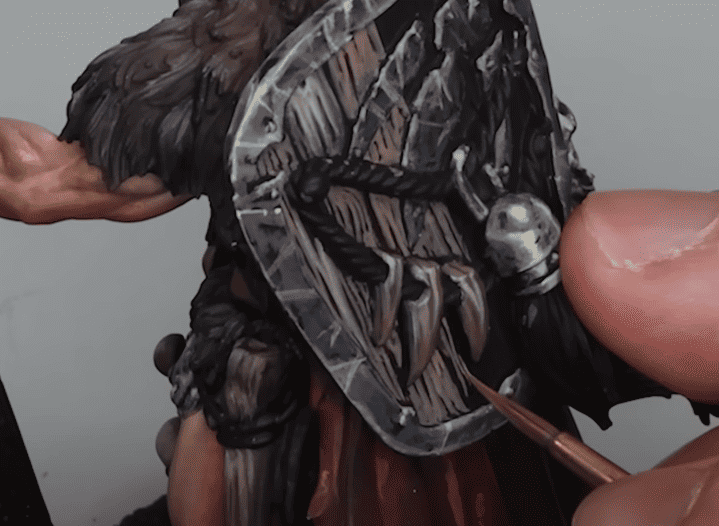 This is basically three steps. He adds some brown sand to his wet palette and thins it down. He uses the finest brush tip he can find and paints in all the grains of the wood. This is time-consuming but looks great. Next up, he mixes some Ice Yellow into the mix and just puts this into the top of the shield. He goes quite in-depth on how to paint the base and palanquin of the model, but that will be for another day.
Finished Model:
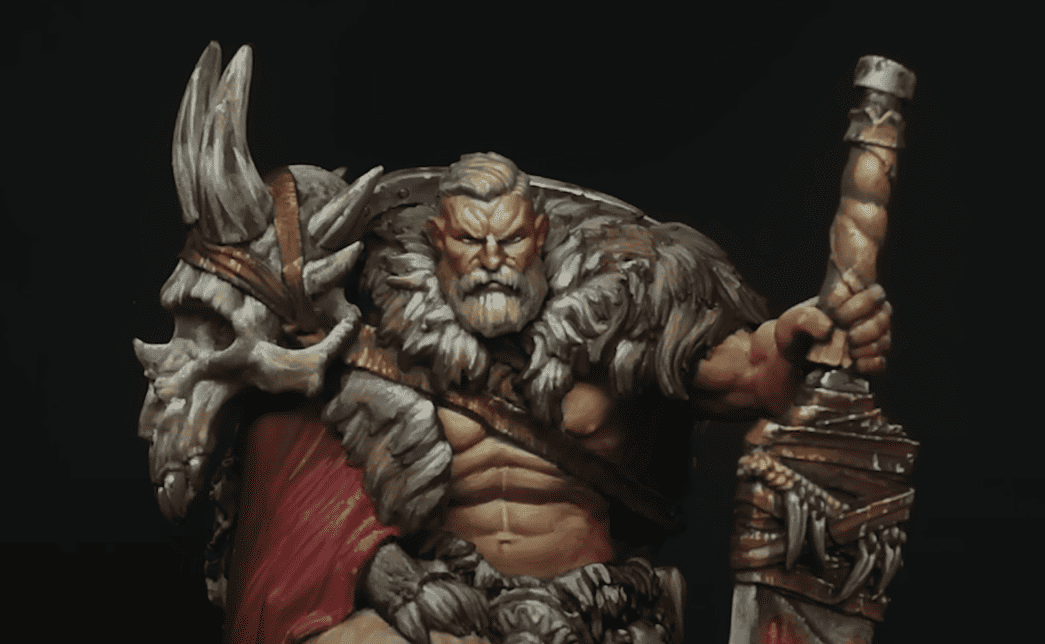 As you can see, the model looks amazing when this is all painted up!
Be sure to watch the video below for all the tips!
Subscribe to Squimar on YouTube!
Squidmar Miniatures is a great place to learn all kinds of painting techniques! Be sure to subscribe to the Squidmar Miniatures YouTube channel for more tutorials.
Did these tips help you get your painted miniature over the top?
Let us know in the comments of our Facebook Hobby Group, or our new Discord server, and make sure you enter the latest monthly giveaway for FREE today!
Click Here To Follow Us On Google News
Get ad-free access to our hobby videos, a monthly drop of miniatures, and support some of the best creators out there for as little as $6 a month on Patreon!


