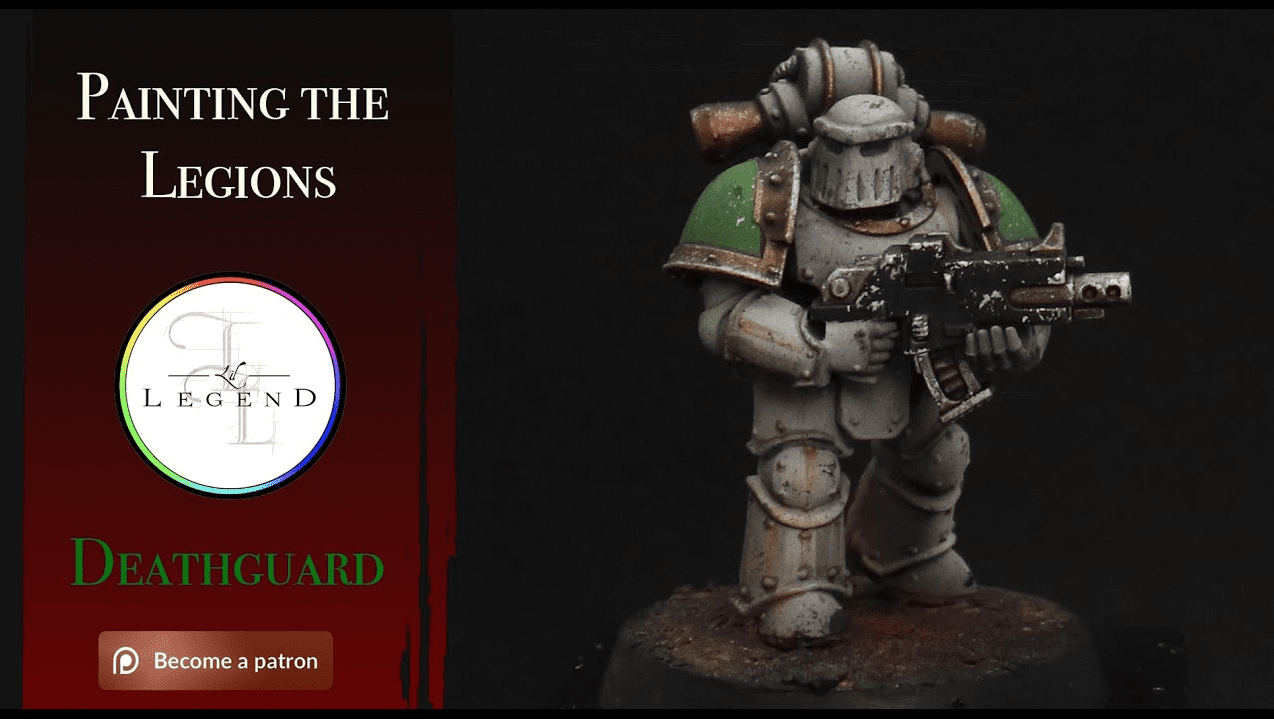
 Learn how to paint Horus Heresy Death Guard with this easy and awesome painting tutorial from Lil’ Legend Studio.
Lil’ Legend Studio has a ton of great painting tutorials, and they are always easy to follow and get your minis on the table with awesome quality.
This time around, we’re focusing on getting your new Horus Heresy models ready for the tabletop! Now that the new edition of HH is here, it’s time to get ready and your forces painted. Let’s jump into the tutorial!
How to Paint Horus Heresy Death Guard: Lil’ Legend Tutorial
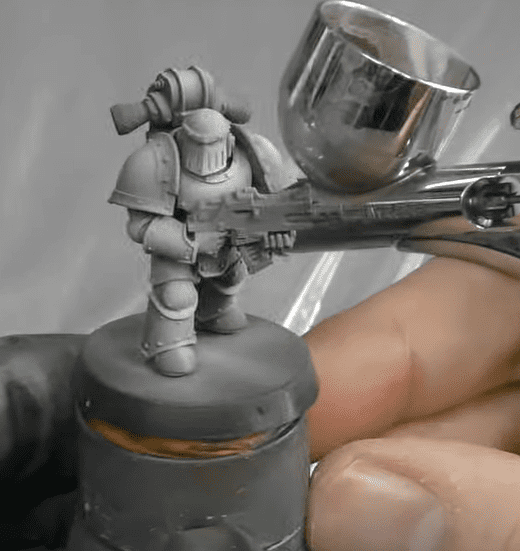
Also, be sure to keep the airbrush moving the whole time here, so you don’t get any big buildup of paint in any one area. Lastly, make sure you do a zenithal highlight on the shoulder pads.
Step 2:
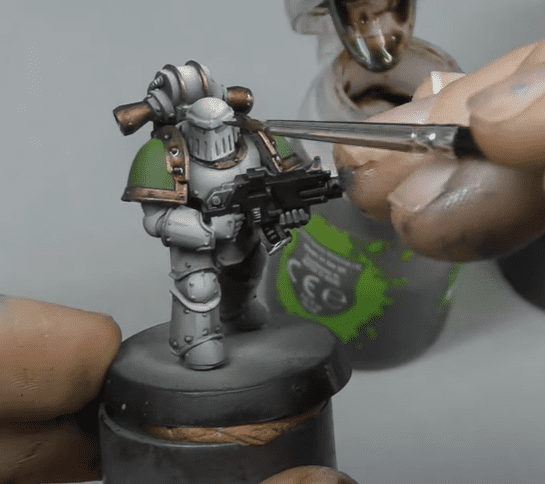
To continue with the gold he uses Shyish Purple in the deepest recesses. Next up, he uses Coelia Greenshade and Agrax Earthshade to all the recesses on the armor to give more shadows. He also does this on all the metal. This takes a while, so be sure to take your time and hit all the spots on the model.
Step 3:

Decals:
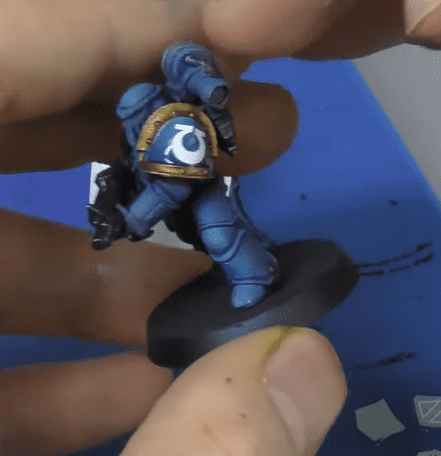
For this, he uses Micro Sol & Set. For this, you put the decals in warm water until it comes off the sheet, he then puts the Micro sol on the piece, and once it’s on, he uses a Q-tip and the Micro Set to smooth out any irregularities.
Super simple. Just be sure to gloss varnish before this step! Just be sure to let this sit for about 3 hours.
Finished Mini:
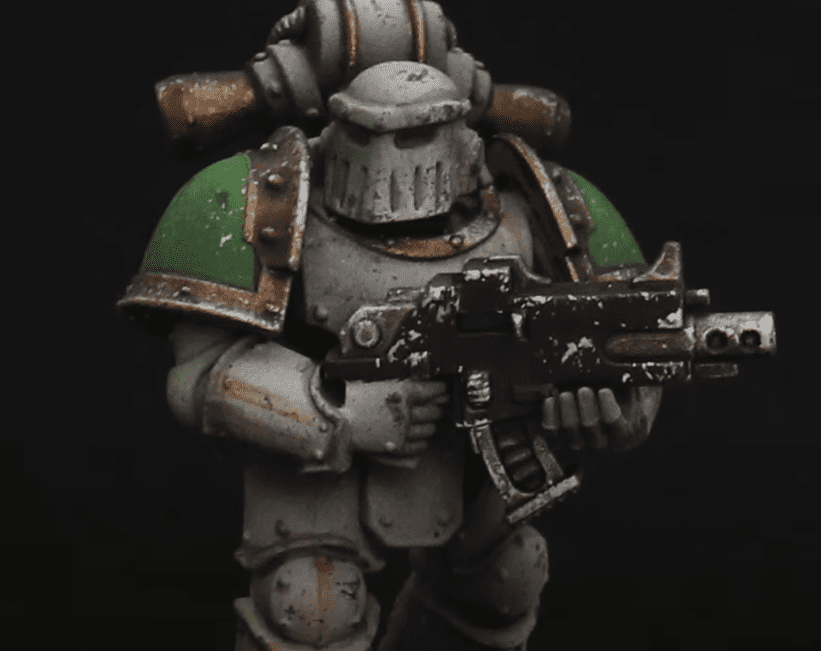
Follow Lil’ Legend Studio Here to Learn More!
After seeing this painting tutorial, what’s your favorite way to paint Death Guard minatures?
Let us know in the comments of our Facebook Hobby Group, or our new Discord server, and make sure you enter the latest monthly giveaway for FREE today!
Get ad-free access to our hobby videos, a monthly drop of miniatures, and support some of the best creators out there for as little as $6 a month on Patreon!
This post contains affiliate links, as an Amazon and eBay Associate Spikey Bits earns from qualifying purchases.


