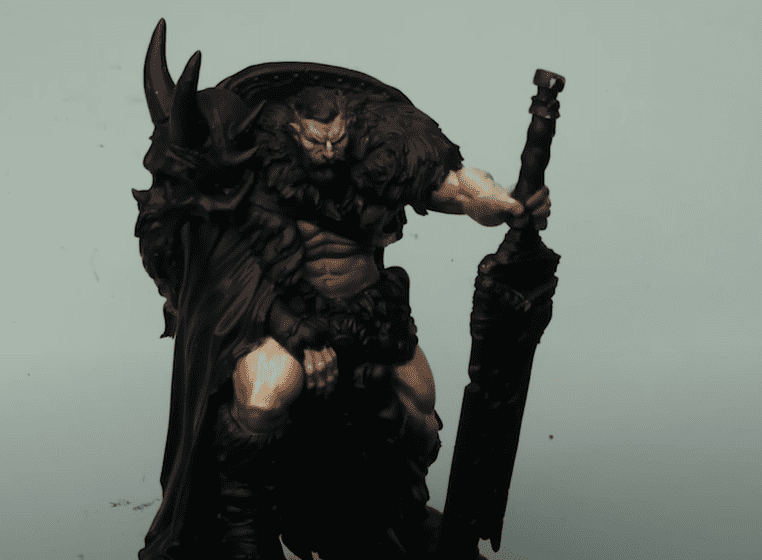
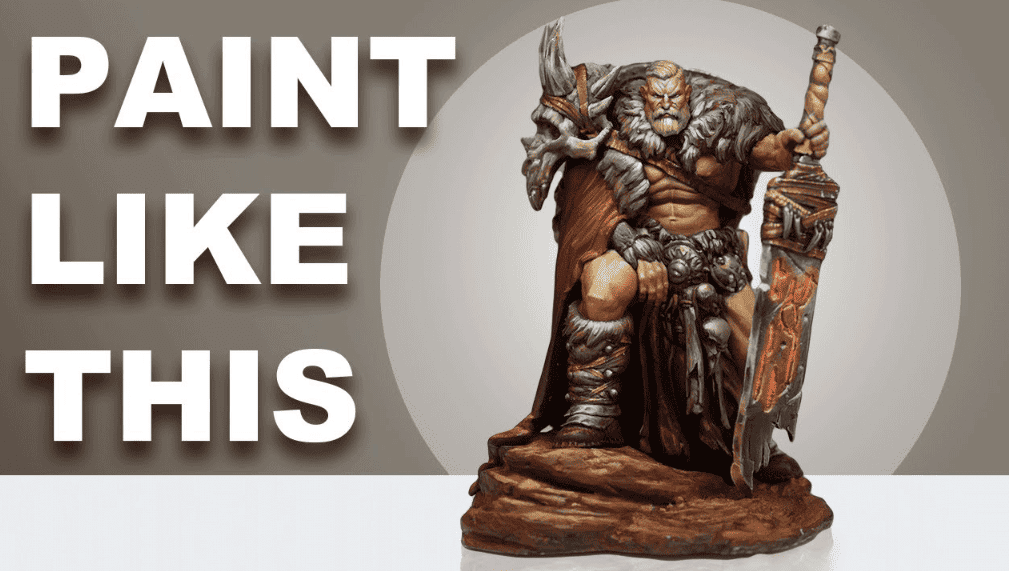
 This week, Squidamr shows us a ton of professional painting secrets on how to paint skin up and get it looking fantastic!
Squidmar’s channel is rapidly growing due to his great tutorials ranging from full-scale models to tips and even practical physics! This time around, he has a giant video with many tips. Since it’s so long, we will break this into three parts, with the first being focused on the skin.
Professional Painting Secrets: Squidmar How-to-Paint Skin Tutorial

Step 1:
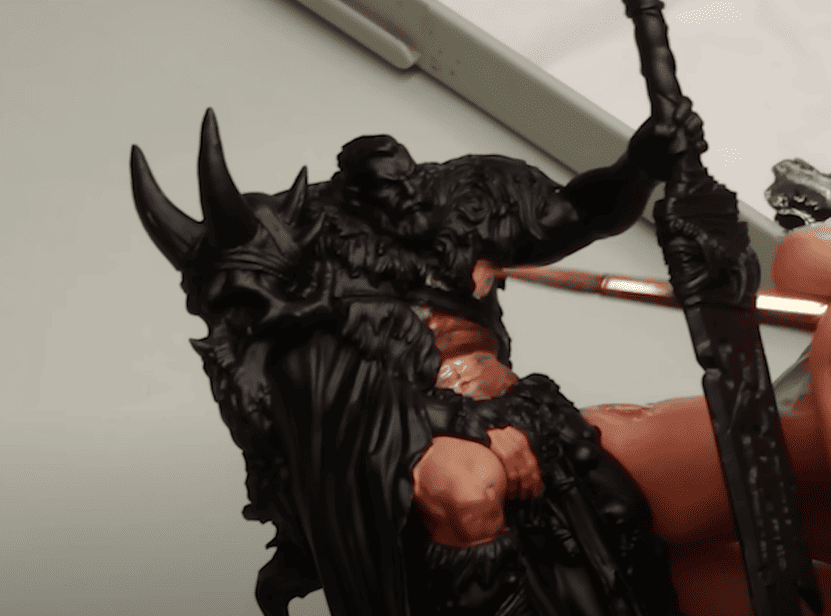
Step 2:
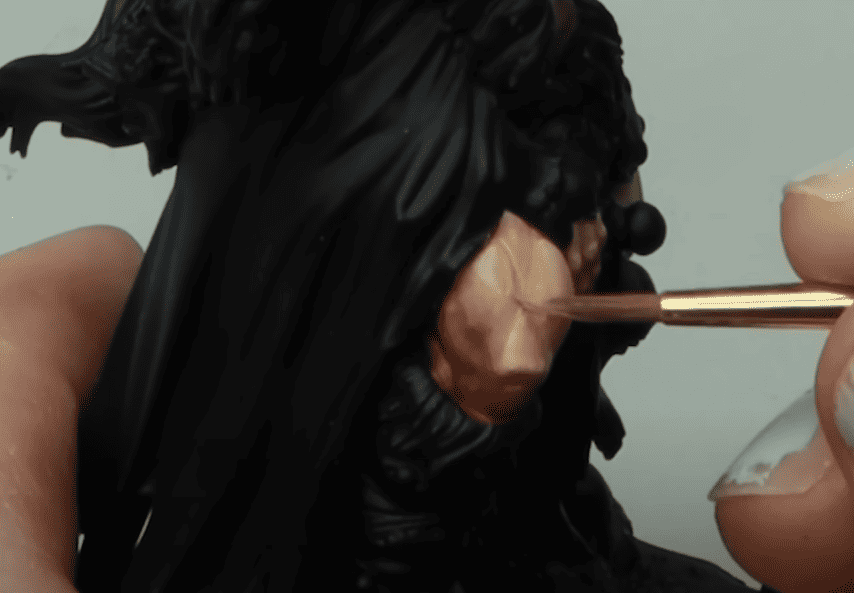
- AK Interactive: Pastel Peach
- AK Interactive: Medium Orange
- Vallejo: Light Flesh
- Vallejo: Sunny Skintone
To start, he mixes the Cadian Fleshtone with the Medium Orange. You have to think about the shapes here and the light source. So, wherever the brightest light would be hitting the model, that’s where you want it to be the brightest. He follows those shapes to blend in with the existing colors. Then, to continue highlighting, he adds a small part of Light Flesh into the mix and does a smaller highlight on top of the legs.
Step 3:
Step 4:
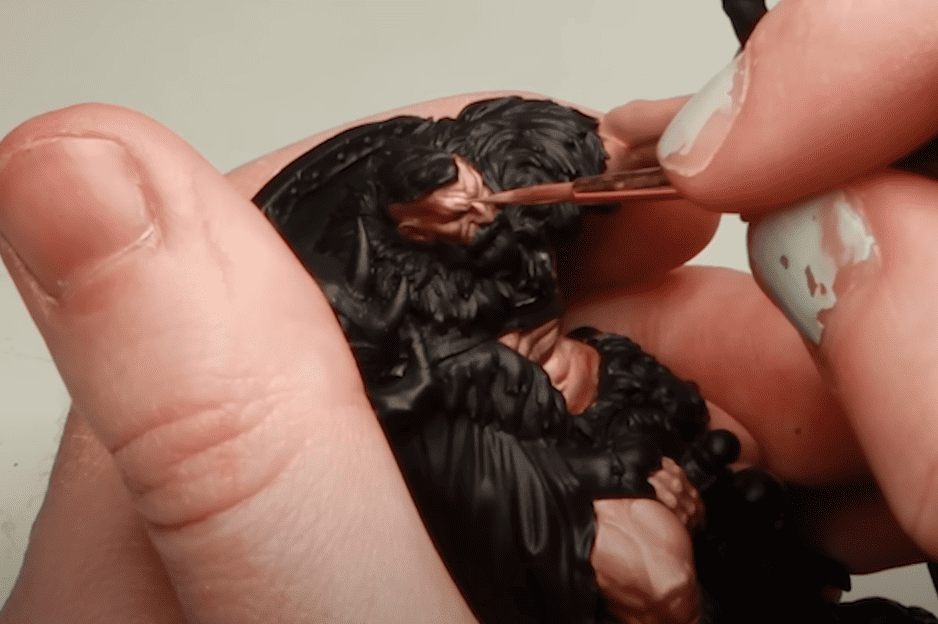
Things are starting to look really good, but he’s not fully happy with it. He wants the skin to feel a little warmer like he had been out in the sun a lot. So he breaks out the Medium Orange. He thins this down to a proper glaze, meaning very, very thin. He then adds this to all the shadow areas and some of the mid-tones, leaving the highlights as they are.
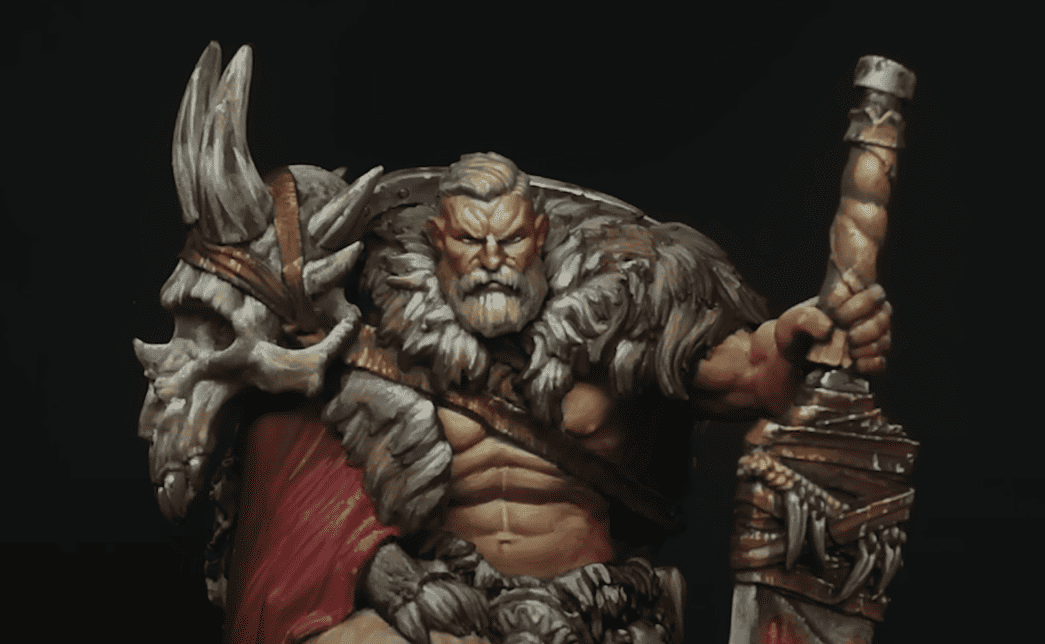
Finished Model:
Be sure to watch the video below for all the tips!
Subscribe to Squimar on YouTube!
Squidmar Miniatures is a great place to learn all kinds of painting techniques! Be sure to subscribe to Squidmar Miniatures YouTube channel for more tutorials.
Did these tips help you get your painted miniature over the top?
Let us know in the comments of our Facebook Hobby Group, or our new Discord server, and make sure you enter the latest monthly giveaway for FREE today!
Get ad-free access to our videos, a monthly drop of miniatures, and support some of the best creators out there for as little as $6 a month on Patreon!
