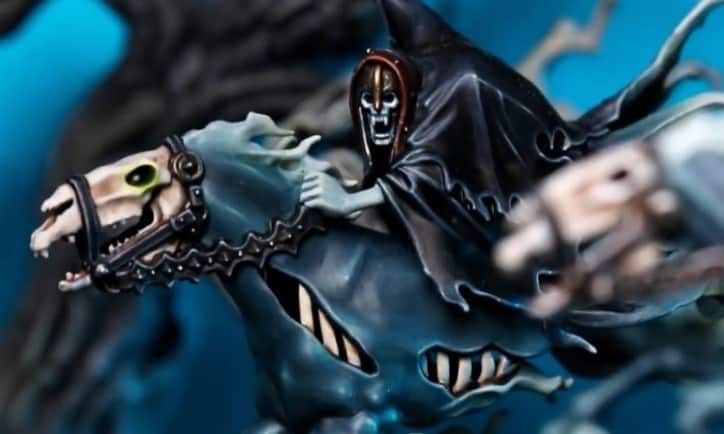
Get your models’ spooky bases on point with some helpful hobby painting tips from our aspiring painter and Nighthaunts player!
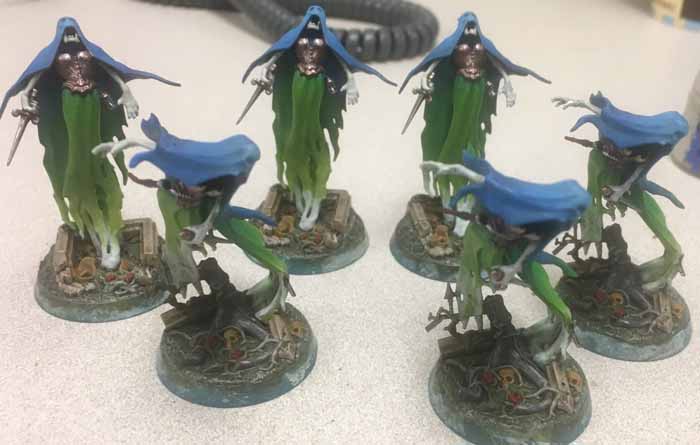
We now have over 1600 points of Nighthaunts painted (at least until the new General’s Handbook drops) and now we have to base them. Let’s get started!
Two of our painted Nighthaunts are battleline units, a couple of special units, and a large core of leaders. I have a ton of unpainted Nighthaunt models that I want to get to, but I needed a little bit of a break from the ghosts and airbrushing. So lets bust out our glue and texture paint and get started on the bases.
Basing your models:
Armies always look better and more complete when you base your troops around a theme, which can be as basic or as advanced as you want. In the past, I have thrown some grass flock on models and called it good or gone as far as creating a crackle like lava effect which was really time-consuming. This is the first time though that I have been building this army with a display board in mind as well, so it makes sense to tie the two together.
The Paint:
Green is my favorite color (also the color of my alma matter Go State!) and I use a little bit of green in every Nighthaunt model to show the ghostly energy effect. My thinking is that maybe they are drawing magic in from around them to manifest I figured what’s greener than a forest. Doing a quick video search, I came across my old buddy Duncan who of course had a tutorial for forest bases.
It uses Stirland Mud texture paint which I have used in the past and really liked and then you paint on top of that. I deviated from his recipe though to use the green paints I had rather than the ones he was using.
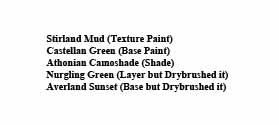
I was really surprised how much I liked the Averland Sunset dry brush in small portions of the base it really made some of the areas pop. Once that was finished, I went ahead and painted the edge of the base with the Castellan Green. In the past, I have always painted the edge black to make them stand out, but after seeing some models with color to blend in with the base I really liked the idea of using the base color to finish it.
Special Touches:
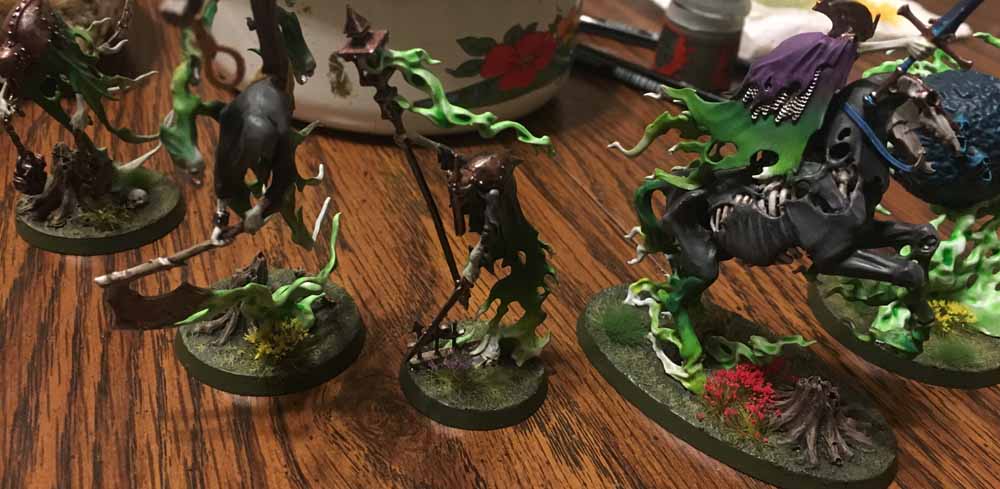
I love the story elements a well-placed tuft or rock can bring to a model and thus I have collected quite a bit of random tufts from Army Painter to put on my models. However, I recently bought some flower tufts from Shadow’s Edge Miniatures because he was having a buy 2 get one free sale and the reviews on them were awesome. I have not been disappointed. They really work along with the graves, ruins, etc. that I put on the models to show that maybe they were planted there by loved ones a long time ago.
Along with that, I bought some dead trees 3-D printed terrain from Amazon that is small enough to glue onto my larger bases if I want. I think that it adds a little bit more of the forest ruins kind of feel that I am going for. The result I think is fantastic with splashes of color that work well with the colorful and whimsical nature of the Nighhaunt miniatures. Also, they fit in nicely with the easy to build models like the Mymourn Banshees that come with pre-fabricated bases.
The key is to think about where you’re going to place the tuft or whatever and visualize it before gluing it down. Try to think of some flowers might be planted next to this grave or this scrub could have some shelter from the wind next to this ruined wall, etc. Just don’t overdo it because you still want that nice base that you painted to give a forested floor like effect as well as you don’t want to take away too much from the models.

A quick note to make sure you Clear Coat your models to protect them once they are finished, just make sure to follow the instructions on the can to prevent frosting!
Editors Note: Testors Model Masters gloss, semi-gloss, and mate (dull) coats work in nearly any conditions flawlessly. Consider picking some up, they will not disappoint. If you need to fix a model that has been frosted, you can use them as well to help reverse the effects.
![]()
More AoS How-To For Beginners!
If you are currently publishing hobby content and would like a shot at getting featured on the site, or getting on our publishing schedule, we would like to hear from you! Please email Rob at spikeybits.com with examples of your work!
These are affiliate links, meaning that Spikey Bits will earn a commission if you click through and make a purchase.
An avid homebrewer and Detroit sports fan (yes even the Lions). I am new to the world of wargamming and very much enjoying the journey. If you have any suggestions or comments feel free to comment on the article or email me at perki116@msu.edu