NOT ALL FLESH WASHES ARE CREATED EQUAL! Is yours up to par?
Hey guys! Caleb with White Metal Games here.
Today I want to talk about flesh washes. If you’re anything like me then painting Caucasian flesh poses a challenge. Not specifically in laying on the flesh tone, but in finding the right wash that will add critical shadows and depth .
Over the years I’ve experimented with a lot of different sorts of skin washes. I find that each has its kinks and each has the thing is it’s really good at. I thought it was high time I came up with some sort of compare and contrast guide that I could easily reference for myself so that moving forward when I needed the specifics for a flesh tone I could easily recall the differences.
What’s great is that I can share this with all of you so that you have a reference article for your own personal use. This will allow you to avoid some of the pitfalls I have stumbled into over the course of my painting career. Presented below are eight different washes I’ve used in the past. Each will be shown, and analyzed for simple overall effect.
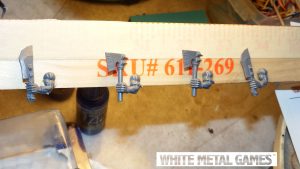
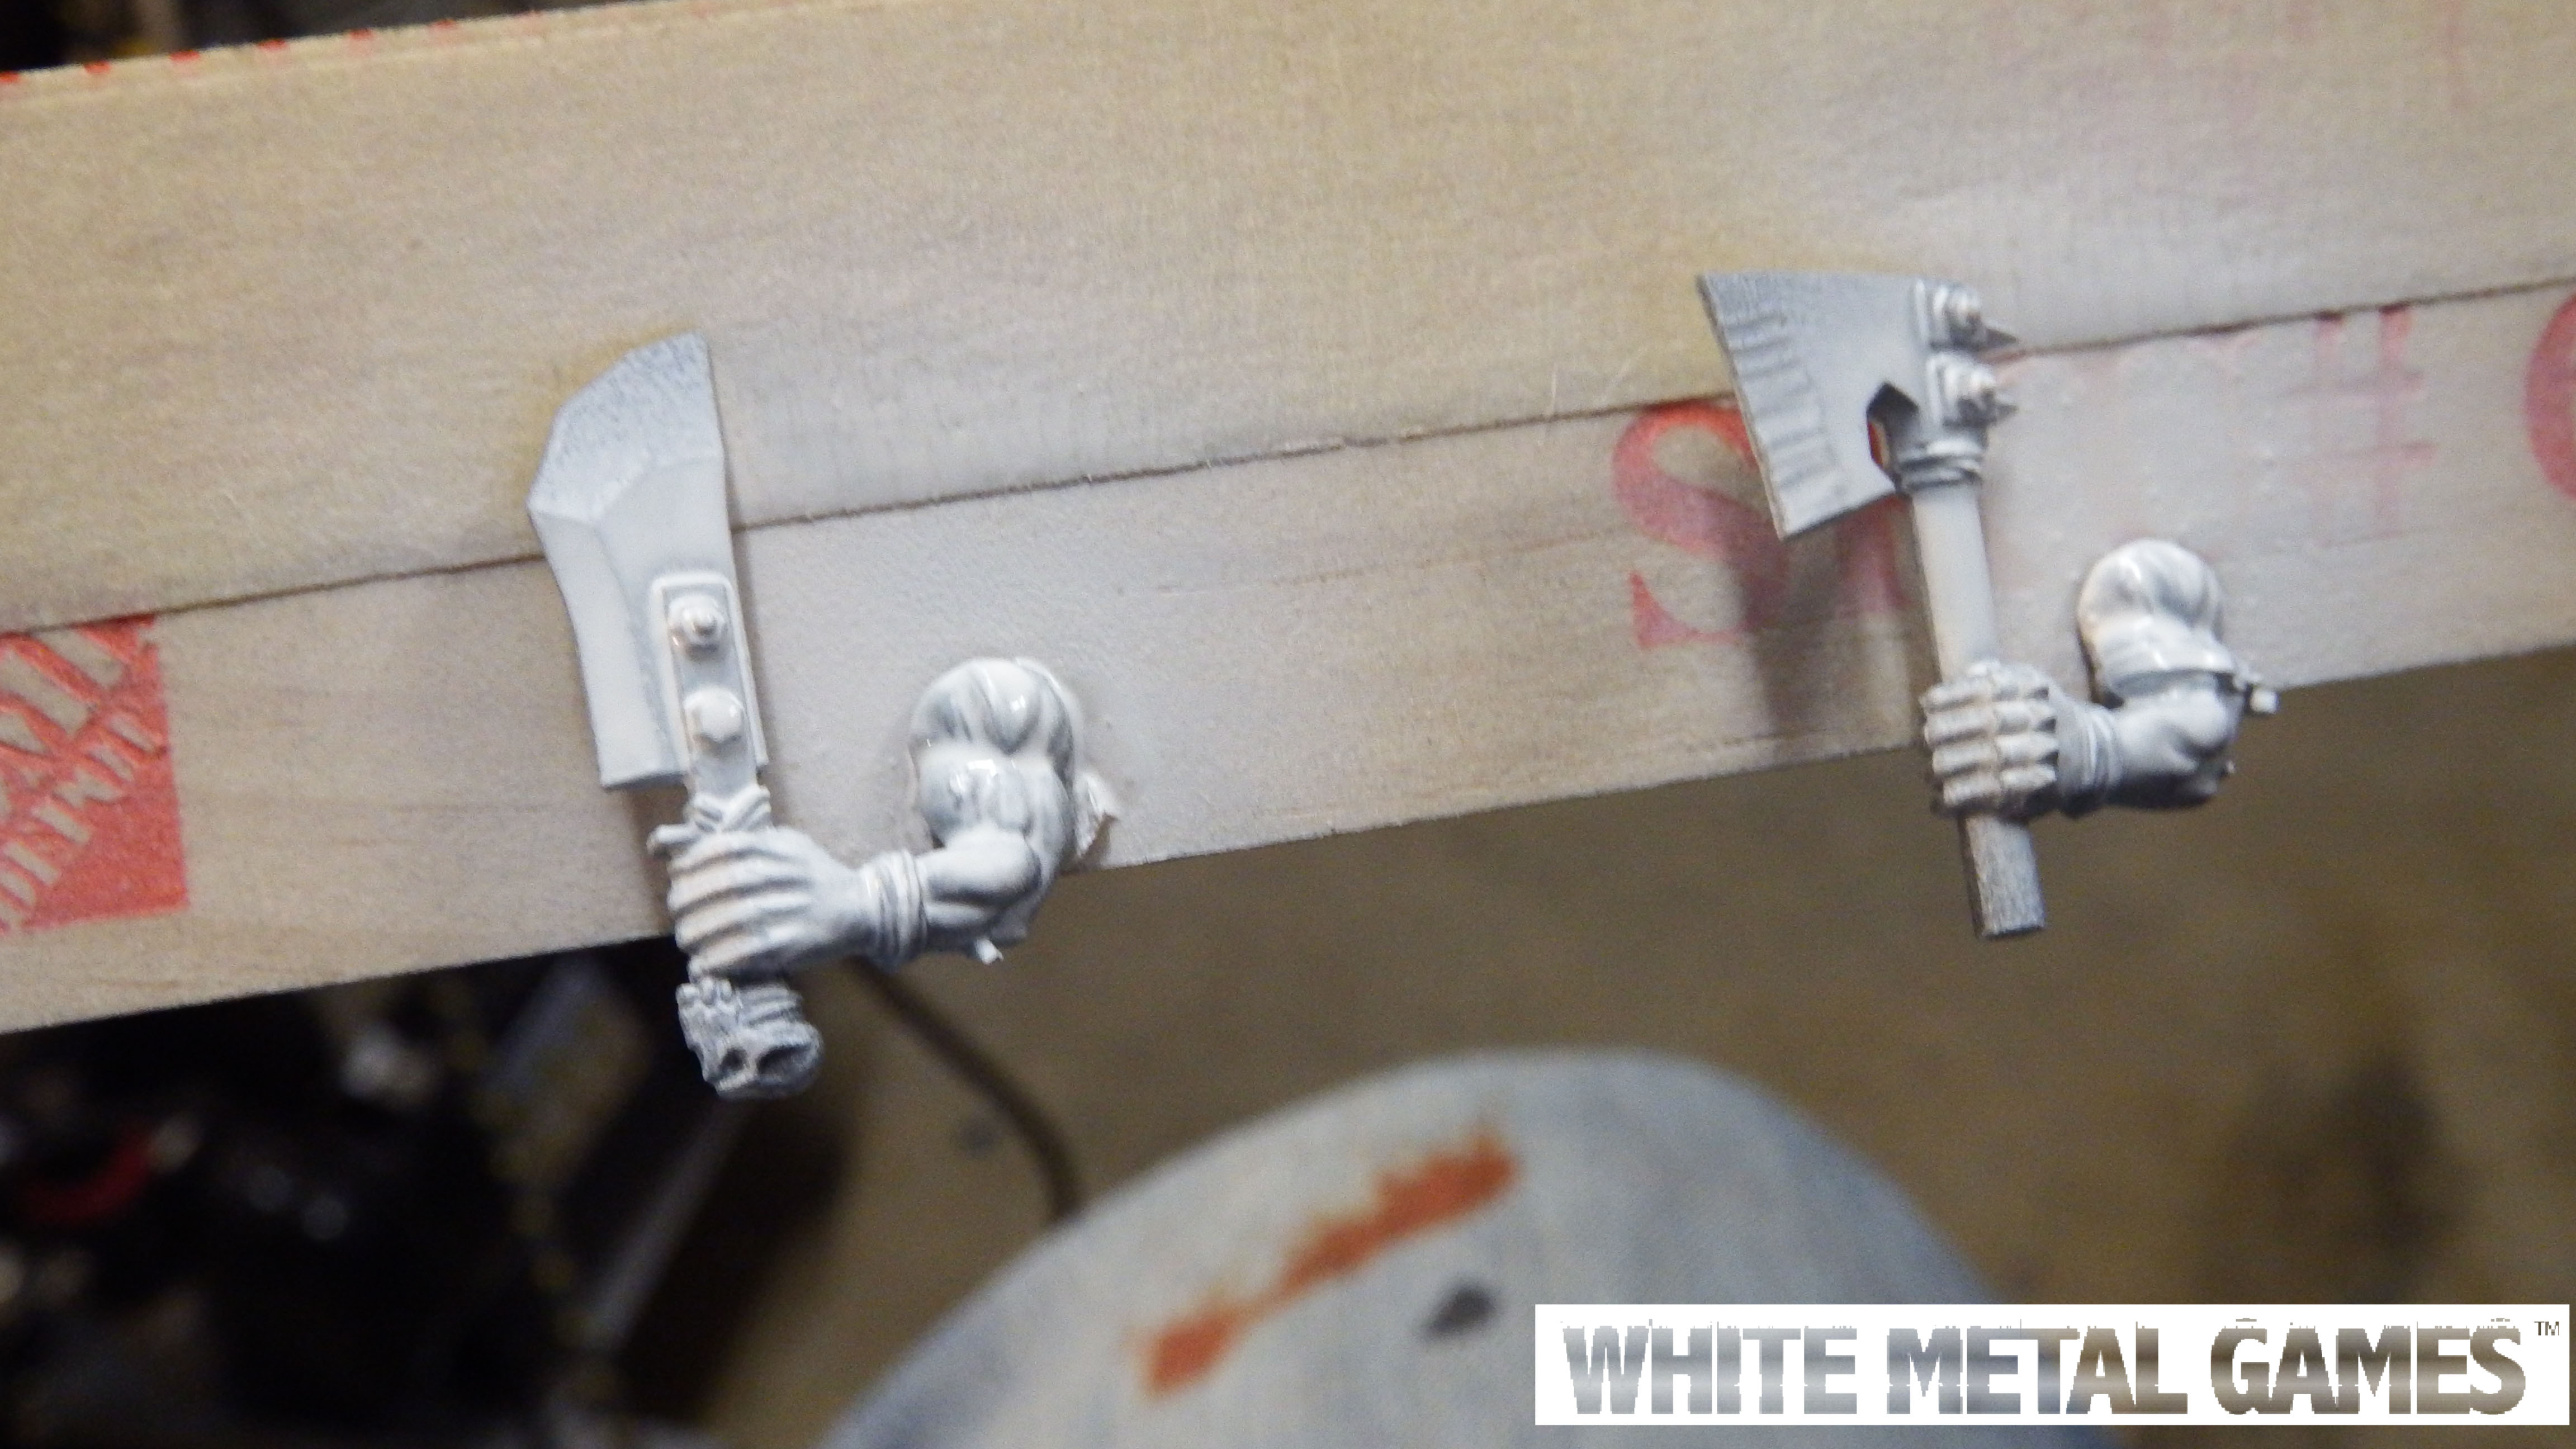
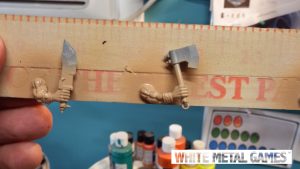
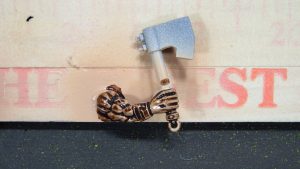
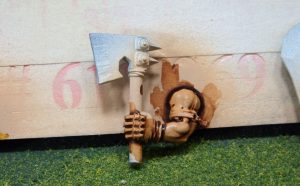
To start I grabbed eight arms that were roughly similar. These are Ork arms from the Warhammer 40,000 line. What I like about ork arms is that they have rippling muscles and show a lot of detail.
I primed all the arms white. I did this with my airbrush and Vallejo white primer. Next I applied Minitaire Humanoid Flesh, also airbrushed on. I was going for nice even coat that was symmetrical for all the arms.
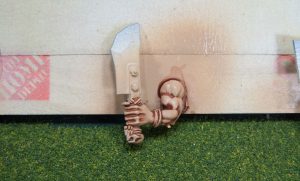
Finally, I applied a satin varnish to all of the arms. The purpose of this was to help reduce friction over the surface of the arms. The wash would settle far more easily into the cracks and crevices of each individual arm, allowing to flesh wash to really do what it’s designed to do. I could’ve gone back afterwards and cleaned up the surface of the muscles a little bit but I thought it was best to show what this does in one pass. This is what it looks like with a fully loaded brush once or twice over the arm. A nice even playing field.
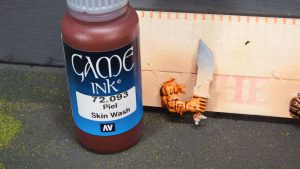
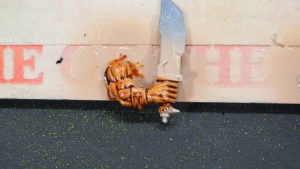
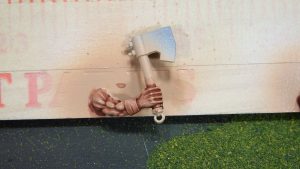
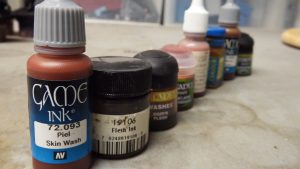
First up is this Game Ink Skin Wash 72093 by Vallejo. You can see that it settle very well in the muscles it also gave the overall skin tone a slightly orange palor. This would be great I think if you’re trying to pick some sort of race or culture it’s been a great deal of time out of the sun. Perhaps Aztecs or Mayans or the like.
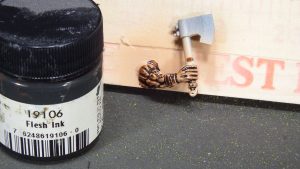
The second FLESH INK 19106 by Reaper settled into the cracks and crevices even more. It has a deep muddy brown color and while it did tint the skin slightly I think that it would’ve been a perfect mix if I had just brushed a little of the settled surface wash off. It’s pretty dark though, and overall it lends itself to a darker, dirtier looking miniature.
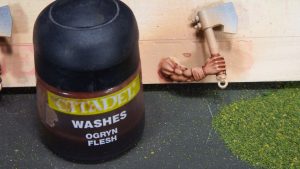
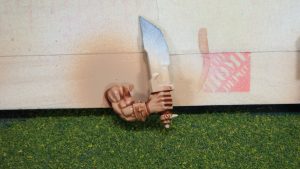
CITADEL OGRYN FLESH is a pretty nice even mix of both. It settles down into the cracks and crevices very well and settled away from the upper muscles without me doing any work. It looks fairly natural on the arm, and I’m fairly satisfied with how it looks without doing any extra work. Good job, GW!
.
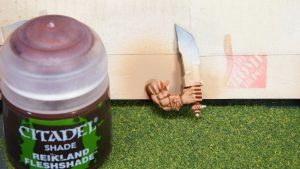
CITADEL SHADE REIKLAND FLESH is very similar to the third, but it’s just a little bit darker and with a little bit more red. But again, a great looking overall effect with no extra work on my part.
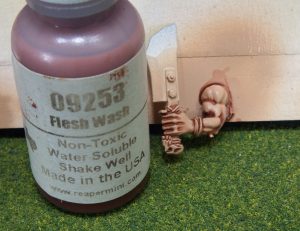
By contrast REAPER FLESH WASH 09253 looks nearly identical but it has more of a brownish/reddish (warm) base. Both of these I think our excellent skin washes and I would readily use them on any project.
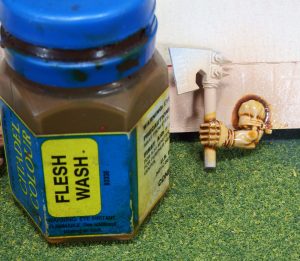
This ancient bottle of Citadel Colour Flesh Wash has been long OOP. Now I don’t know if pigments yellow over time or if this is just how washes looked back then, but this wash is a strange combination of browns that settle into the crack with a vague hint of yellow that really settled onto the top bicep. It’s not a bad wash, and that yellow hue could be wonderful to suggest something like diseased flesh or the like. It might also work to wash Asian themed miniatures where you want a bit of yellow tint on the surface of the model.
To mix it up a bit for the last two arms I didn’t actually use a flesh wash, per se.
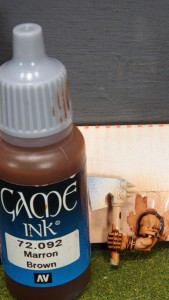
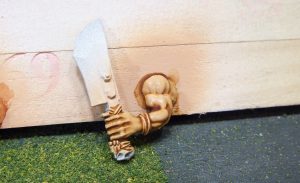
For the seventh arm I used Game Ink Brown 72092 by Vallejo. In the event that someone is painting a project and didn’t have any flesh wash available I thought it may be useful to have some sort of simple brown wash sample to compare. As you can see while it does darken down the arm generally it doesn’t settle down into the cracks as well as the other flesh washes do. So while it does ‘work’ as a flesh wash, it wouldn’t be my first choice.
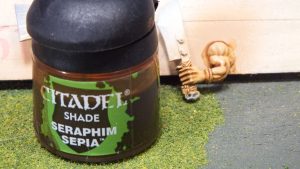
For the last arm I used Seraphim Sepia by Citadel. Interestingly enough the pigment used in Sepia is derived from the puffer fish. Not that this has any bearing on the study but I thought it was interesting and worth noting. =) Sepia is notable for it’s reddish hue and warm color. This is great for warming up a miniature or applying a little depth to the shadows which are normally very dark and dull.
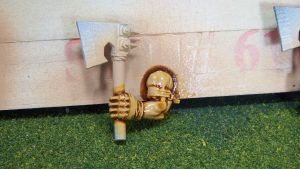
In some washes I liked this ahde the best of all of them. It’s a subtle shading, but a natural overall tone. But it doesn’t really get down into the cracks and crevices. Here’s a side by side with the Reikland Flesh Shade from above. Now, side by side you can REALLY see the difference. And these are both Citadel products. Clearly one is intended to wash and the other to shade, or darken down the mini overall. Both will settle into the cracks, but one is designed for it.
I do think that with just a little bit of work to the arm you could create an overall nice and evenn looking skin tone. But to really get it down into the cracks you have to apply at least one more layer which means it would darken it down again. That’s gonna take your nice even skin tone and bring it down to someone sitting in the shade. So unless you want to spend some time highlighting this back up then it’s not ideal.
SUMMARY/CONCLUSIONS:
So what does this mean overall. Firstly, I think we can see that flesh washes are designed to do exactly what they do best. Like a traditional wash, they settle down into the cracks and crevices really well. Unlike a Glazer or shade they’re not designed specifically to settle on the surface of a model.
There are admittedly dozens if not hundreds of flesh washes out there on the market. These are only a sample of the few that I have available on me at my shop. I’d love to hear the comments about what other flesh washes the community uses and maybe if you have a second to snap a quick picture of one of your models and label the picture with the brand and name of the wash you used.
Hopefully this article helps you out and can be used as a reference tool for many years to come. Maybe we can update this article with new flesh washes that become available.
Until next time, this is Caleb with White Metal Games reminding you to . . .
PUT YOUR MINIS WHERE YOUR MOUTH IS!
Caleb Dillon, White Metal Games
If you enjoyed this article be sure to like it, share it with others, and subscribe! We even offer a discount if you do!
Find us on the web: http://whitemetalgames.com
Like us on Facebook: https://www.facebook.com/WhiteMetalGames
Listen to our podcast:
https://itunes.apple.com/us/podcast/w…
Shop in our store: http://stores.ebay.com/White-Metal-Games
Follow us on Twitter: https://twitter.com/WhiteMetalGames
Add us on Flickr: http://www.flickr.com/photos/whitemet…
Follow our blog: http://whitemetalgames.blogspot.com

