Hey there Hobby maniacs! Rob is back with another awesome video in our series on the assembly of GW’s amazing Warlord Titan!
Today Rob is going to show us some tricks for making sure your magnets are polarized properly, easy assembly tricks for large parts of the Warlord Titan, and how to fix mistakes on large and expensive models!
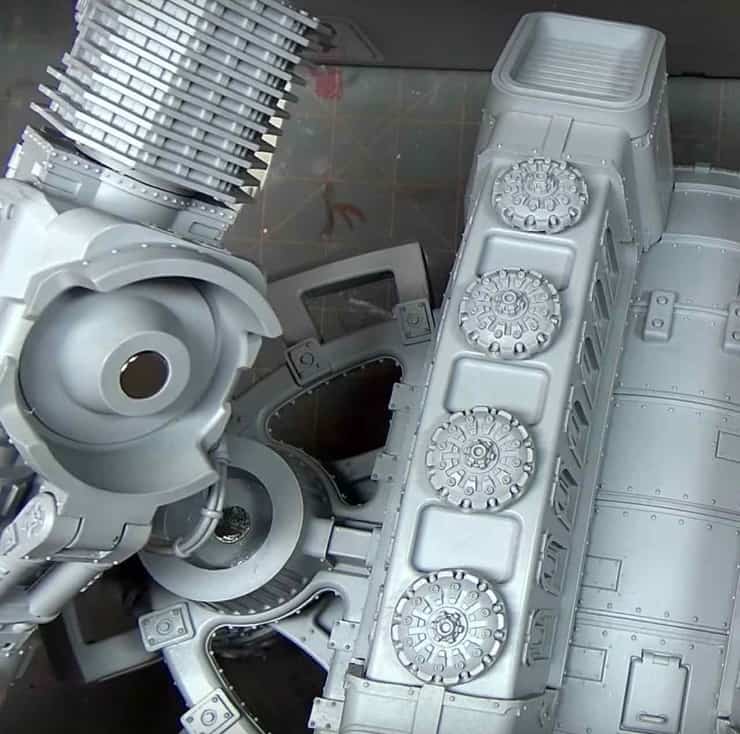
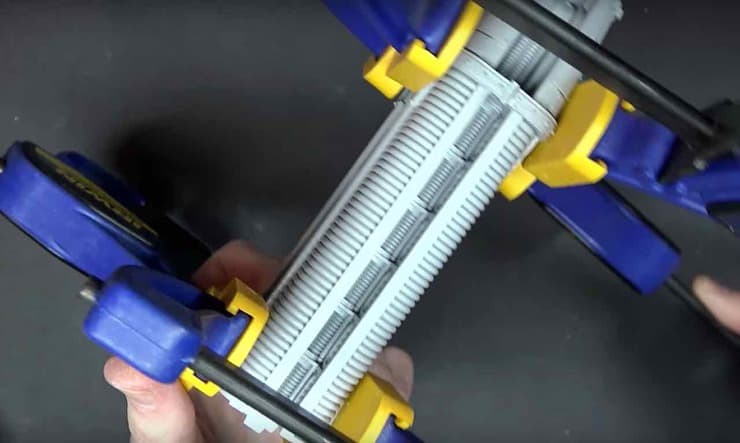
If you’re struggling to get all the parts to stay together while your glue dries, some cheap hand clamps are great additions to your tool box!
These clamps are super cheap on Amazon, running about $5 each!
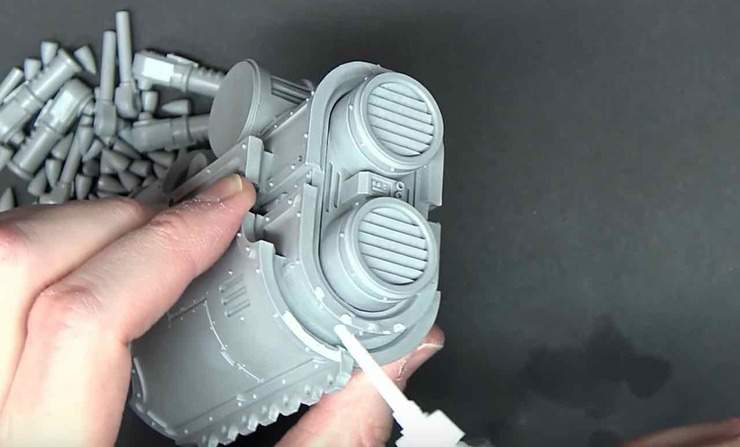
This Vallejo putty is amazing stuff!
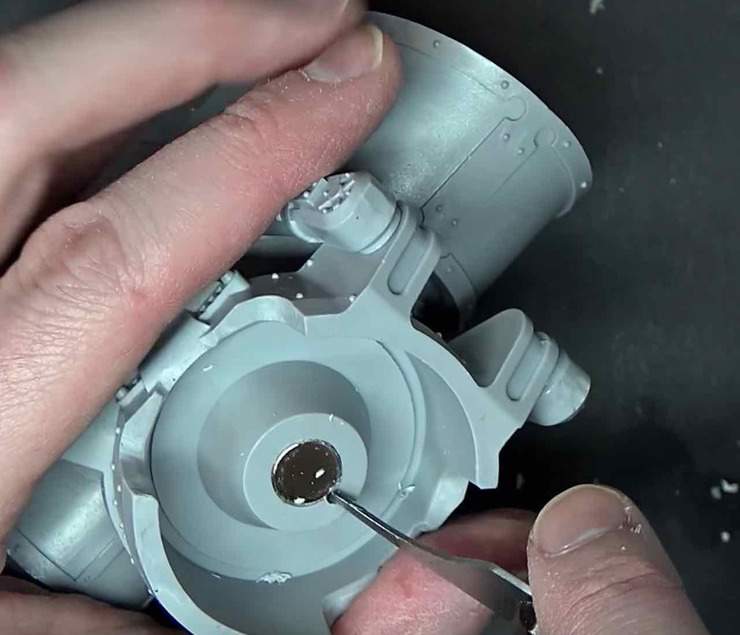
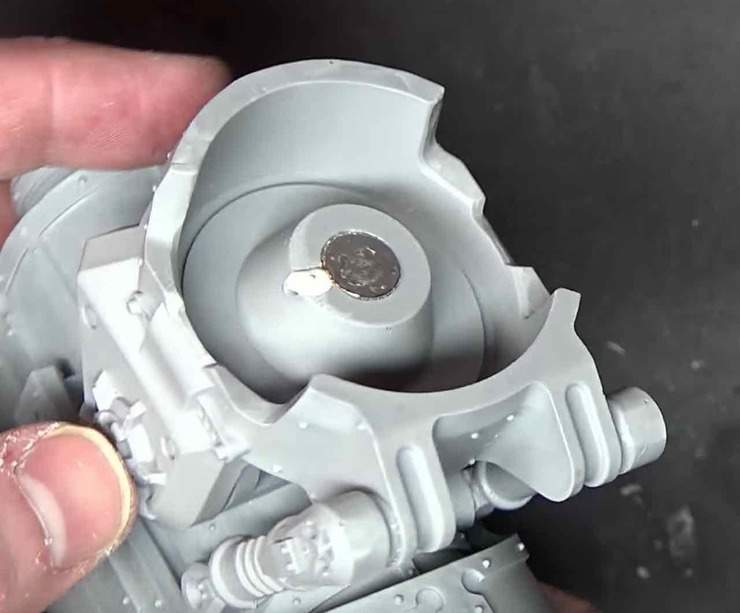
Ever put a magnet in with the wrong polarity? Fear not! Rob covers some quick tricks to popping the magnet out, preserving the model and the magnet! By drilling a hole right next to the magnet, you can pop it out if you’re quick enough, flip the magnet, and get it back into place with minor effort!
Once again that awesome Vallejo plastic putty comes to the rescue! Repairing the damage as good as new! Once this dries, Rob will file it flush and the whole magnet mistake will be in the distant past!
Check out Rob’s whole video for details on these awesome hobby tricks!
