Everyone and their mum’s favourite basing material at the minute seems to be cork board to make stone bases, here is a slightly different way to use cork board and plasticard to make some fancy alternatives to resin bases with just a few simple extra steps.
Step one
Draw a checkerboard pattern on some plasticard to any size but I found the best size is about 1-2cm as then you can see a few tiles on the base. Here i’ve used 1.5mm thick plasticard, of course you can use any thickness but if it is too thin you won’t be able to score the lines to make the tiles 3D in a later step.
Step two
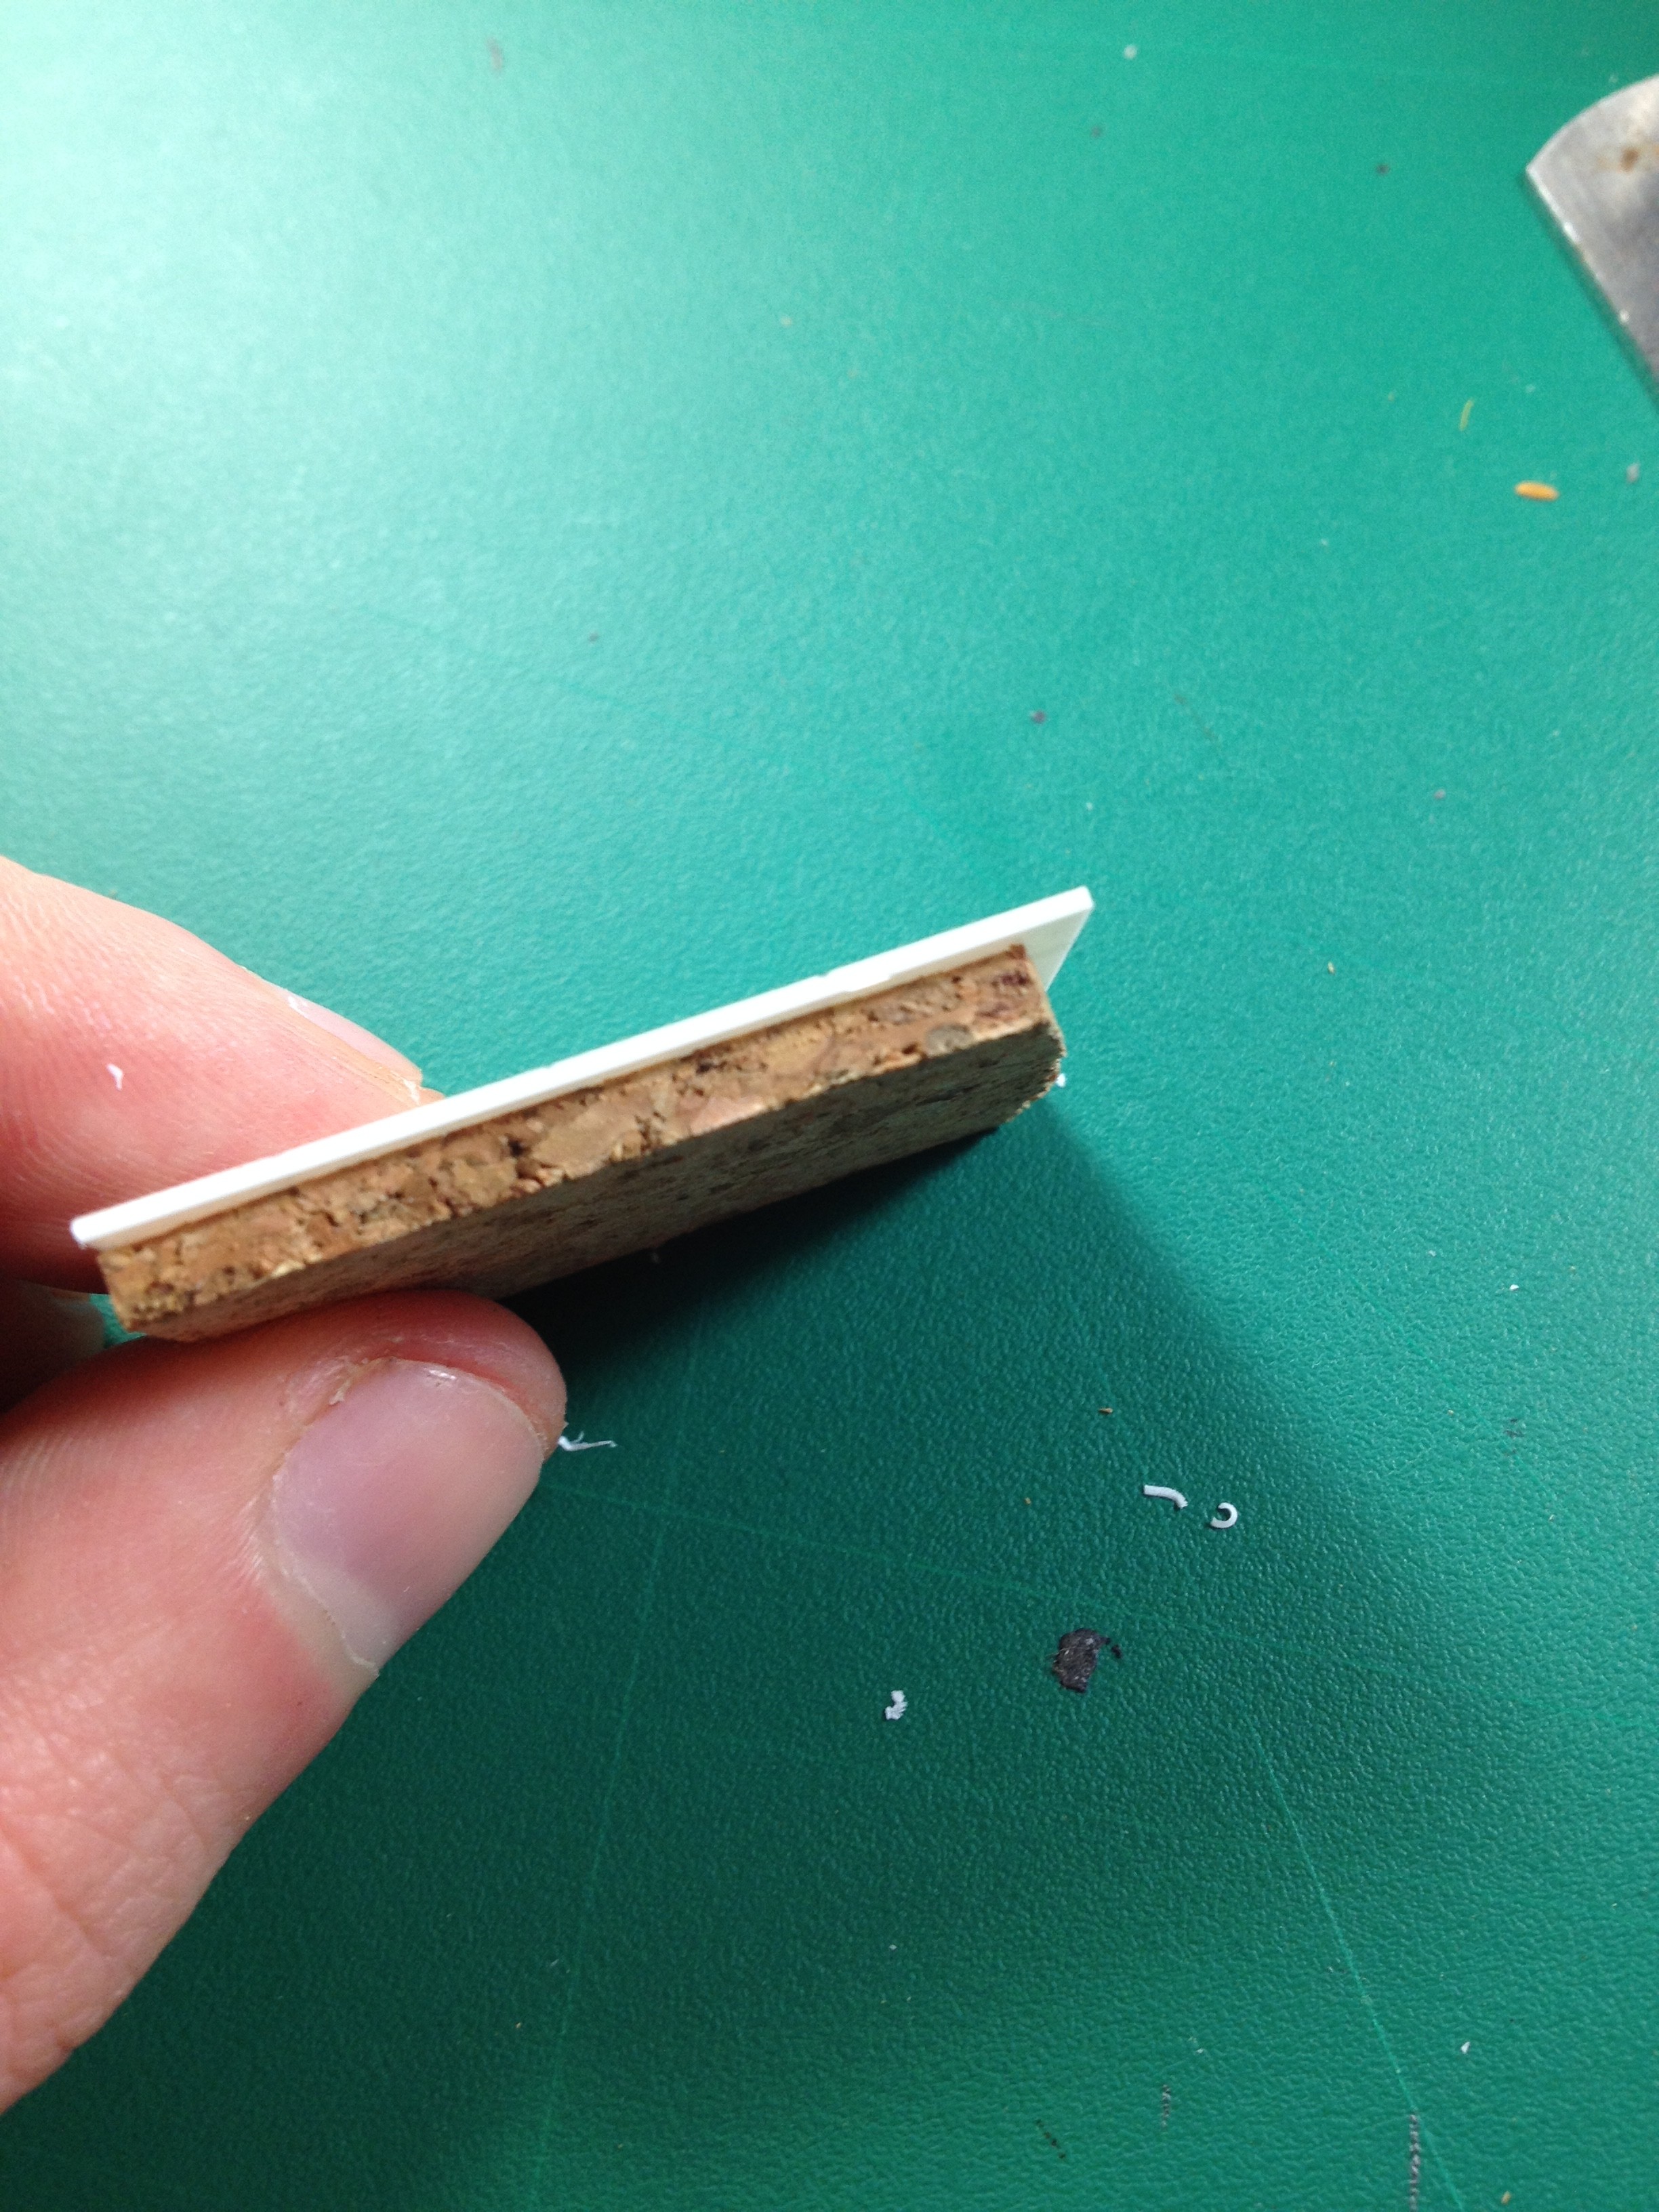
Stick some cork board to the desired size of base, here I’m using 25mm, and cut roughly to make them about the same size as the base, or leave some over hang if you want it’s completely down to your preference.
Step three
Cut some of the plasticard to roughly the same size as the base and then stick this on top of the cork on the base.
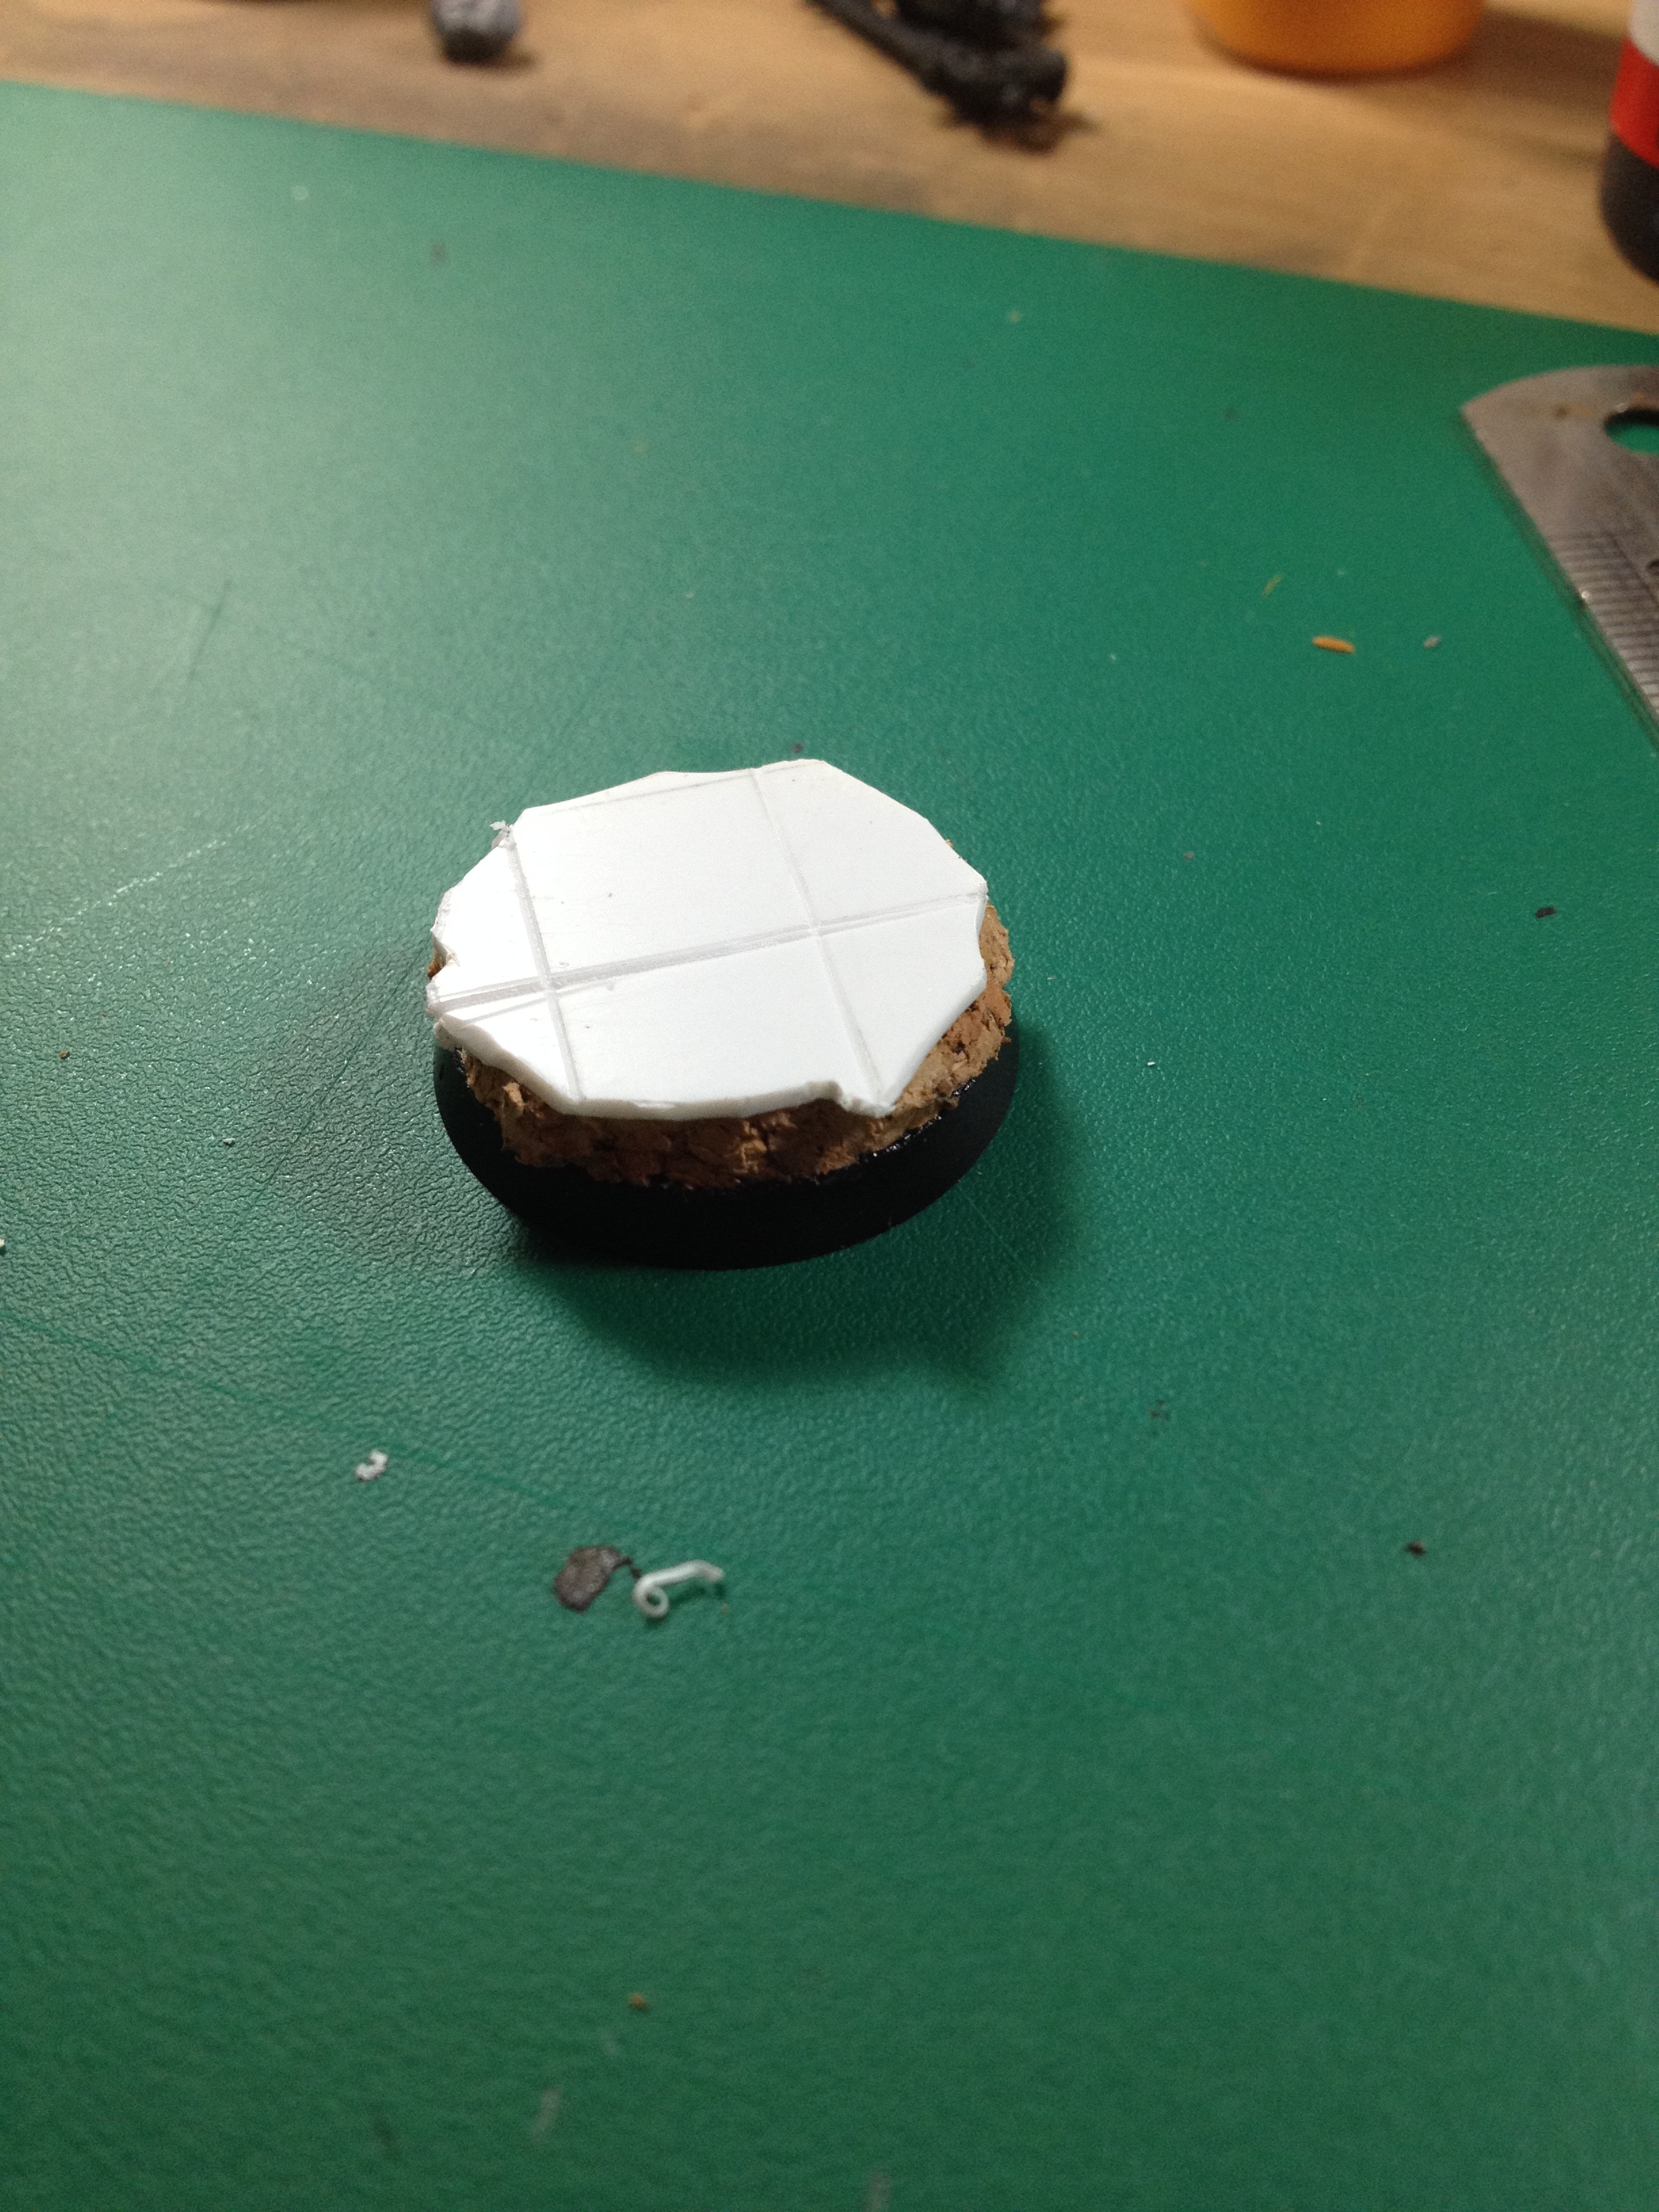
Now cut this roughly around the edge to make it look like broken tiles/flooring, again the overhang on this is up to you.
Step four
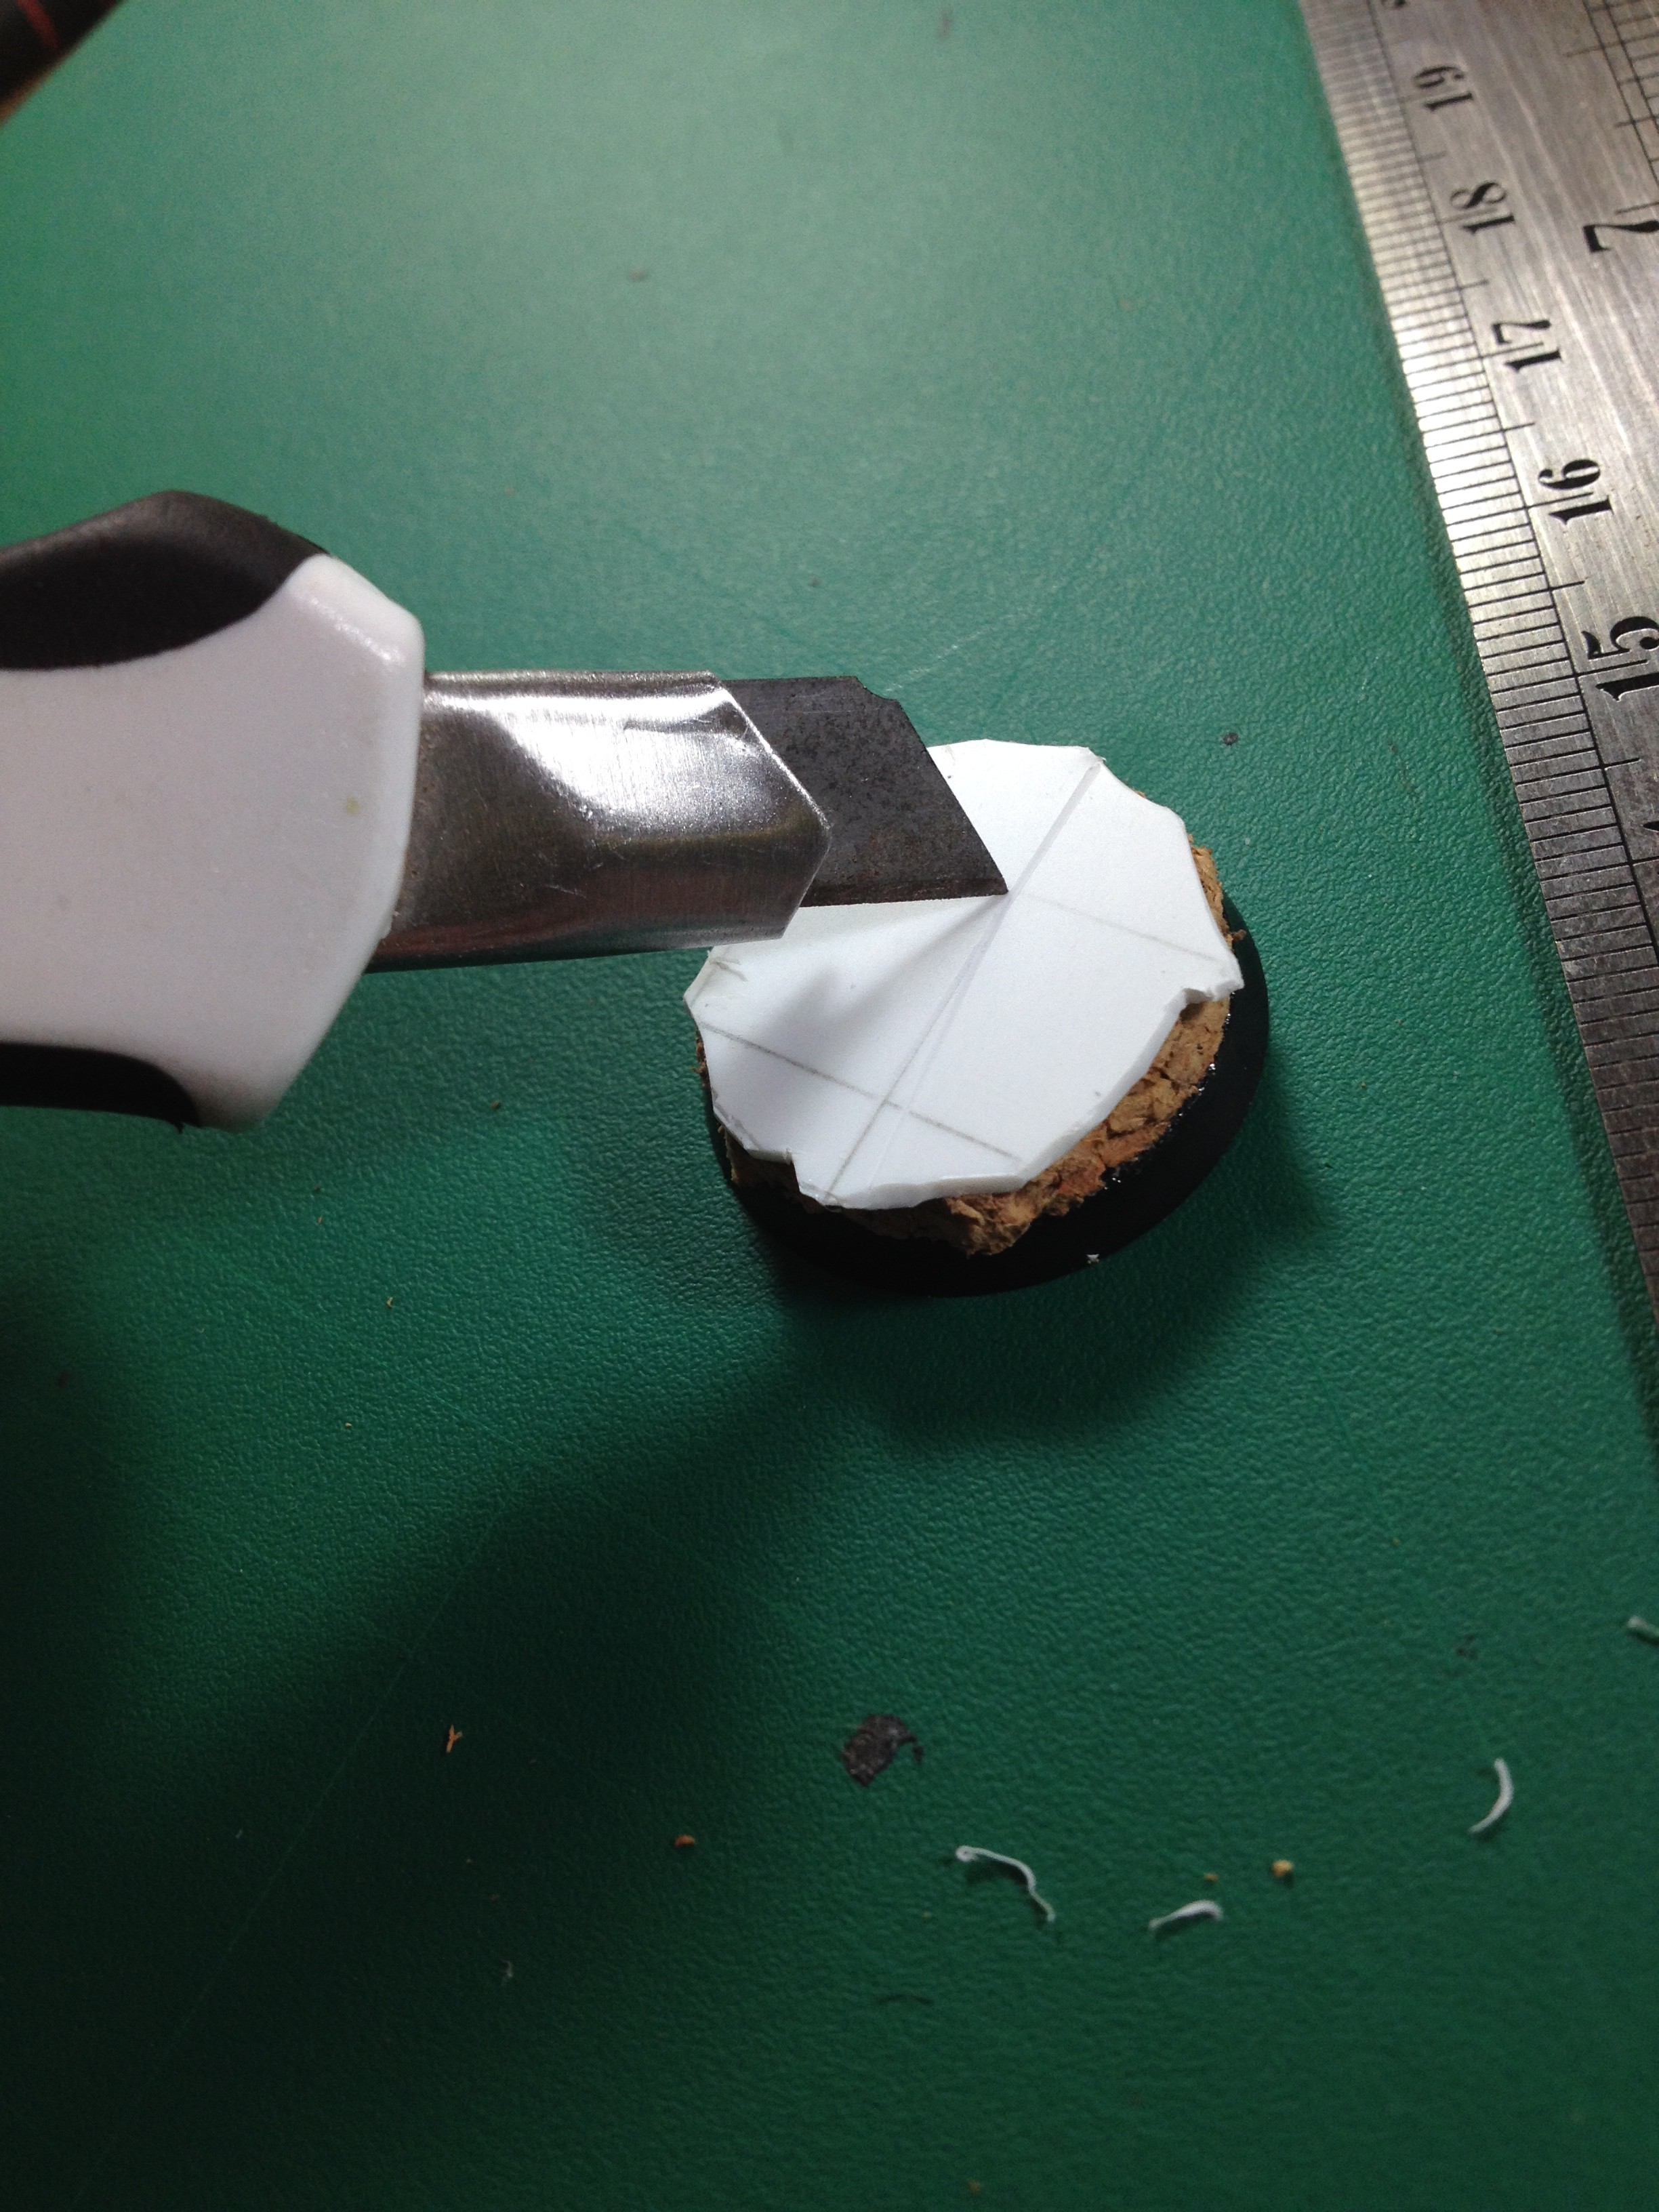
When all the glue is dry use the tip of your hobby knife or scalpel to score along the lines and make the tiles 3D, this makes it a lot easier to paint later on. Be sure to use a metal rule and be extremely careful with the knife as I’ve learned the hard way in the past!
And Tah-Dah! this is what you get after these few steps!
Alternatively….
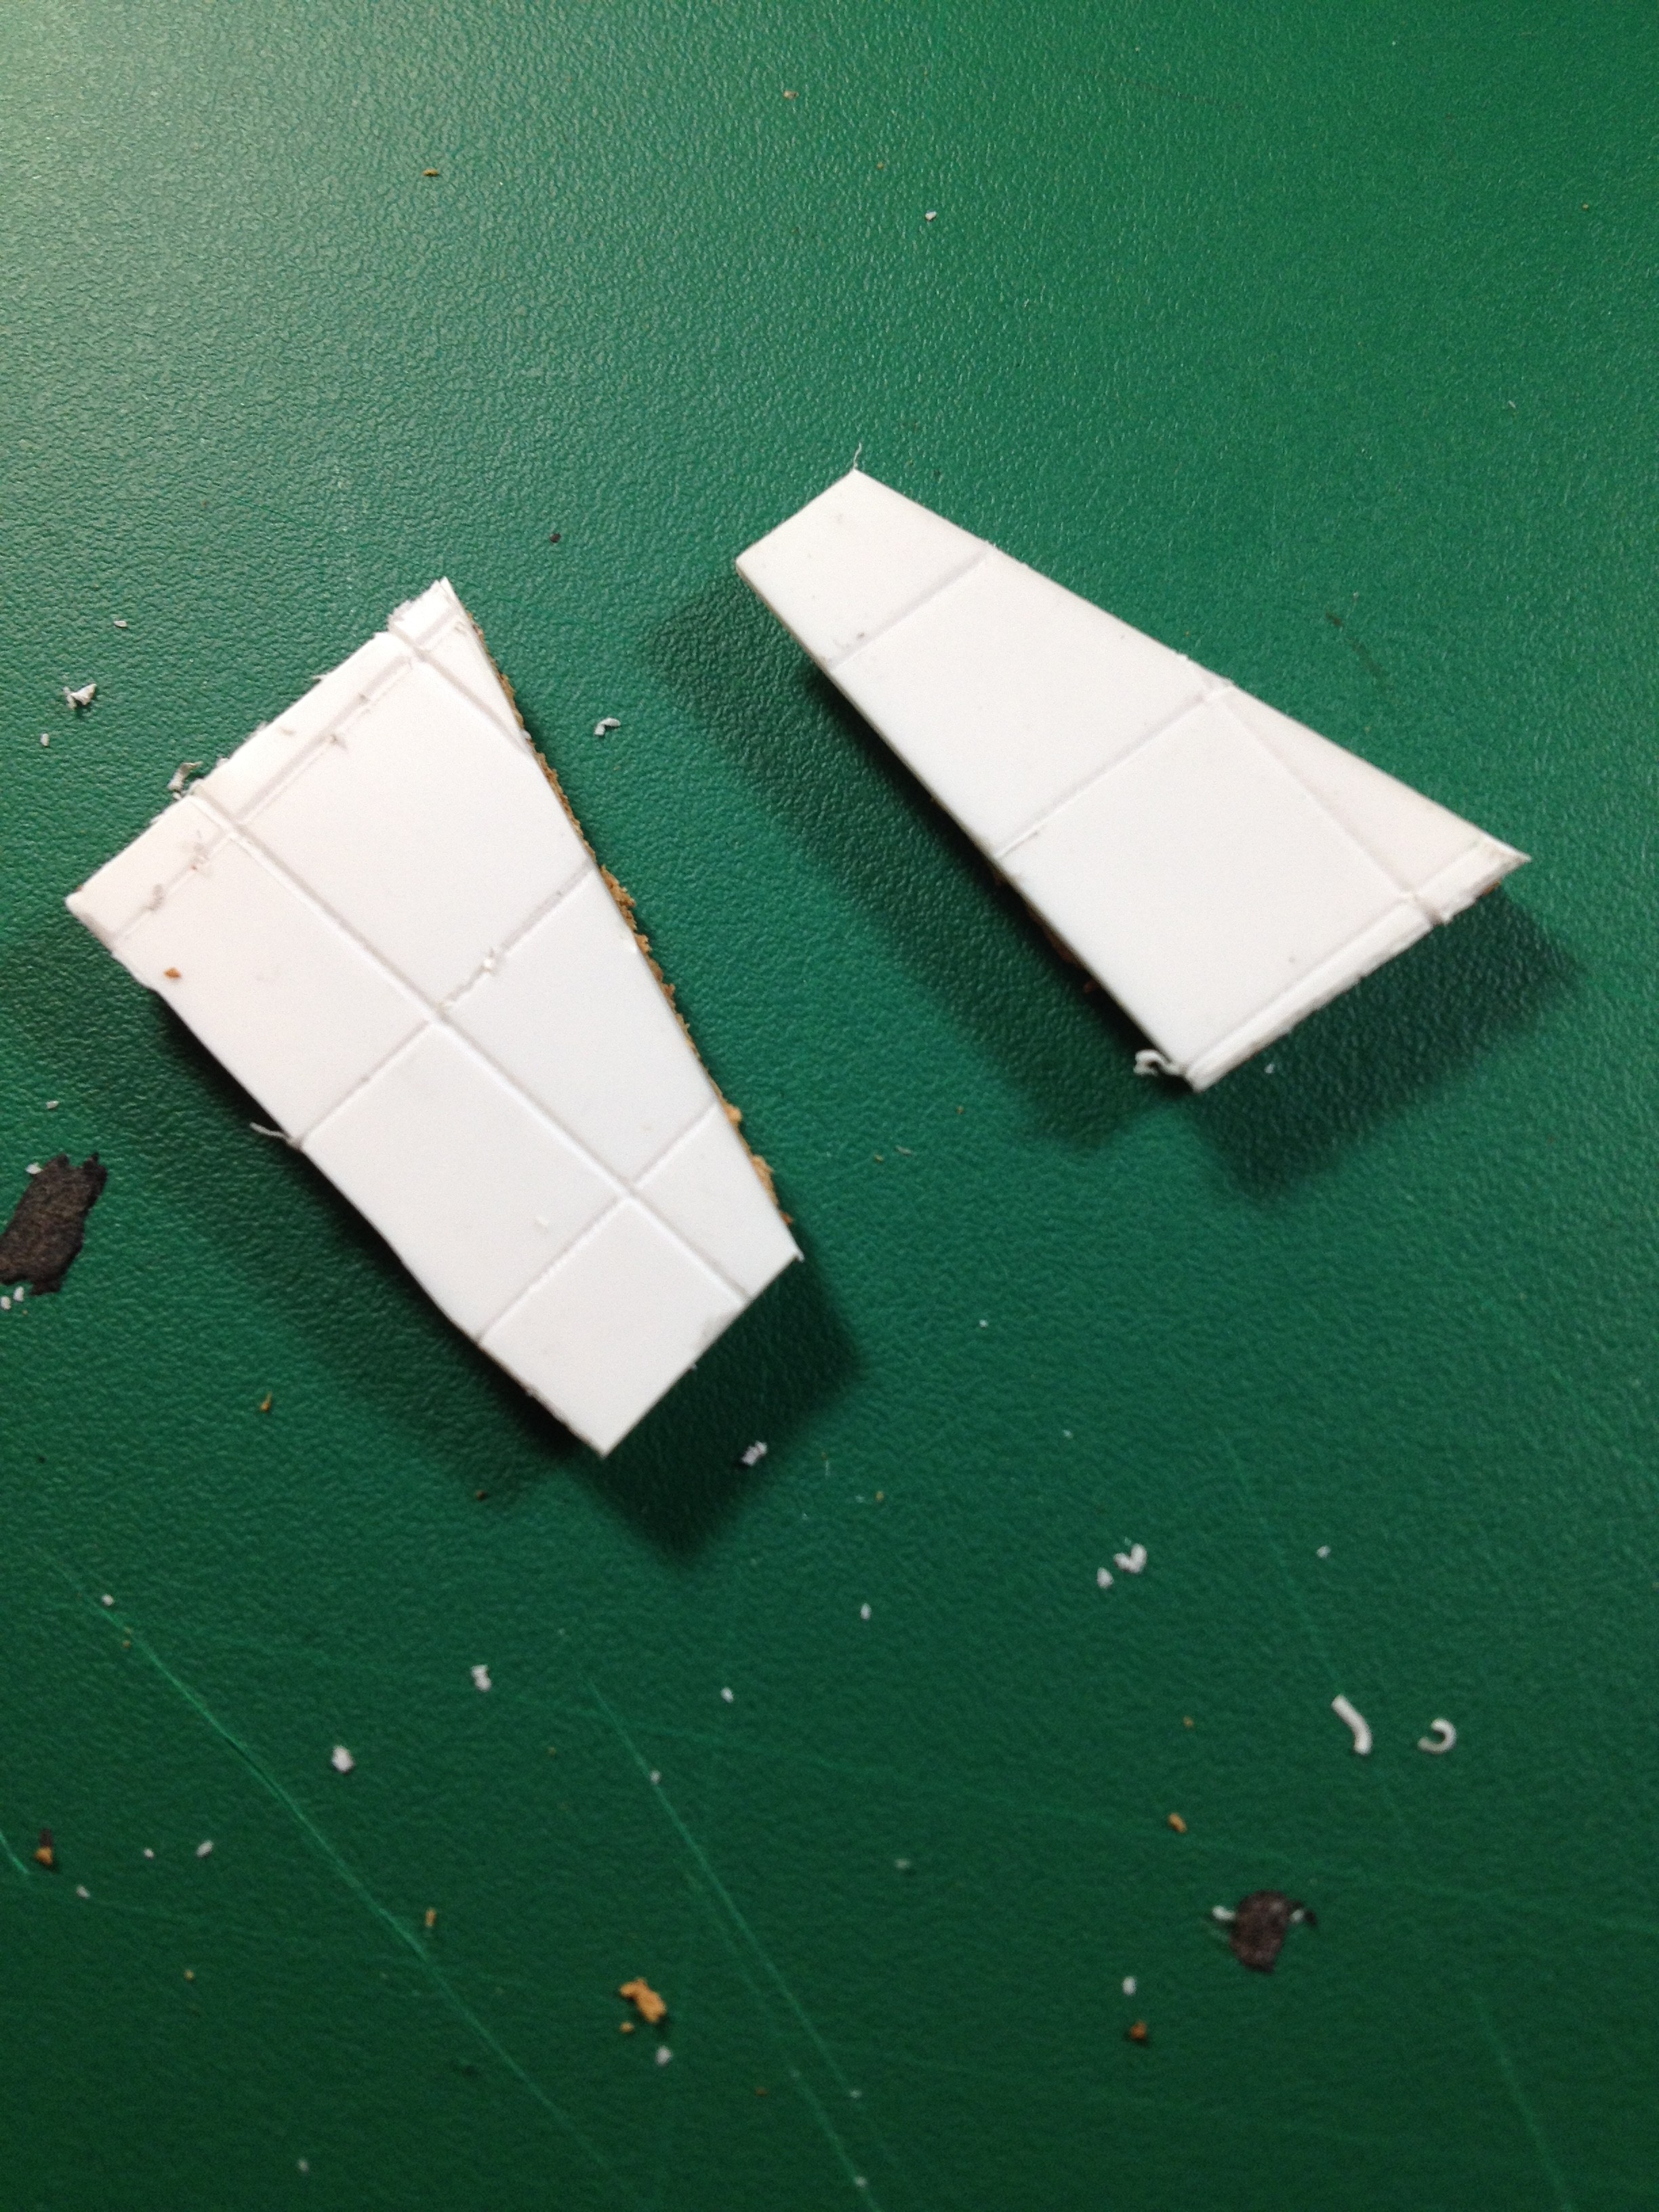
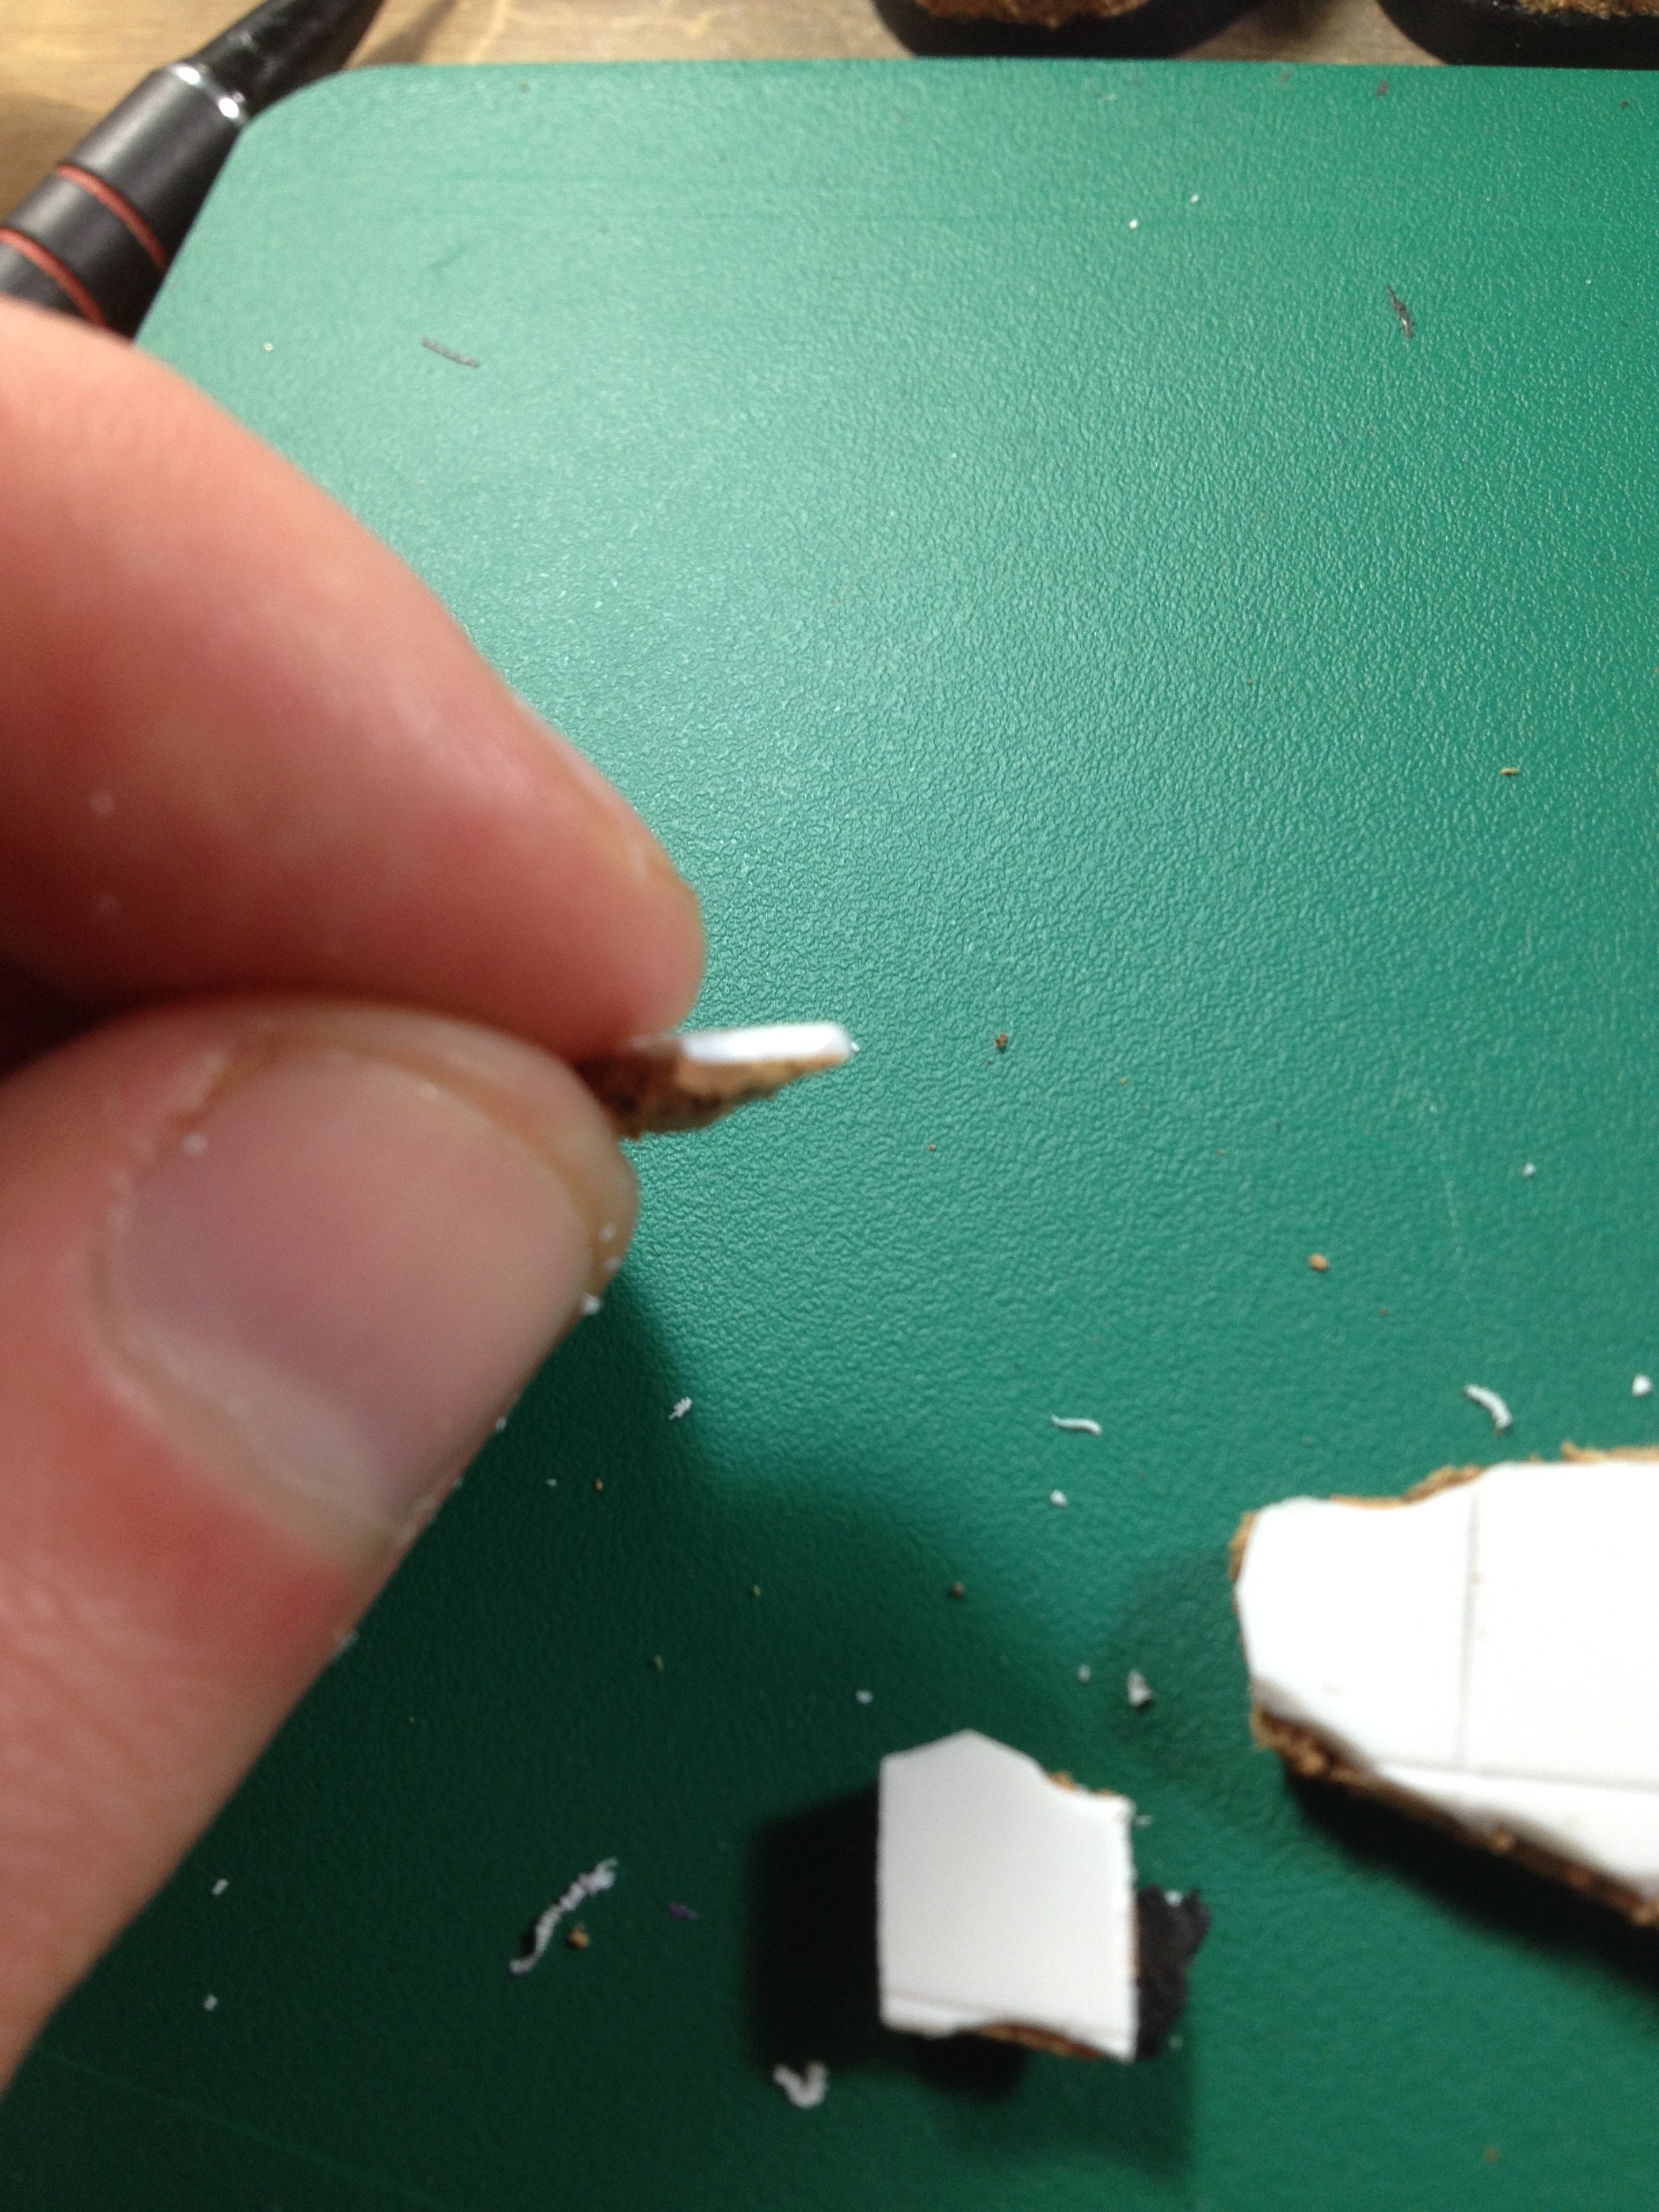
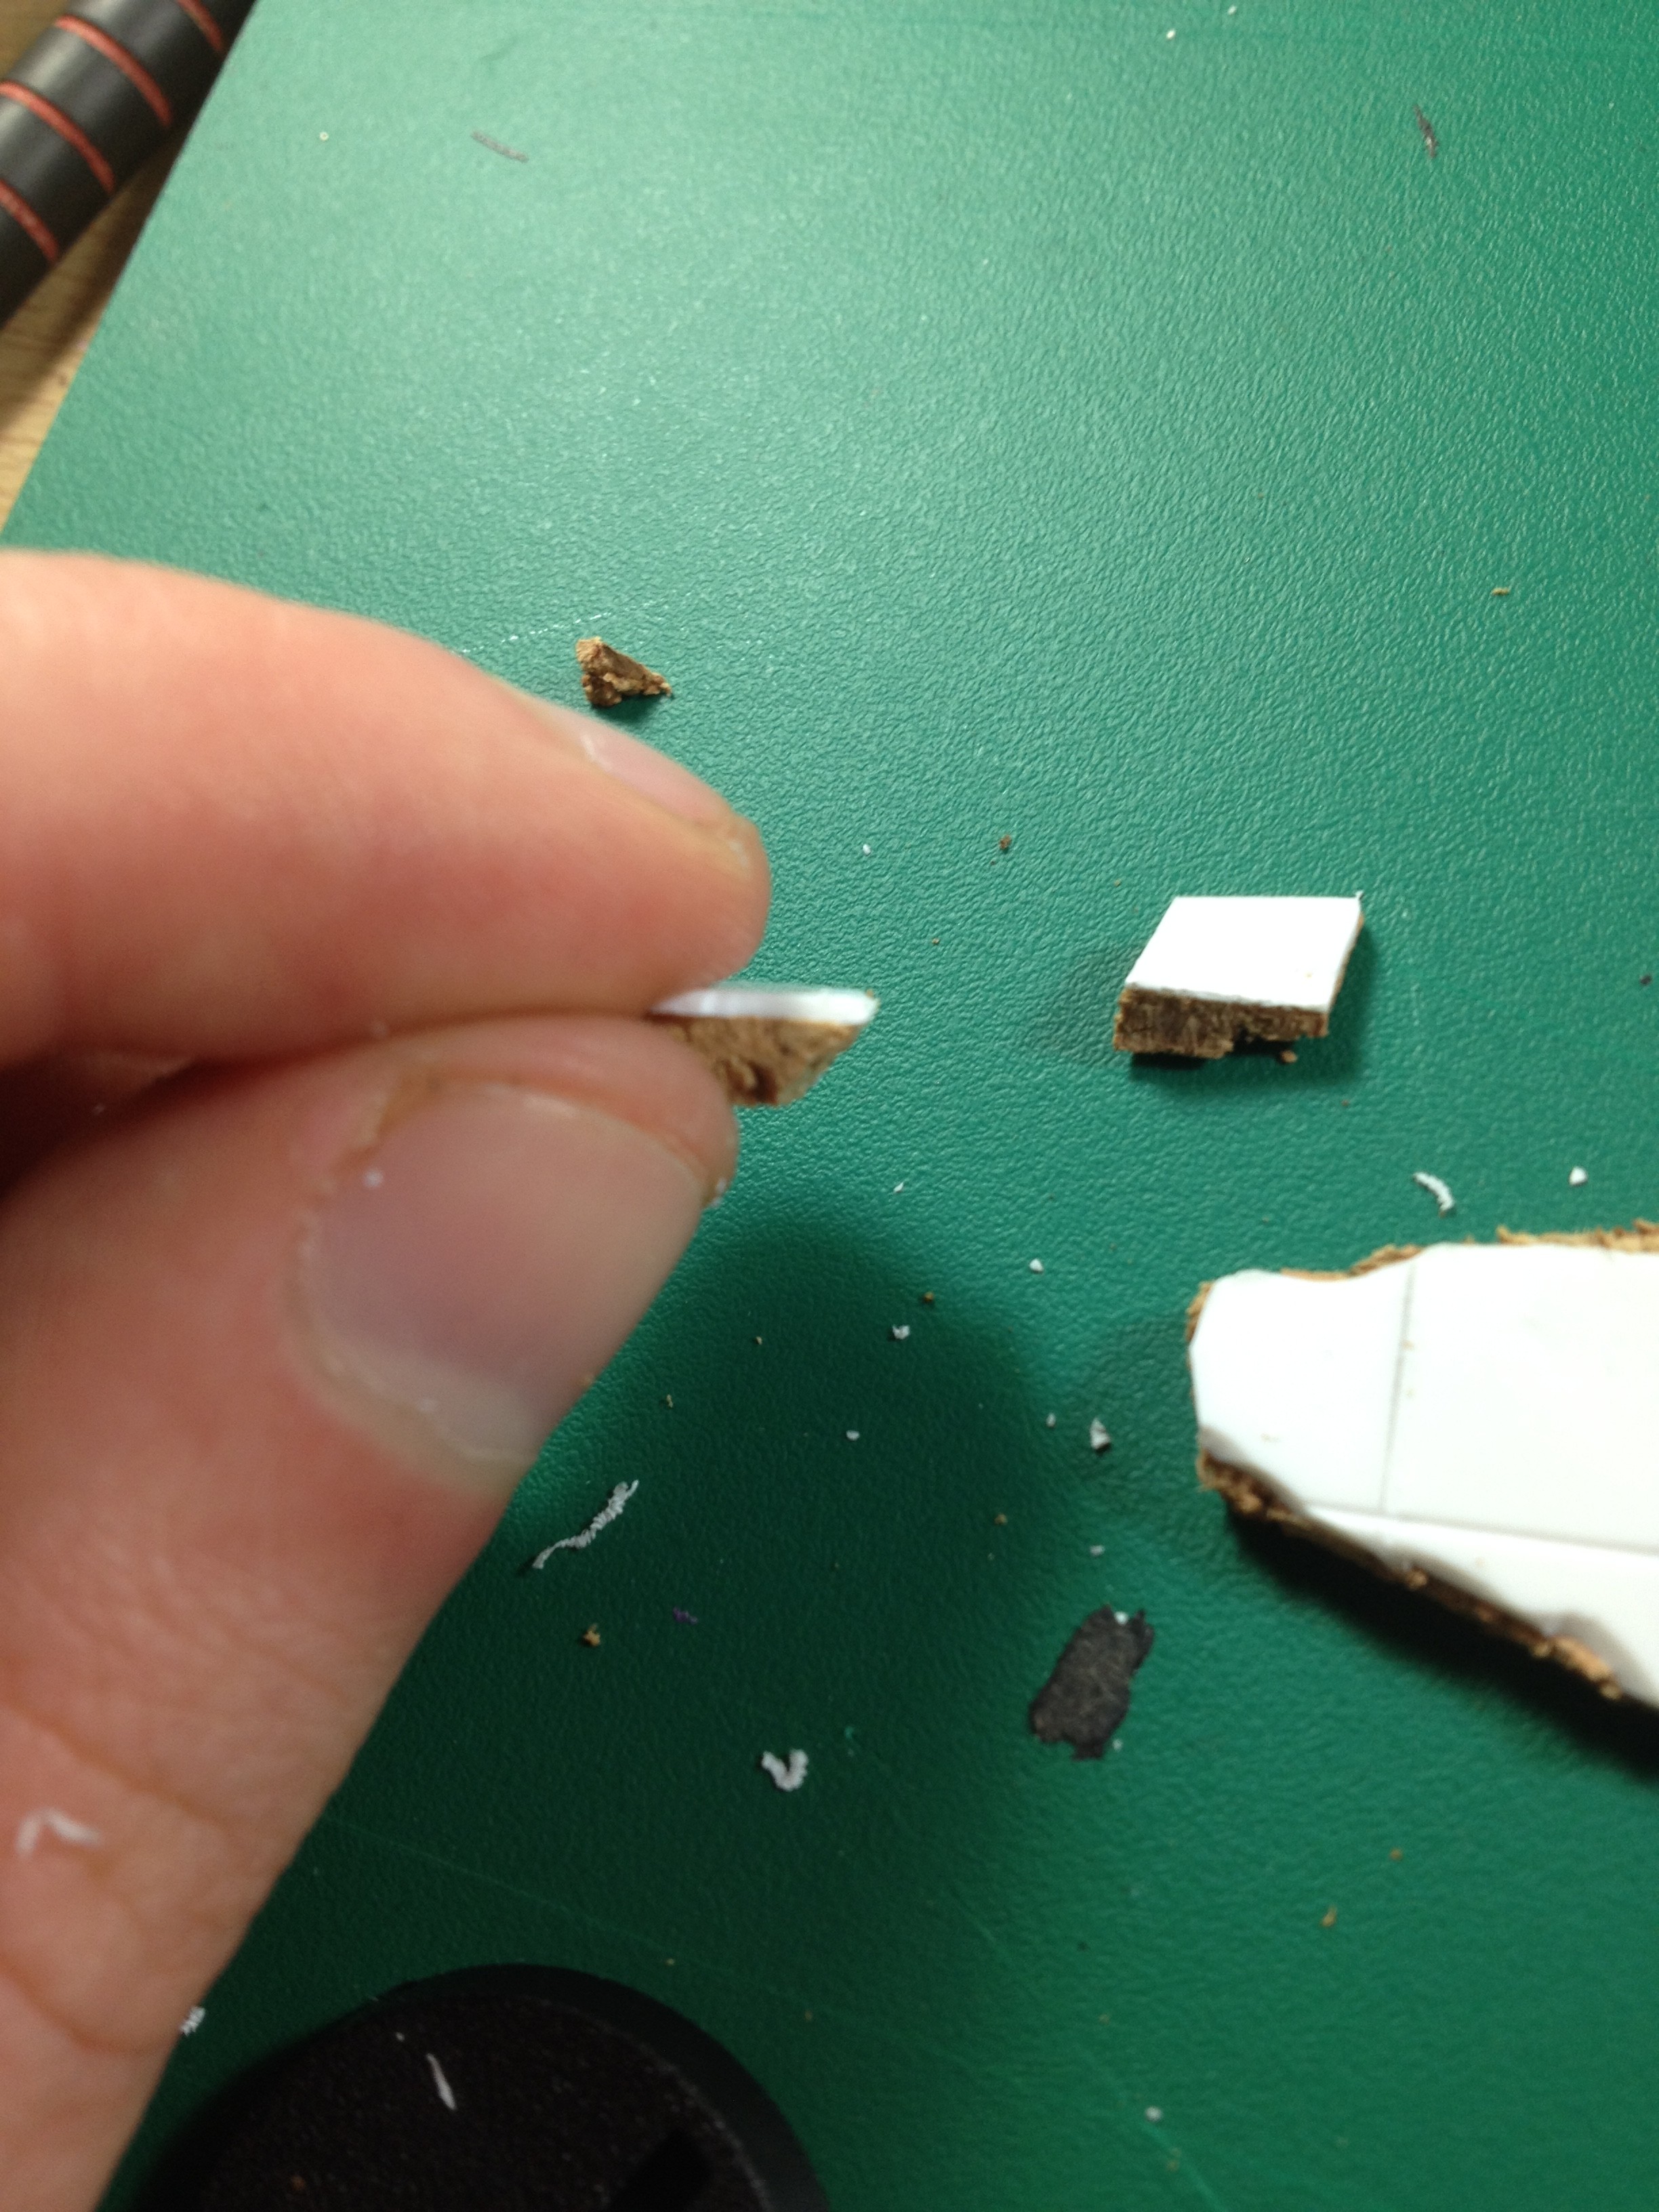
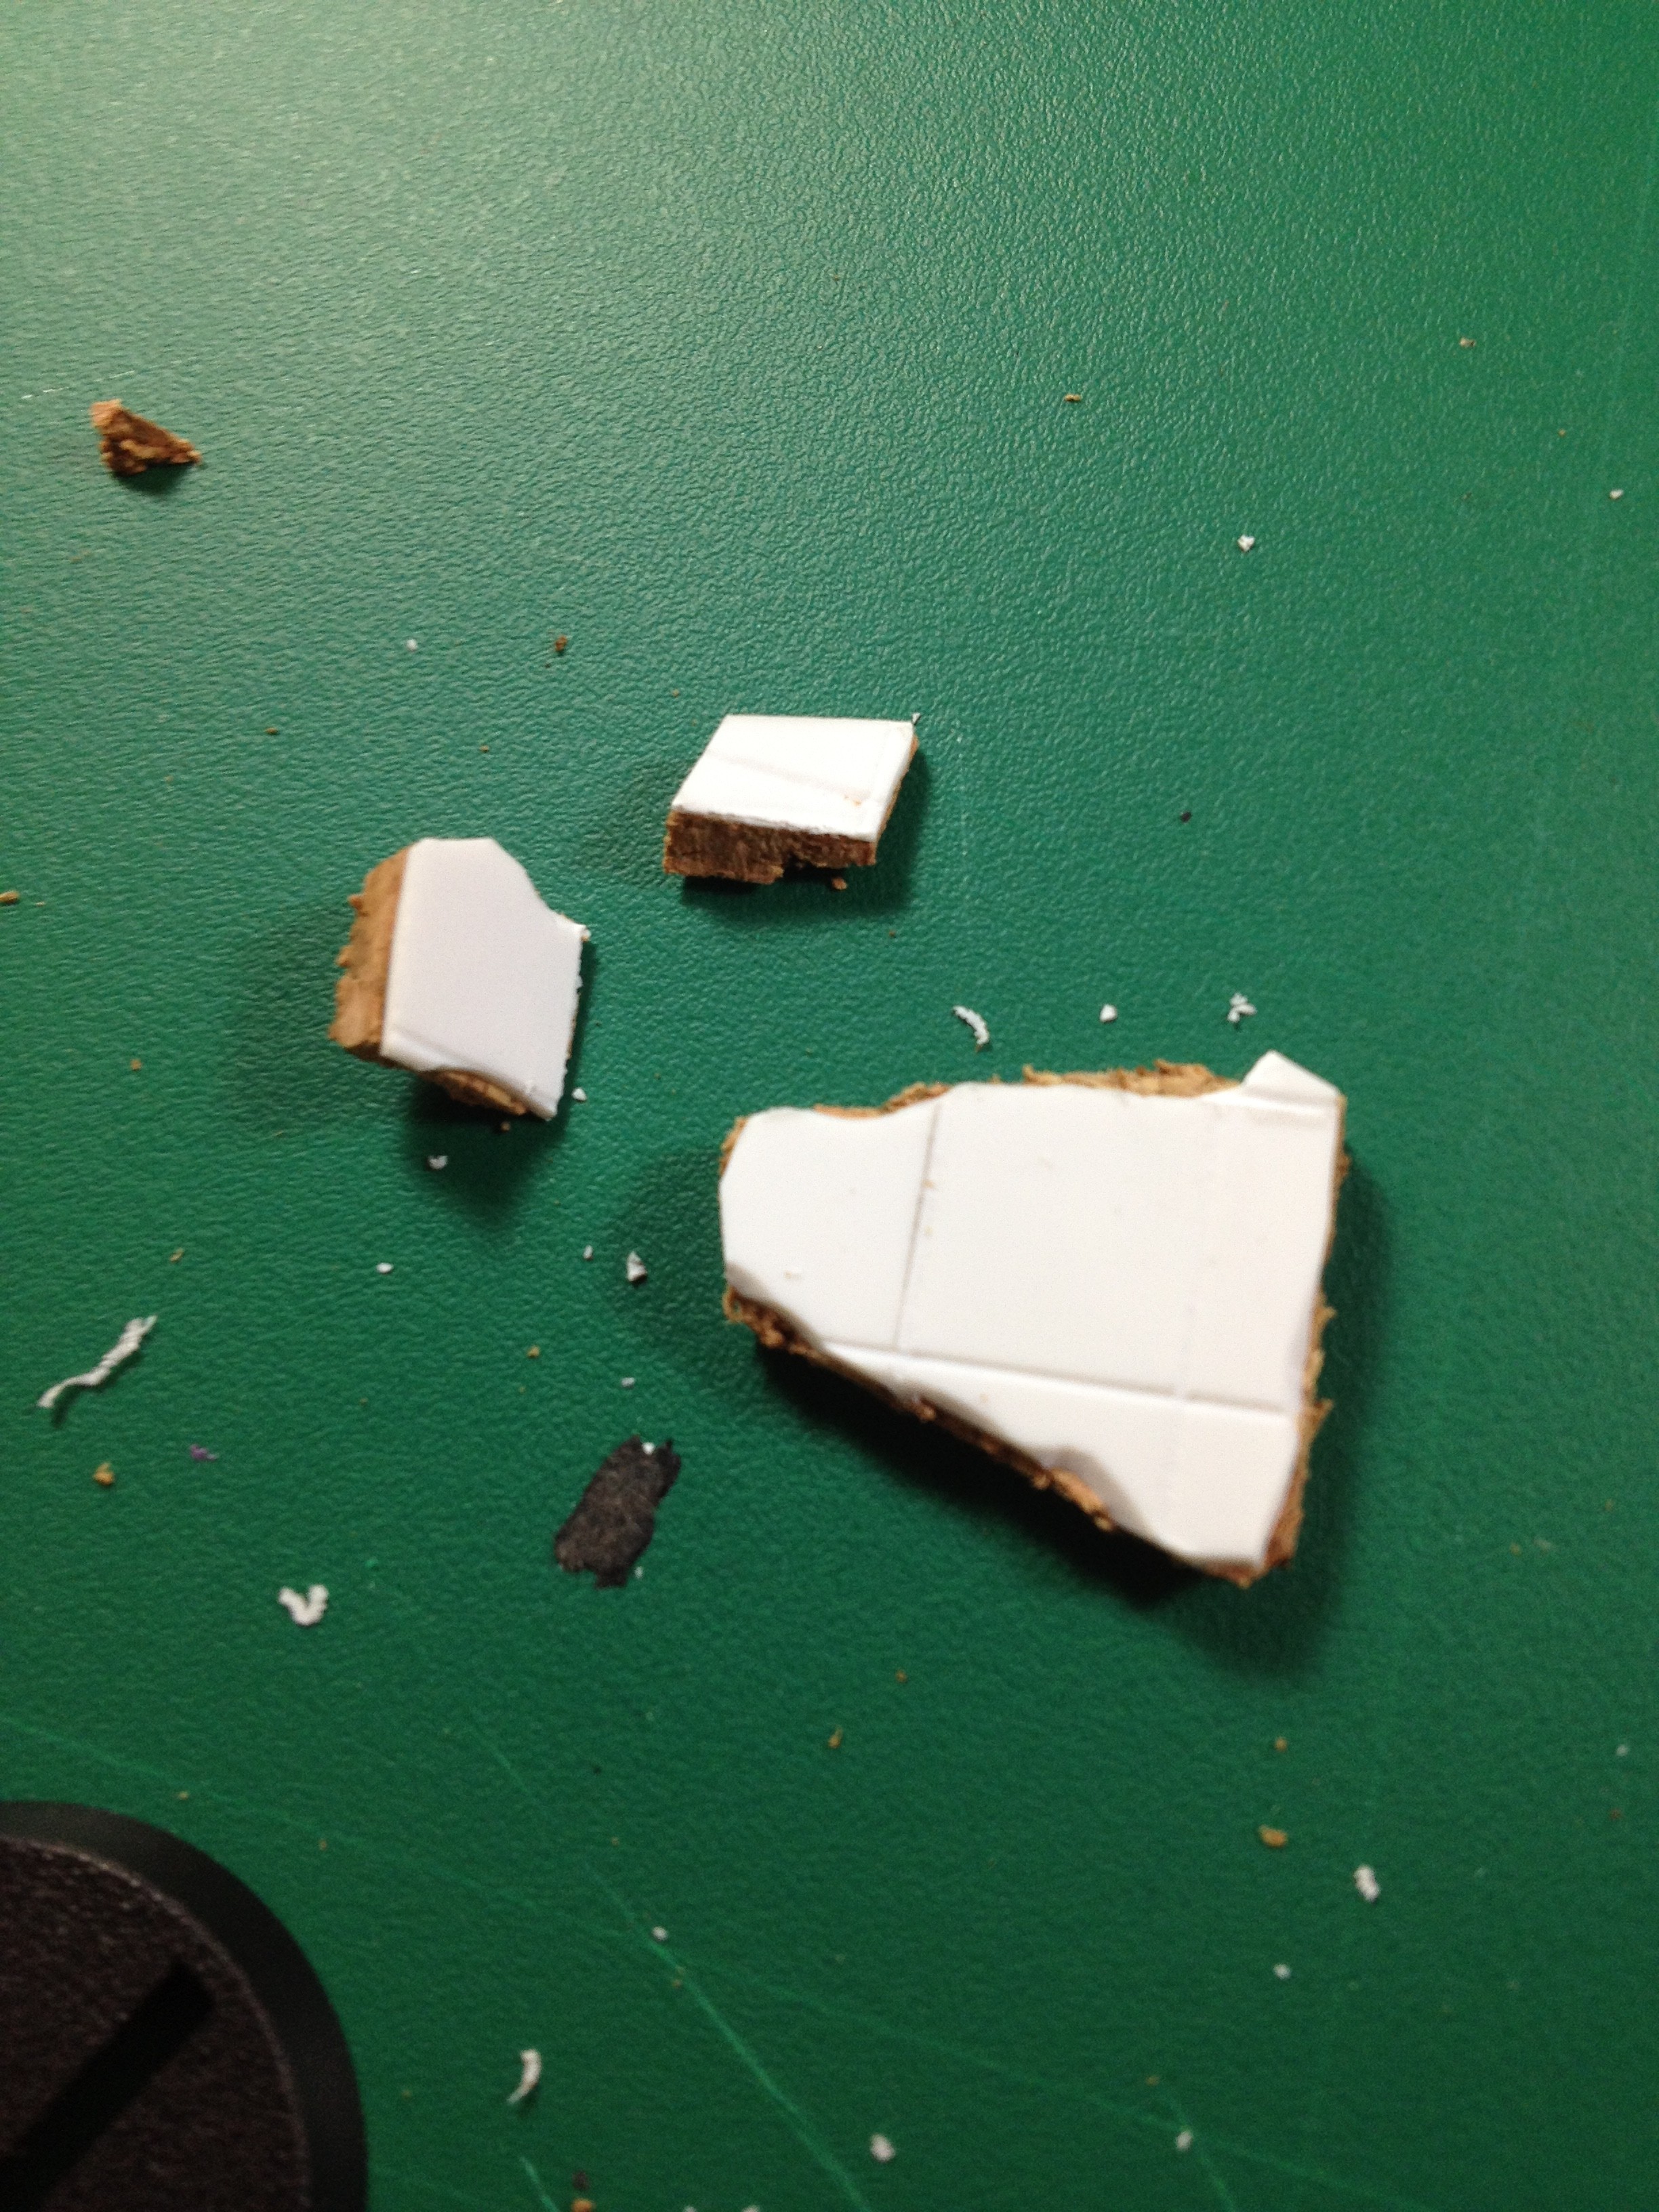
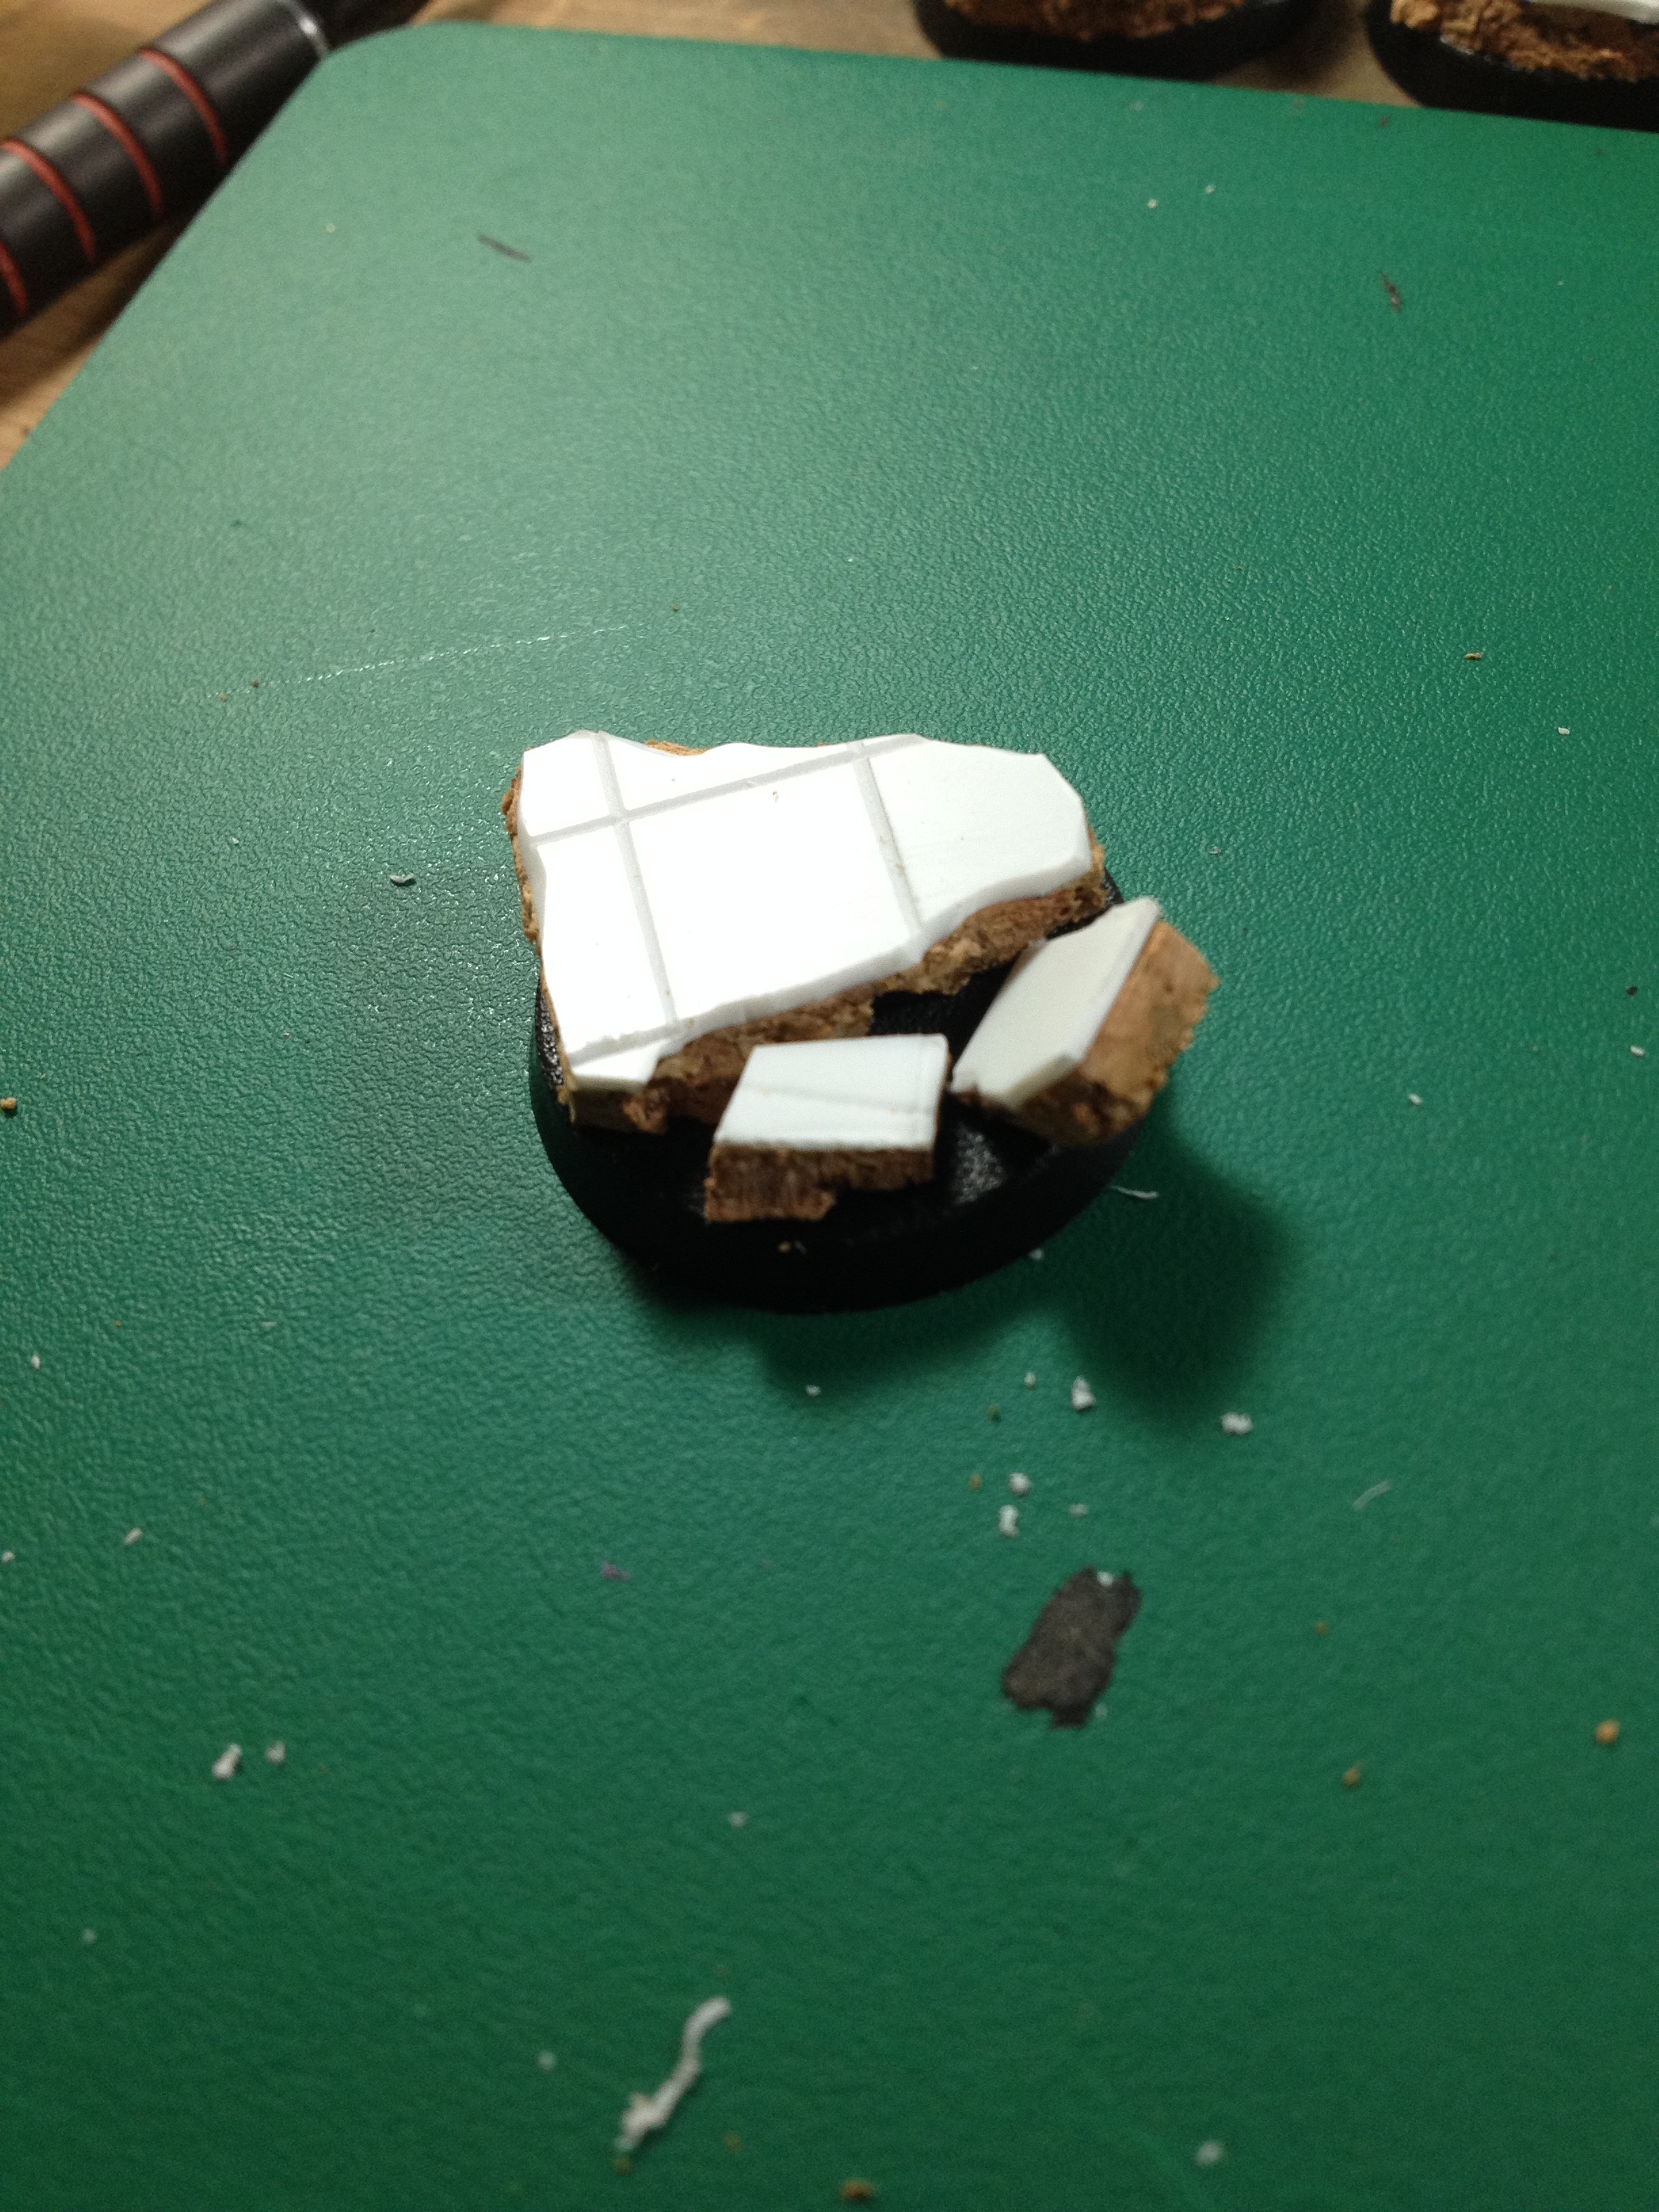
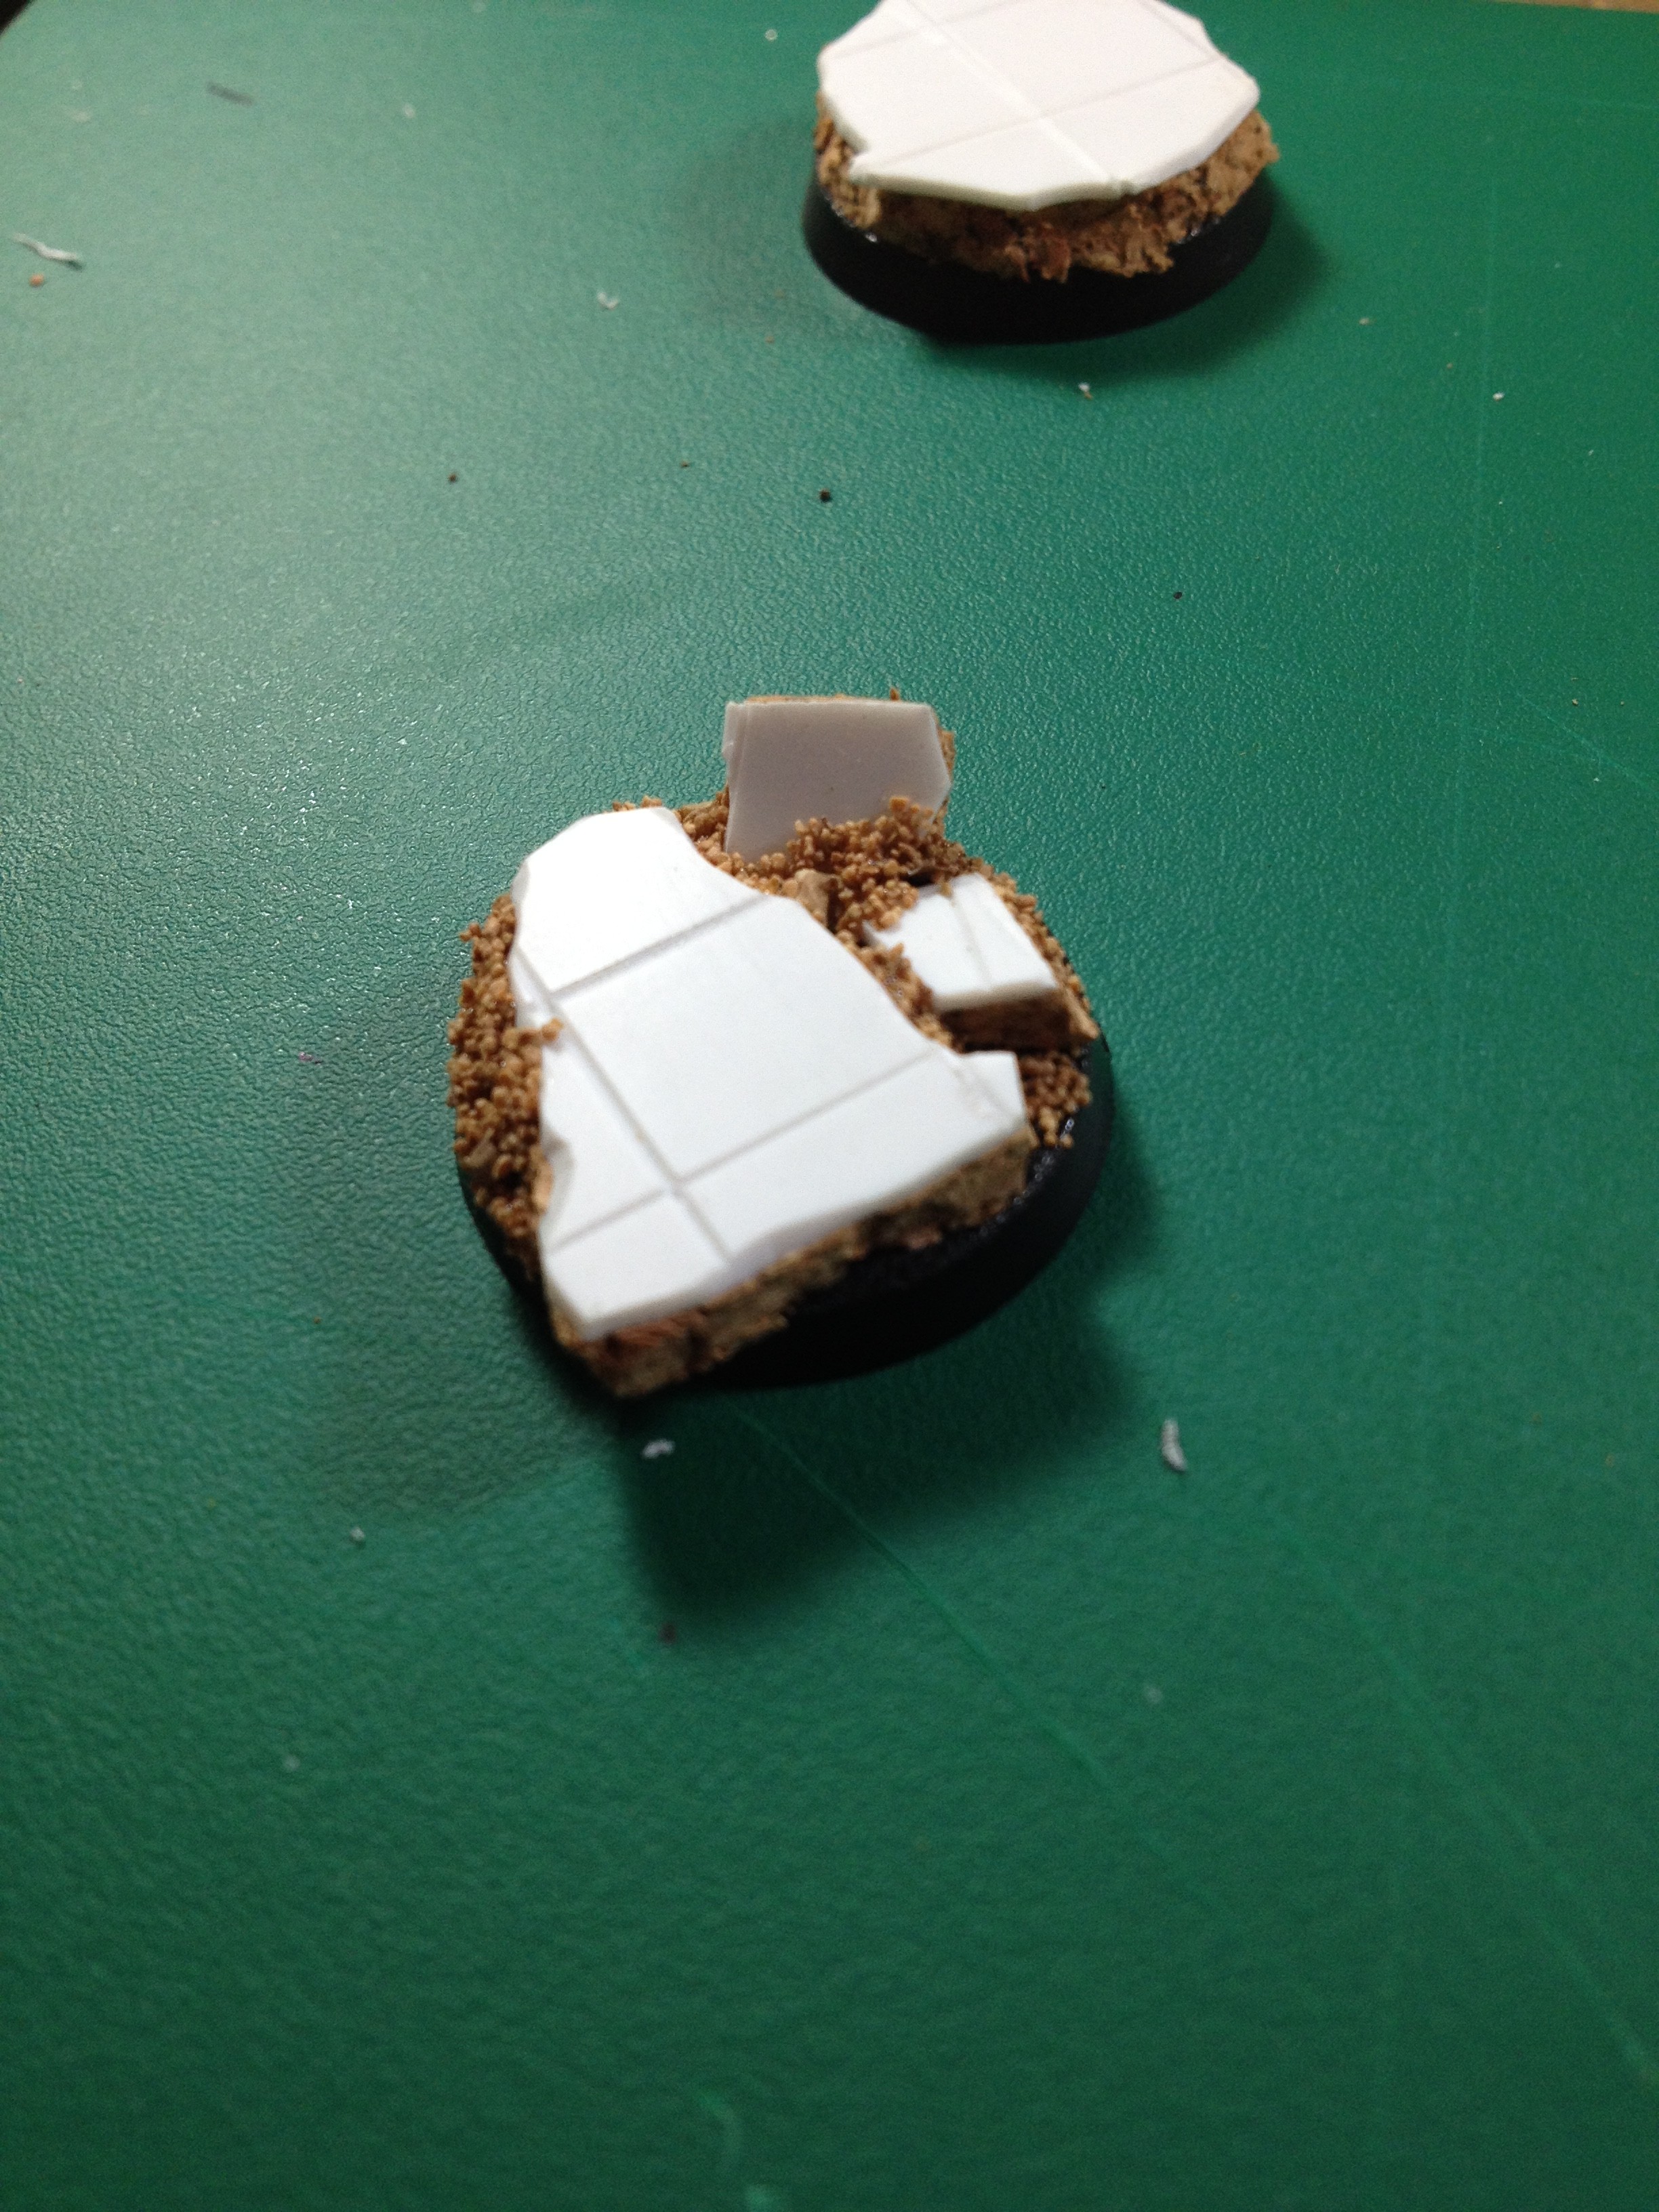
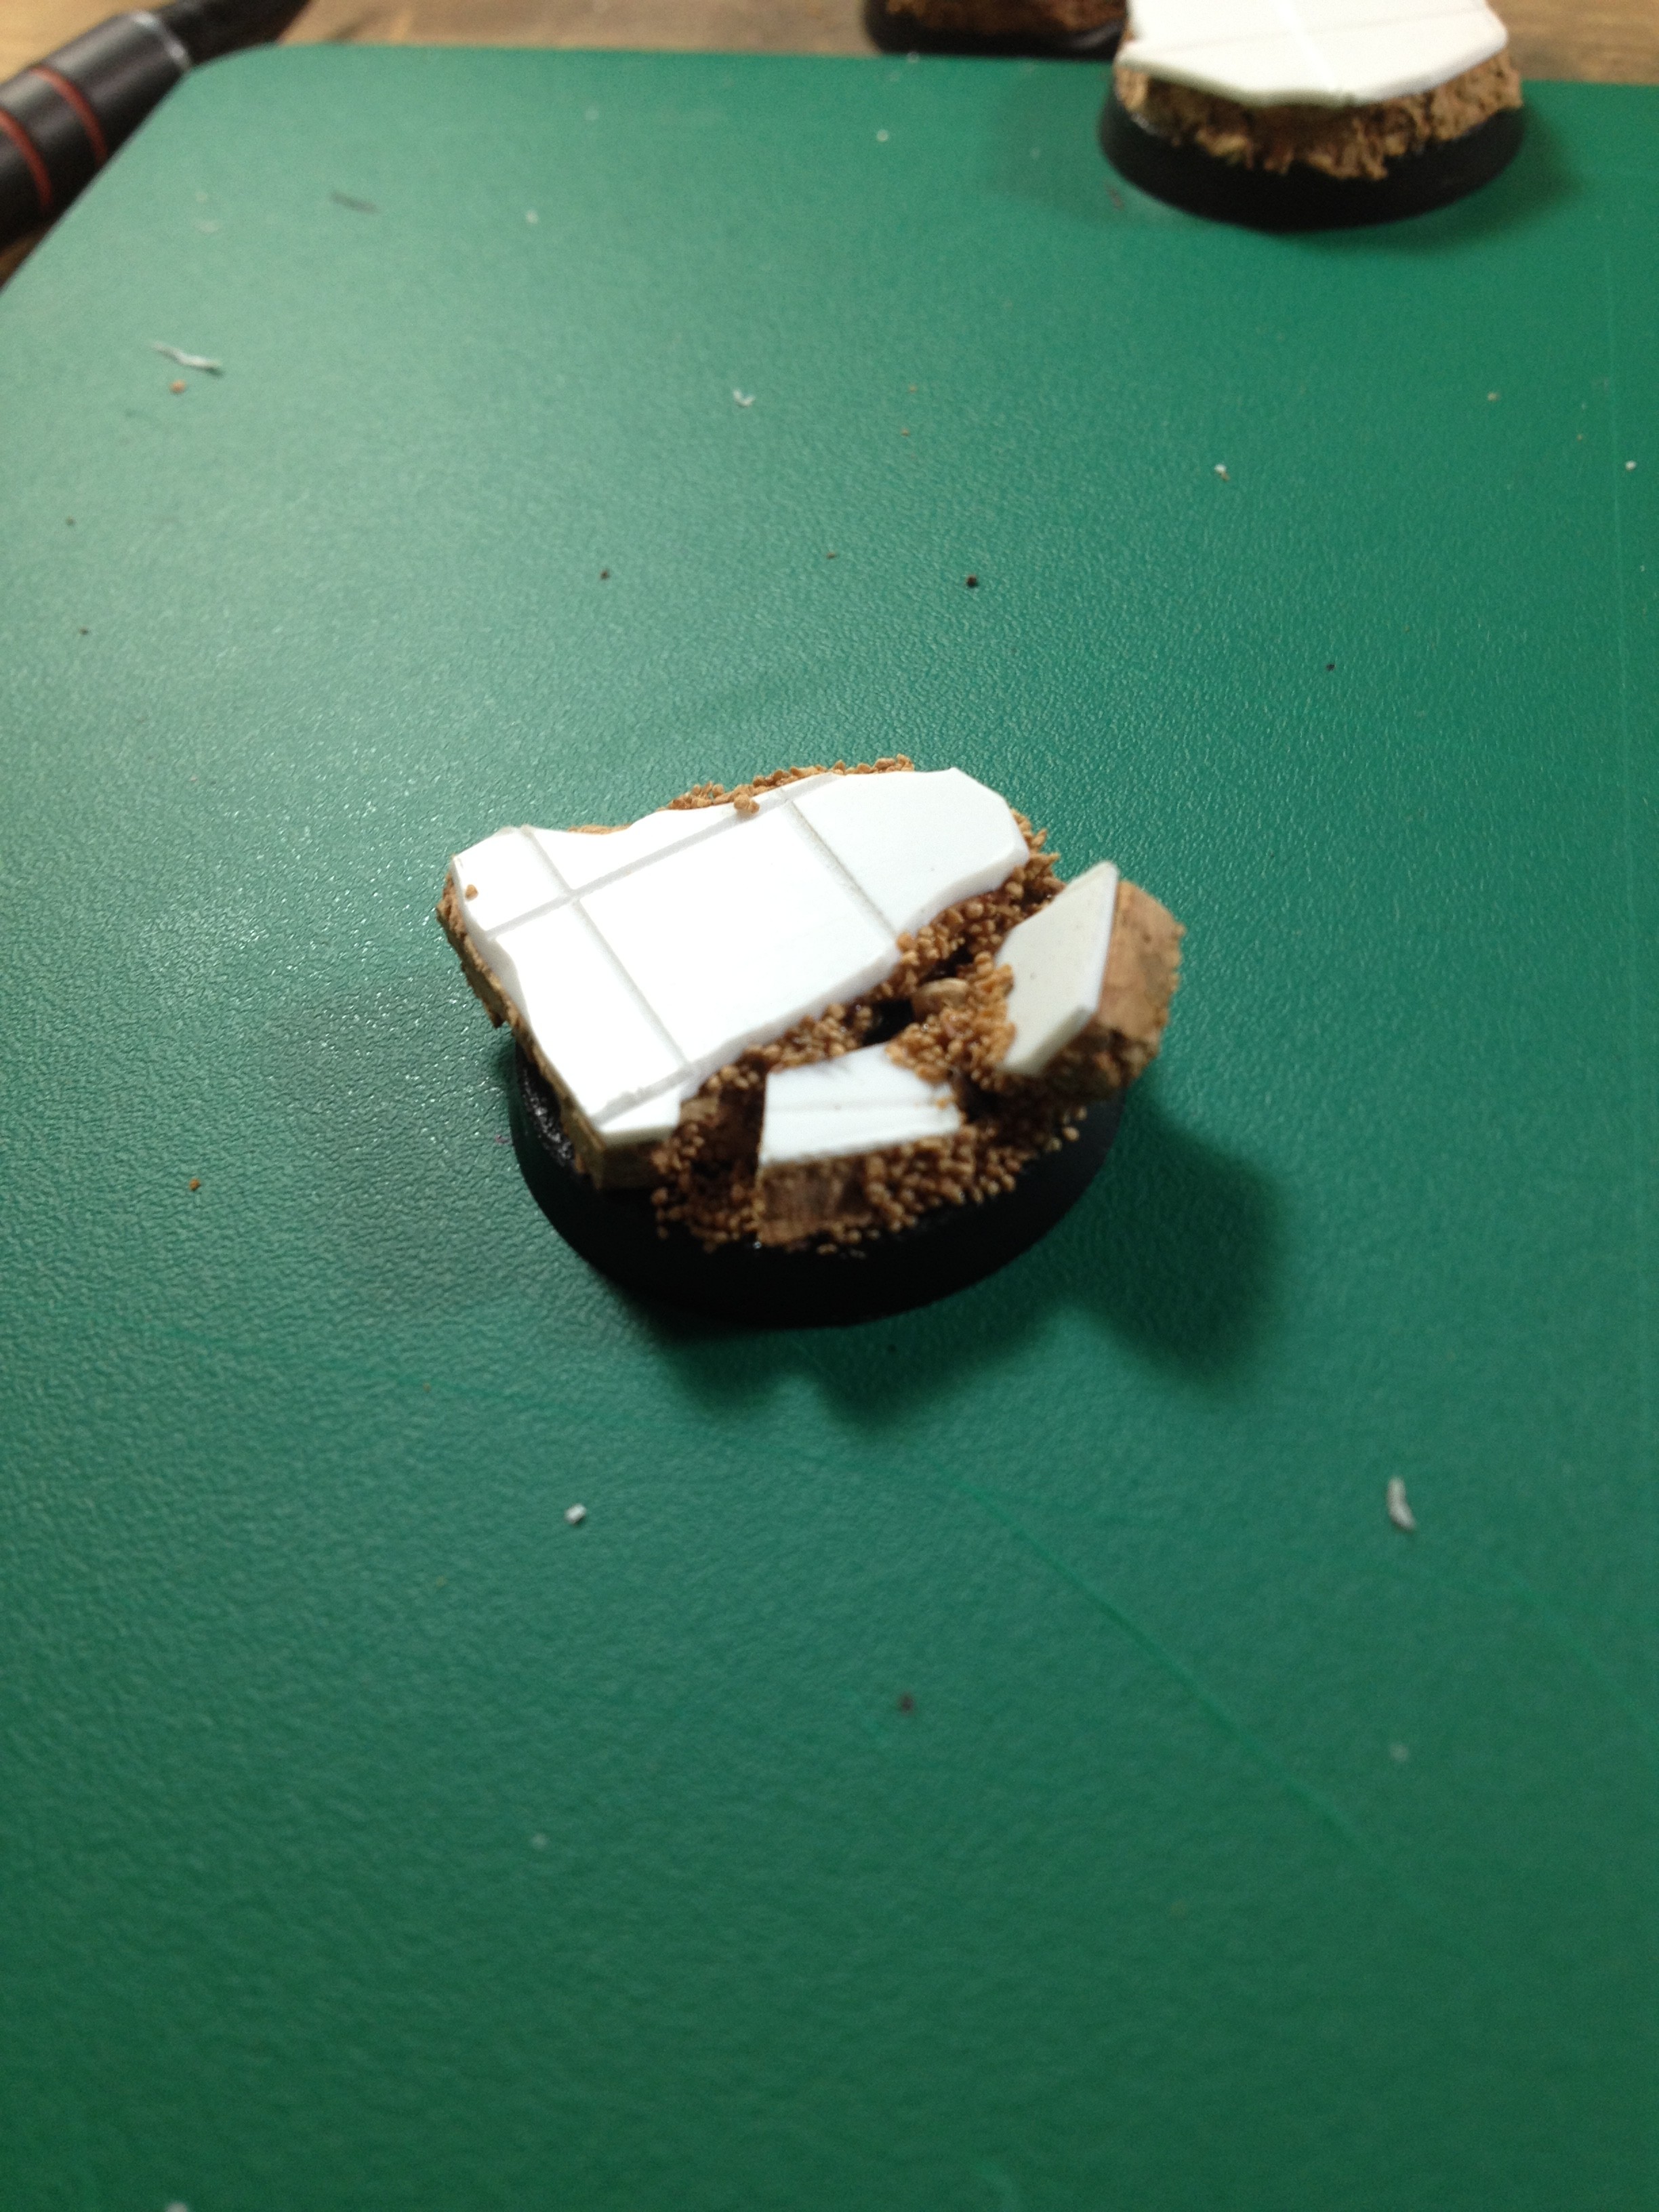
If you really want to make something special for characters or more scenic bases you can attach the cork to the plasticard first instead of the base, cut out smaller sections and trim the cork at an angle to look like jagged pieces of tiled floor then glue them to the base. Ensure that you leave enough flat space for the model to stand on!
On these i’ve added some sand between the smaller floor sections to look like rubble from the destruction of the building floor, this can be substituted for your basing material of choice to fit with the rest of your army as well.
Cheap and easy plus it looks great on the table top!


