Would you like to learn how to paint themed bases? Painting a theme on your bases is another way to unify your army rather then just painting the armor all the same color.
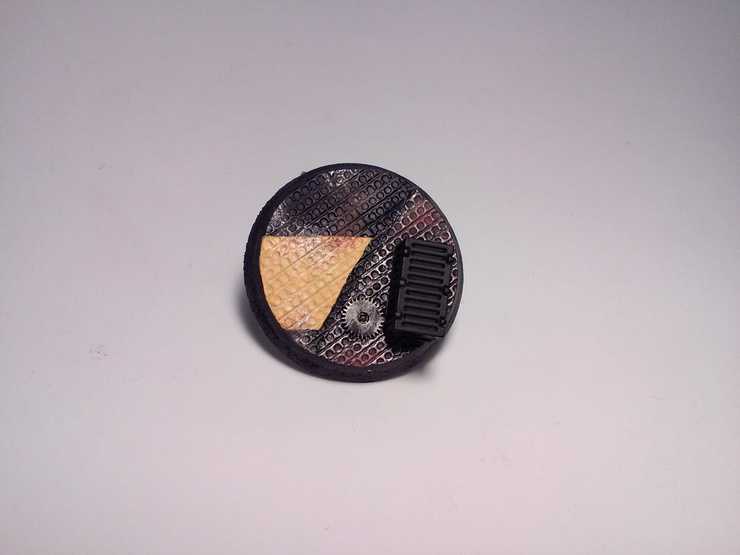
The first step to making a themed base is to pick a theme. This can be whatever you want. It can be based on the fluff or you could just base them up in a way you think looks cool. Nowadays the options are pretty endless with many companys making different bases for different themes. For my theme I decided I wanted to do an interior ship look on all the foot slogging models and an exterior look for all my fast movers. This way it looks like all the fast movers deployed first and in advance of the rest of the army. I chose secret weapon minis steel plating bases for this demo.
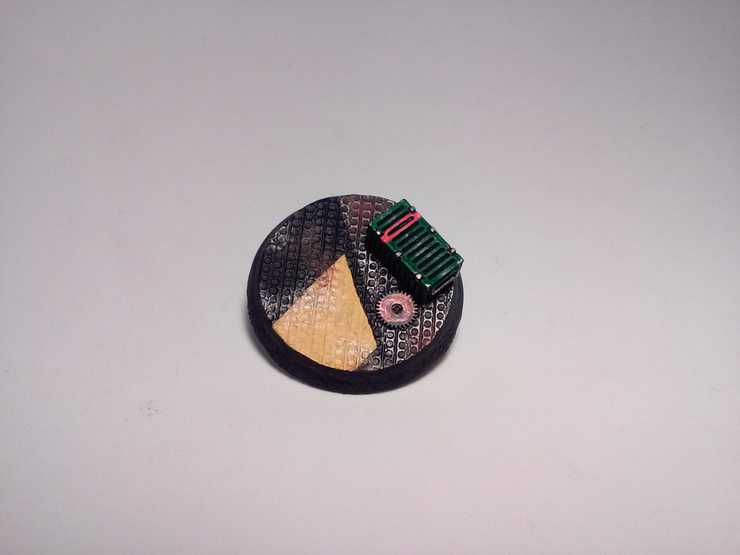
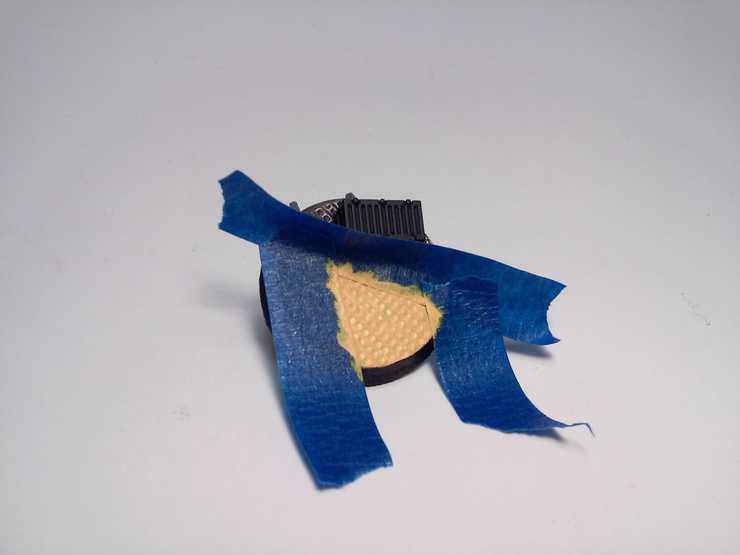
Now that you have your theme you are ready to start painting. With my theme I wanted to make it look like these guys were standing just on the exit ramp. So I wanted to give it hazard striping and a metal look. I started this by taping off the area I wanted to be metal. Then I lay down a basecoat layer of leadbelcher. After the Leadbelcher is dry I wash the whole thing in nuln oil. Once thats done then I drybrush on Runefang Steel. And finally to give it that realistic look I add a little rust powder here and there. You can get rust powders from most hobby stores just make sure to seal it after applying as powders will just blow off the model.
After I get done with the metal its time to start on the hazard striping. For my hazard stripes I wanted them to be pretty big and moved thru all the bases. So once again the tape was relocated and set so that I could paint the hazard stripe. Now that its all taped off I start with a base layer of Yriel Yellow. Then I add just a little Flash Gitz Yellow into the mix.
Now you could stop there if you like with the hazard stripe side. However since I added rust to the one side I want that rust and wear continued over to the hazard stripe side. I take the stipple brush and add leadbelcher and Xv88 to the hazard area. You want to be very random with your placement.
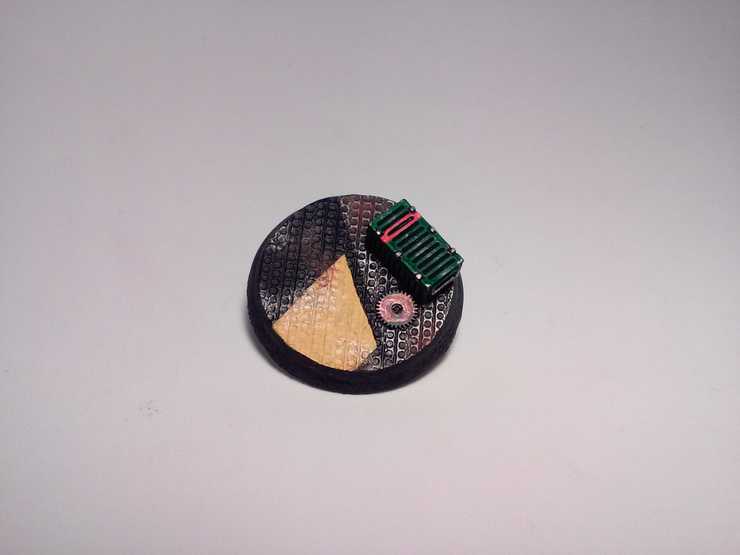
Lastly your ready for those final little fun details like the crates and sprokets. For these you can do whatever colors you like. For mine the crate was done by starting with a basecoat of Warboss Green. Its then washed in a thick wash of Coelia Greenshade. Then I added the stripe with just a line of mephiston red. Followed with a layer of Troll Slayer Orange. Now that the crate is all painted up I needed to add wear to it to. This is done again with leadbelcher. I just add some lines and some scratches on all the edges and on a few spots on the top and sides. For the sproket I started with a basecoat of brass scorpion. Then Washed it with seriphim sepia. Added a drybrush of Sycorax bronze and lastly added some Nihilakh Oxide around the edges. And Viola! you have your realistic base ready for a model.
If your feeling really passionate about making everything themed you can then continue this theme onto all the bases for the squad. This is a little tougher. What you will want to do is find a box or piece of board you can attach all you bases to. once you have something you can attach them to affix them to it using wall hang putty (blue tack). You want to arrange the bases on the board in the way that you want them to stand as a squad. After they are all tacked into place then paint the theme all at once as though it is one picture. Meaning run the tape all the way across the bases so that your lines are straight thru all of them. And then paint them all at once. IF done correctly the completed process should look something like this.
More than anything have fun with it!

