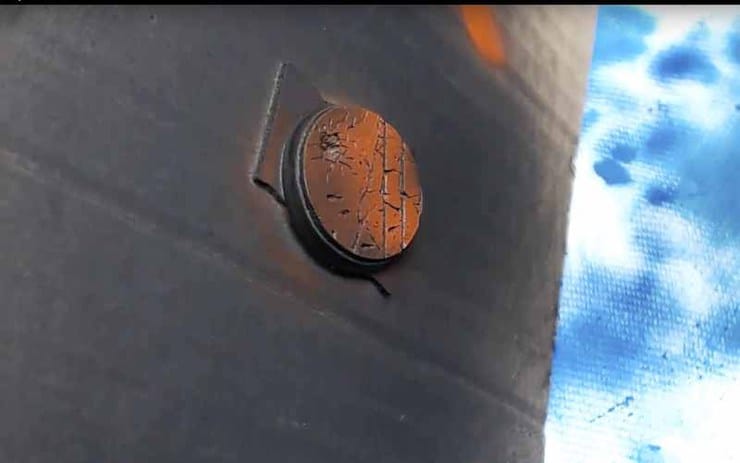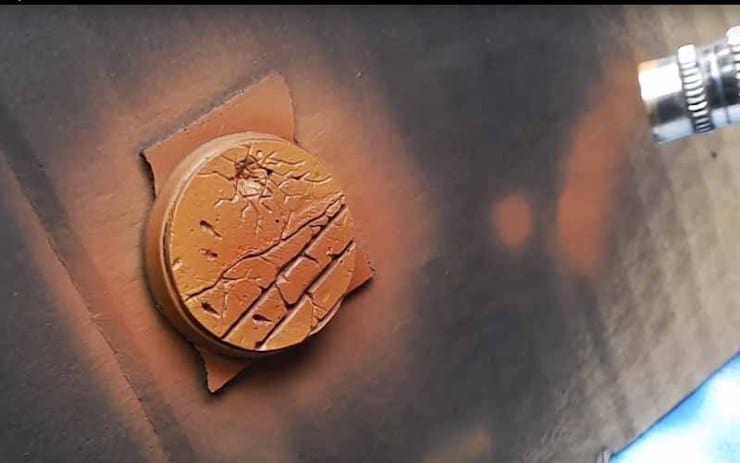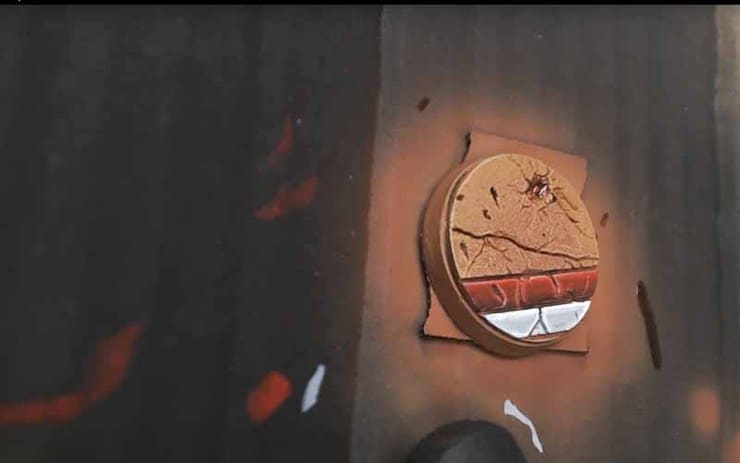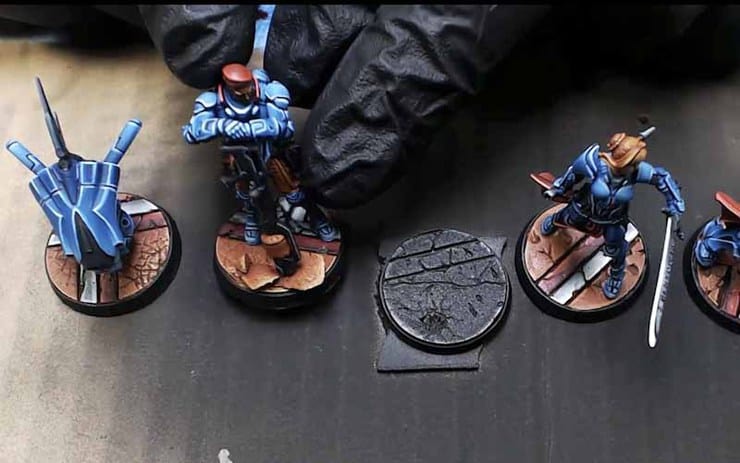
We’re working with ruined temple resin bases from our friends over at Secret Weapon Miniatures; these things are sick and amazing; one of my favorite bases. Going along with these Pan Oceana bases.
The trick is that I’m using two colors, which I’ve been using throughout the model painting process to tie everything together; Calvary Brown and Orange Brown.
First we hit the base with Calvary Brown.
The we lighten it up a bit with the Orange brown and hit the edges; don’t over think it, it’s really simple. You’ll notice in the video I didn’t even wait for the base coat to dry.
Then you’ll go over the cracks and the dark parts with the darker shade of Calvary brown with a smaller brush.
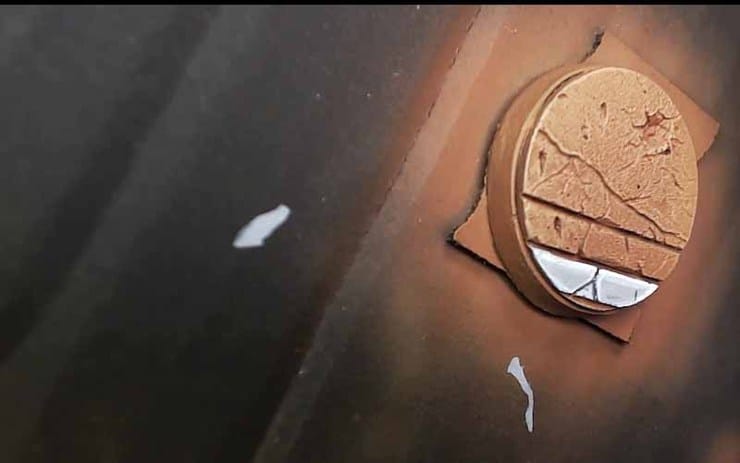
Then we go to the most ancient of the techniques, the dry brush. I’m sure a Tibetan monk was doing this technique millennia ago atop a mountain as the crested over the peak. I use the sunny skin tone, dry it up, get your dry brush and literally go nuts. It’s a really effective technique. Probably the first technique we all learn.
Then we start painting. I start grey, then just lighten it up over time blending it in. It’s still really wet as I go and I’m just going to blend it back and forth. You’ll see in the video it’s not hard. If you’re new to this technique bases are a great place to start because it’s not necessarily front and center.
Then we go in and fill in some of those cracks with the grey instead of using a wash.
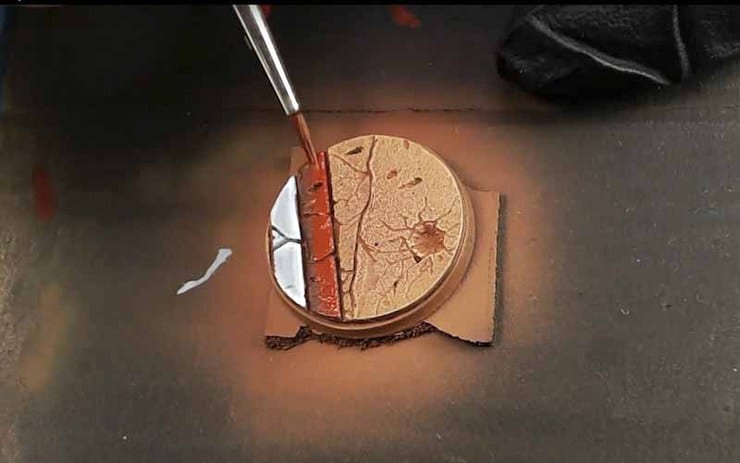
Then we go with Black Red, from the Vallejo series, I absolutely love this shade. I go thin and do multiple coats.
Then we go to THE best red, Game Color Scarlet Blood, it’s so amazing, mix it in 50/50, I just draw a stripe, you don’t even have to worry much about the blending because the paint practically does it all for you, just go over it one more time with the 50/50 mix.
Then we go back to the sunny shade and hit the highlights.
Last Step, Dark Sepia Game Color wash and trace the fractures in the rock center, the opposite of dry brushing and highlighting but we aren’t just going gangster on it; we’re controlled about it. Don’t let it spill over the edges. Brush it in and let the water and the texture of this amazing 3D base do the work.
For an in-depth blow by blow hobby tutorial please check out the video below!

