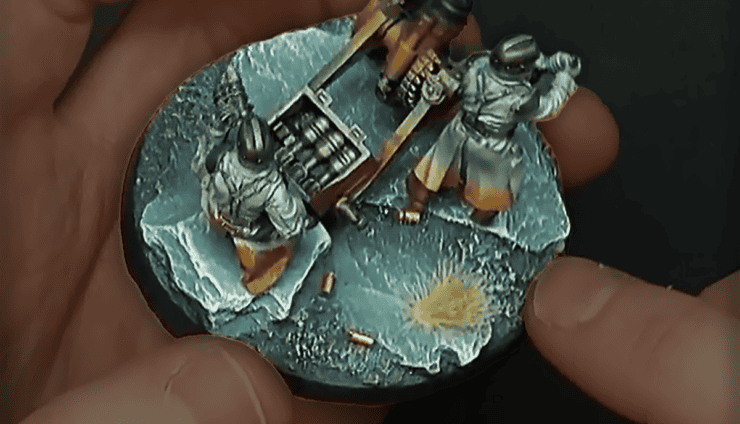
Hello everyone, Today I am going to do another back to basics this time on how to paint gold.
With this step by step tutorial you will be able to paint more realistic gold with ease.
As with most of my articles I will be using Games Workshops paints. The paints you will need for this are as follows.
1. Brass Scorpion
2. Druchii Violet
3. Sycorax Bronze
4. Runefang Steel
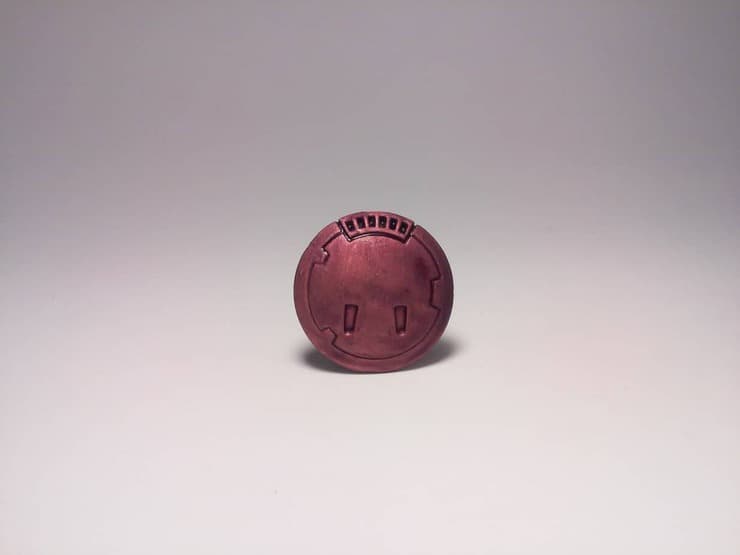
Now to start with I primed the area with black primer. After it was primed I laid down a basecoat of Brass Scorpion over the entire area that I want to be gold.
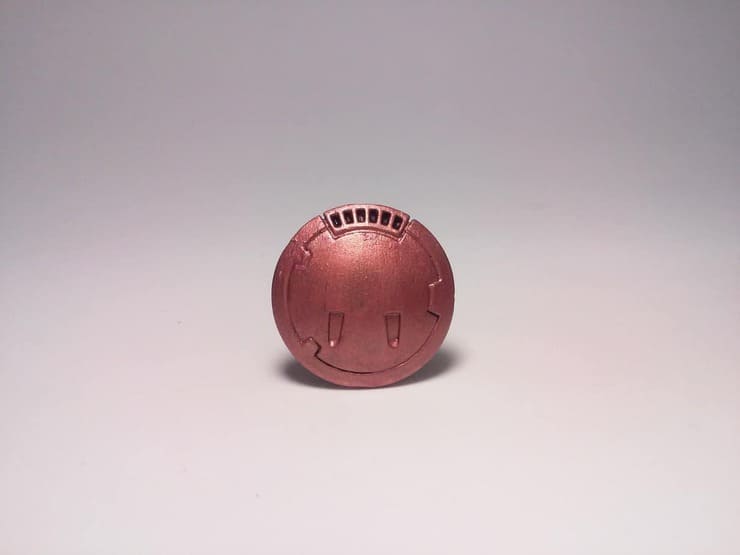
Once this basecoat is fully dry you will want to coat it in Druchii Violet. Druchii violet gives a lot of depth to many different colors. I prefer to use it in most places that people use Seraphim Sepia.
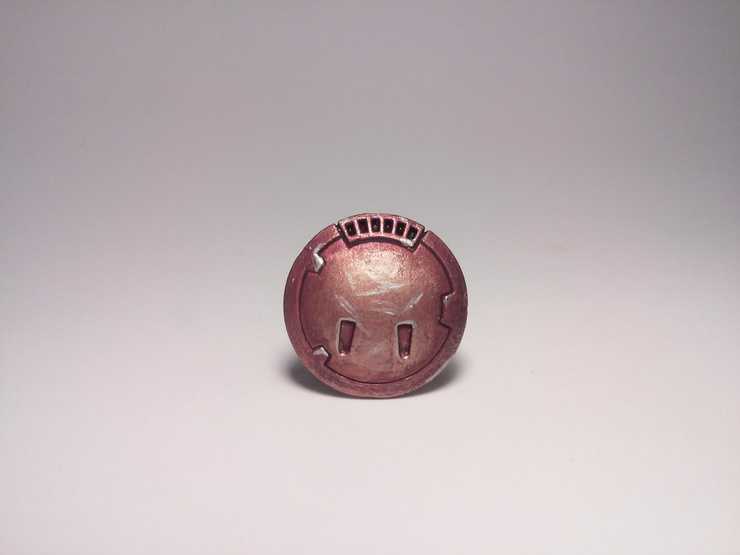
Wait for the wash to be completely dry before starting the next step. Using a drybrush, you will want to put another coat of Brass Scorpion on. This time however leave all the dark parts druchii violet. I left the inner circle violet around the edge and the outer circle violet closer to the center for a more realistic look.
Using the drybrush again, go back over the areas you just went over only this time with Sycorax Bronze. Once again leaving the Brass Scorpion exposed closest to the violet.
Now to finish it all off you will need Runefang Steel and a detail brush. Take the detail brush and hit all the edges and corners with Runefang Steel. You can also add dents and dings at this point. This is easily achieved by just putting dashes of Runefang randomly around the gold area.
Thats it you have now painted Gold!! You can use different colors of gold to achieve different brightness. This explanation creates an almost bronze-y gold but I think that looks better on alot of these models that are supposed to be old and battle worn. Well thats it for now, until next time. And as always Have Fun!!!
