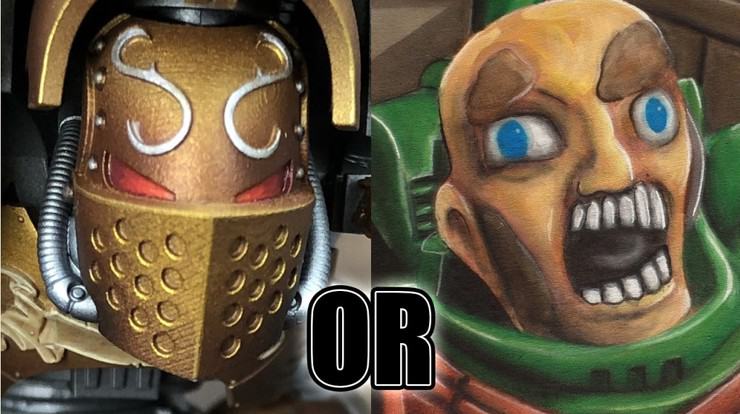
Straight eyes are better than crooked ones. Here’s how to do it, and make your latest Knightly reinforcement stand out from the rest.
So your Knight is painted up but needs that final detail done…what is left to do? Why not try getting some sick fades on the eye lenses and bring that Knight to life!
Painting Straight Eyes
Imperial Knights can be fairly easy to paint up and get to look fantastic. The final touches to painting up amazing knights are the piercing eye lenses on their helmets. The method for painting these lenses easily can be used for other applications as well, such as tank viewports, targeters, and eyes on Space Marines. Take a look at these easy steps to painting up these lenses!
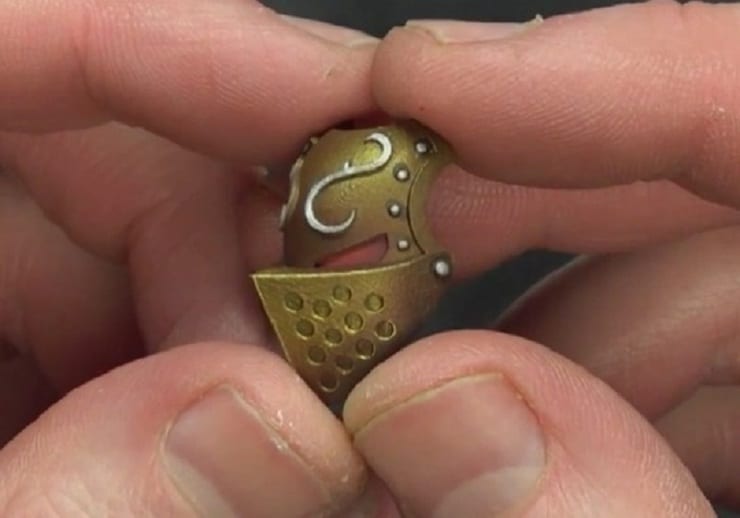
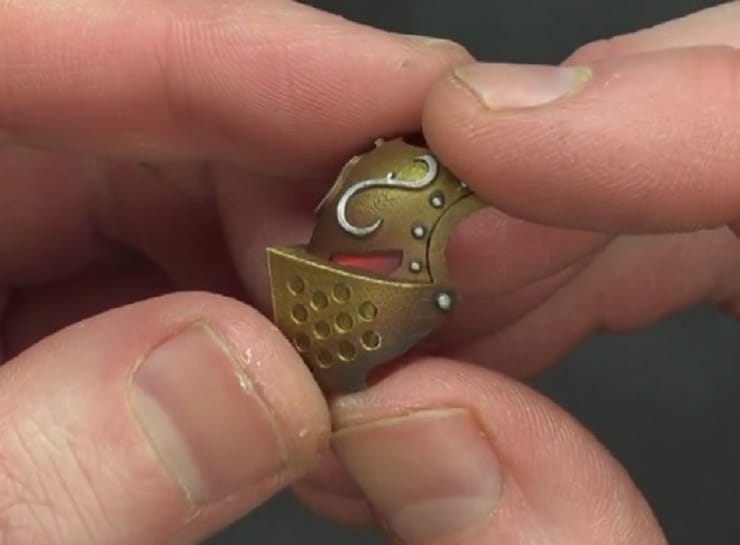
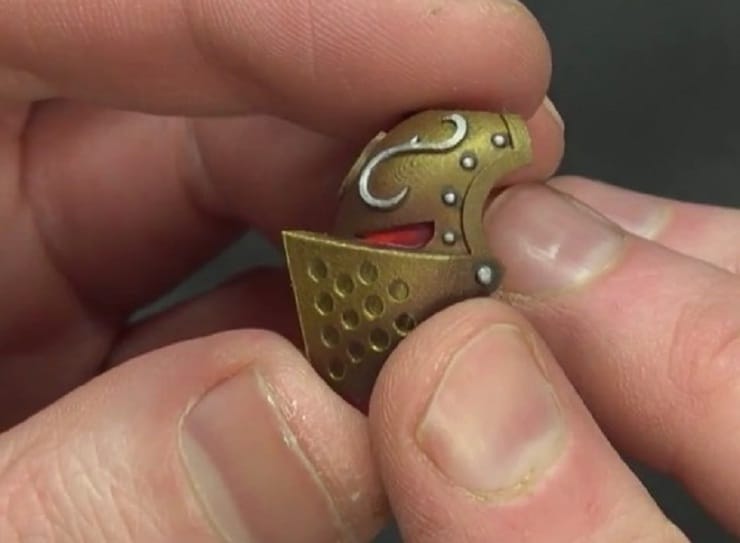
To get the piercing red gaze on the Custodes Knight’s faceplate, the first step used is Scale75 Deep Red. In the bottle, it looks like a purple-red, but out of the bottle, it is not a true purple-red. It ends up working very well as a base layer for brighter reds. To apply, carefully pull the color towards you to avoid getting any paint on the golds. Once the base layer is done, Scale75 Blood Red is applied and glazed back, ending about halfway back from the tip. This creates a subtle transition back, leaving a shadow in the corner and bringing brighter colors towards the nose of the model. This may take a few coats, depending on how thick your paint is and how opaque you would like the color.
Antares Red is up next, which is a very bright red. This will be a striking transition from the previous colors, which are more shades and subdued colors. The same technique is involved, painting halfway up the previous color. Again, take up the layers as high as desired for your brightness level. Mars Orange is then mixed into the Antares Red to bring up a very bright highlight and add a slight transition into orange. Finally, straight Mars Orange is applied into the very corner of the eye as a final highlight.
Once the paint is completely dried, a glaze will be applied with Future Floor Wax. First, a small amount of deep red is mixed with Future Floor Wax and water for form the glaze. The goal is to get a lightly tinted filter that has a bit of shine. Apply carefully to the eye socket. This also helps blend all the layers together. Once dry, Gloss Nuln Oil is diluted and applied over the entire eye, especially hitting the cracks around the eye.
With those easy steps, red eyes can be painted up quite easily. You can add more highlights as desired as well. To see all the other colors available from Scale75, check out Elrik’s Hobbies. Be sure to check out the entire tutorial by pressing play on the video below!
