 Rob shows how to magnetize and build the Mega-Gargant and King Brodd kit while comparing them to Matic’s $40 giant model.
Back when they first released in 2020, Rob did a video on how to magnetize the first Mega-Gargant kit. Now with the addition of King Brodd, you can make another two Gargants out of the same kit. We’ll take a look at all the new sprues, but for magnetizing the Mega-Gargant, not much is going to change.
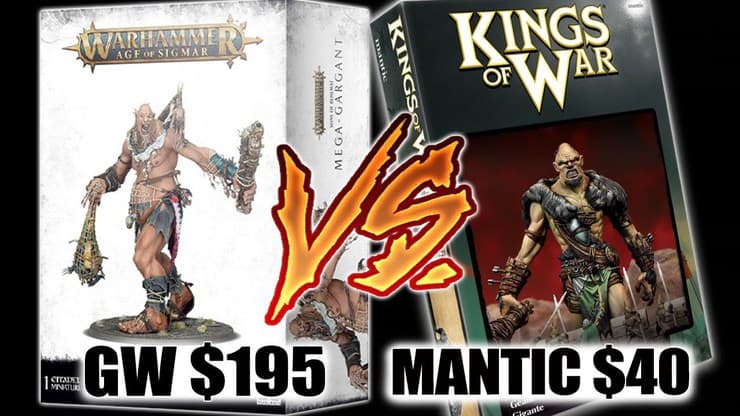
This video is a tale of two giants, one for $210, the other for about $40. We wanted to put the new Mega-Gargant to the test and how it compares to the Kings of War Giant, which is a fifth of the price.
Rob goes over how to get all five variants out of one kit by magnetizing the Mega-Gargant kit. Then compares it to all the other Giant models, looks at the new sprues, and tells you the GOTCHAS to be aware of when building it! We are going to show you everything, including the sprues, bits, and of course, comparisons.
That way, you can decide if this is worth your hard-earned hobby dollars. Let’s go!
New King Brodd Sprues
As we said, the base kit stays the same, so let’s start off by seeing what you get for the extra 20ish dollars with the release of Games Workshop’s first $200+ kit.

This colossal kit can alternatively build a variety of other Mega-Gargants:
– Beast-smasher Mega-Gargant – a crazed monster-hunter available to any Destruction force
– Kraken-eater Mega-Gargant – a greedy coast-raider available to any Order or Destruction force
– Warstomper Mega-Gargant – a veteran battle-brute available to any Chaos or Destruction force
– Gatebreaker Mega-Gargant – a grim garrison-smasher available to any Death or Destruction force
This kit comprises 167 plastic components and is supplied with a Citadel 130mm Round Base. This miniature is supplied unpainted and requires assembly

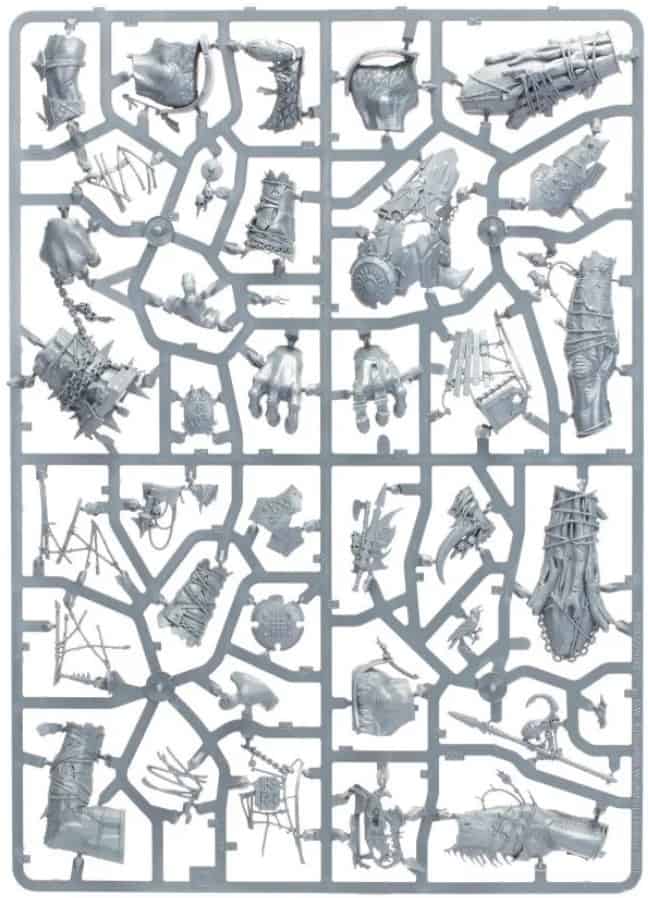

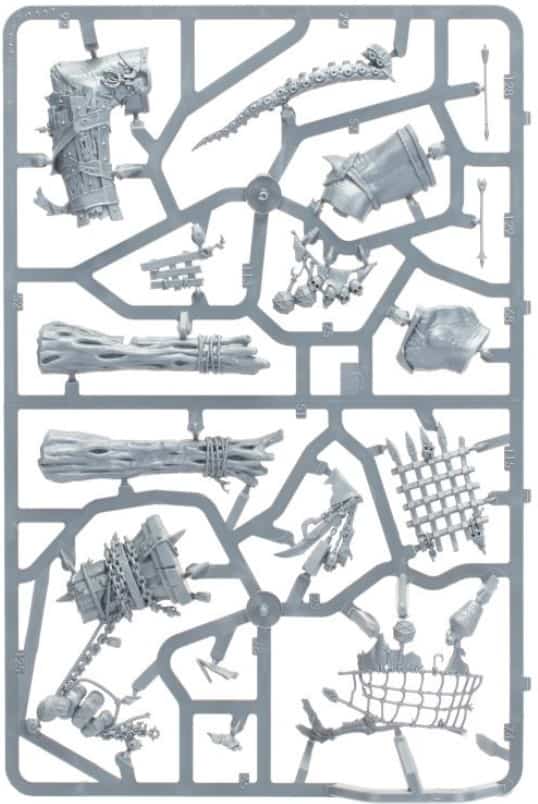
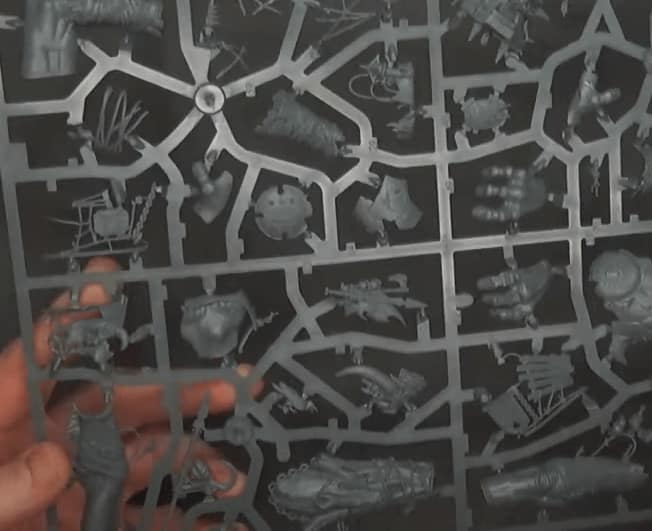
This is the New Sprue That Makes Either King Brodd or Beast Smasher Mega-Gargant Models:

Now with that in mind, let’s see how to build the kit and how it compares to the Kings of War Giant. However, considering this is basically the same thing with some extras, this video uses the older kit but has all the same pointers for magnetizing it.
Age of Sigmar Mega-Gargant Kit Unboxing: Magnetize & Build
Grab Your Own Mega-Gargant & Kings of War Giant!
Click here to get yours for less from these retailers: | Amazon | Dicehead Games | Frontline Gaming
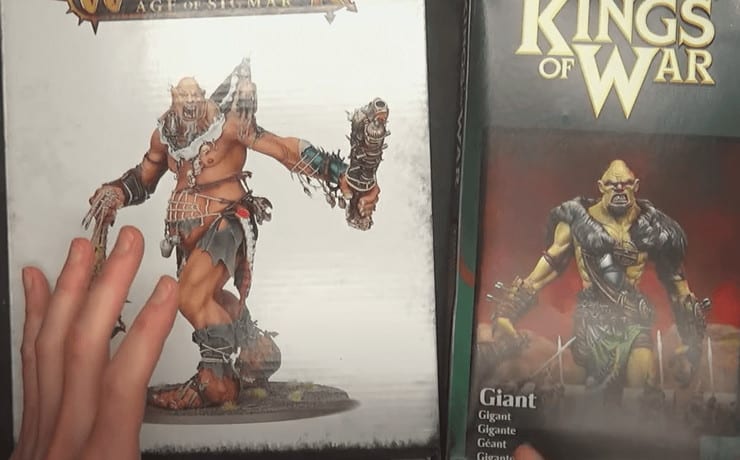 These are the two minis we will be comparing, let’s see how they stack up!
Mega-Gargant Instructions & Sprues
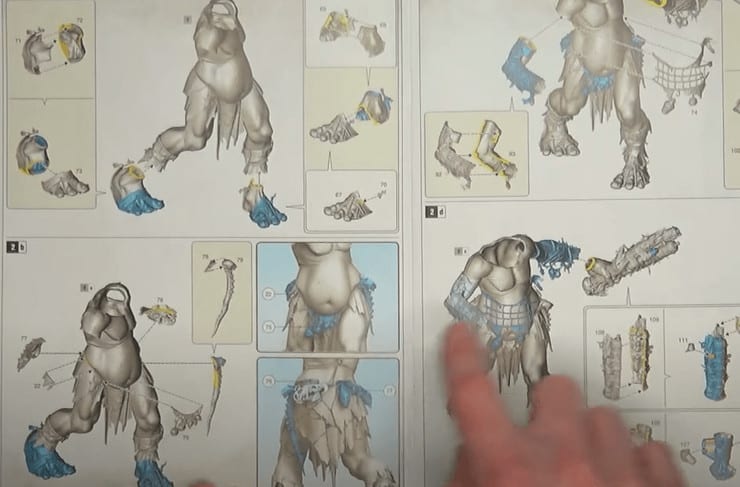 Right off the bat, you can see they show us all the parts that are different for each variant with color coding. There will be a bunch of hollow spaces here, and the instructions look pretty simple. You build the base Gargant first, then start changing paths depending on what variant you want.
Because of all the hollow spaces, magnetizing is possible for the old kit and the new King Brodd sprue. Overall, they are very specific on the views for assembling this, which should help with such a giant mini.
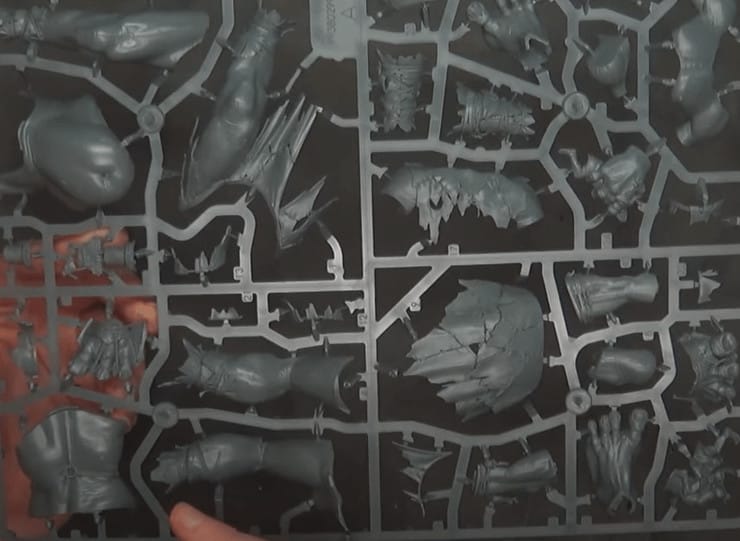
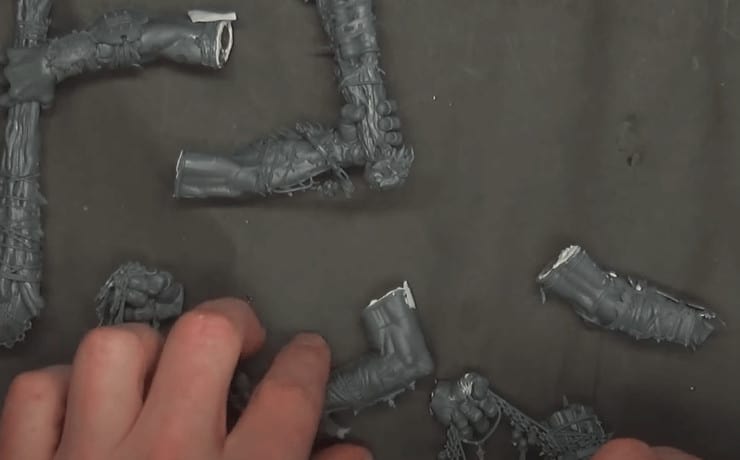
 You get three and a half sprues with this box, and believe it or not, the box itself is bigger than most start collecting boxes. They set the sprues up pretty well for this, and all of the parts are face up. Each sprue has parts for each variant, so it’s easy to know which sprue you need to use.
Again, like with most of the new kits, all the flash is on the points where things glue together. This means less cleaning work and faster build time. If you have the Tamiya extra thin cement, Rob suggests using that 100% for the assembly.
Kings of War Giant: $40
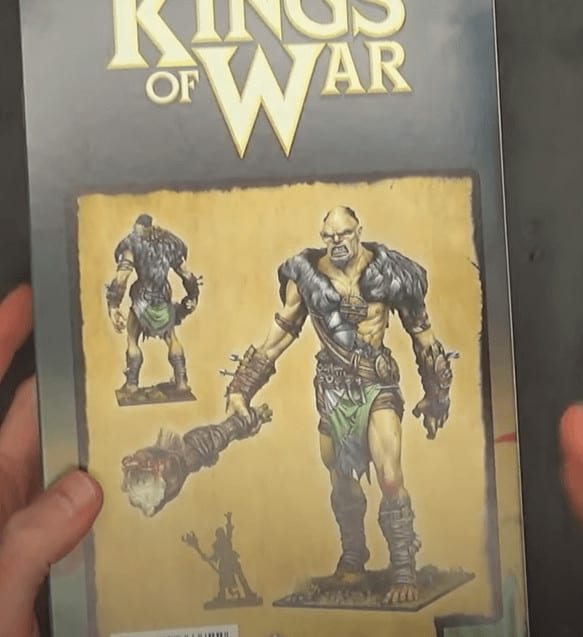 Rob picked this guy up off Amazon for only $40. They also have a frost giant, but Rob didn’t pull the trigger on that, and it looks to be about the same size.
Pieces
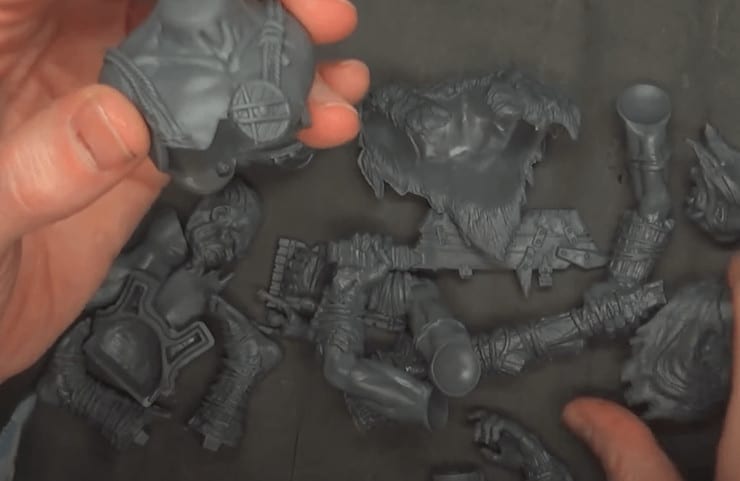 Some people don’t like this material, but it seems very detailed and easy to build. While there are no instructions, it goes together pretty easily. There are a few little gaps, but you can fill them super easily with the Vallejo plastic putty for pretty cheap.
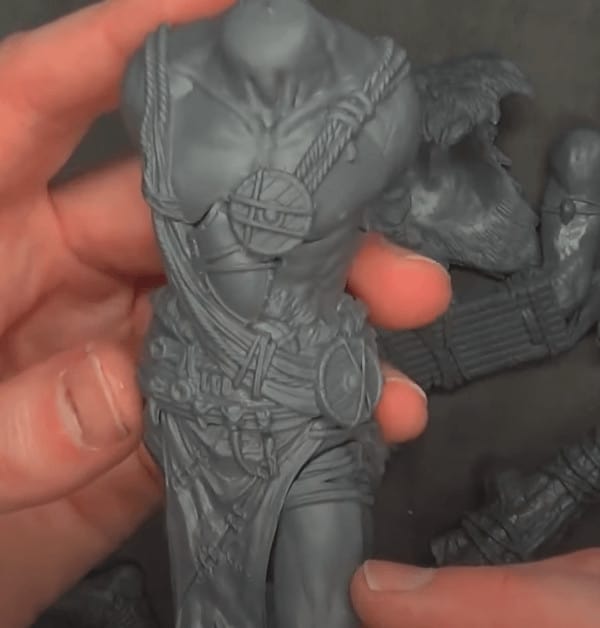 It took Rob about ten seconds to get it half-built without any glue; pretty sweet!
Mega-Gargant Build
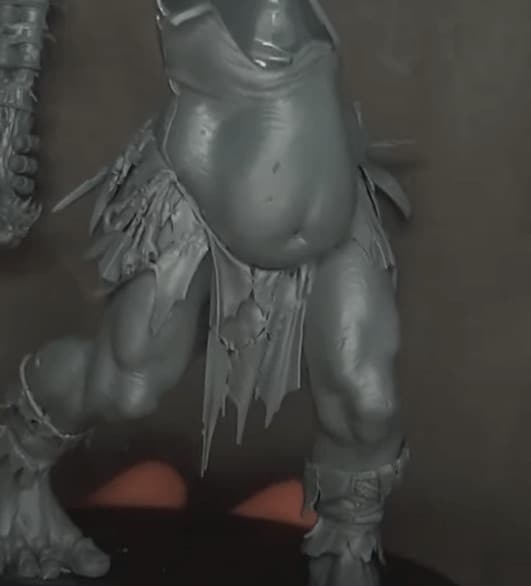 It went together extremely easy to get it to this stage. The shoulders just snap into the top of the belly, making it viable to build it all separately and paint in stages. Also, you could build all three variants from the shoulders up and just pop them onto the top of the torso to change them out.
Magnetizing the Arms
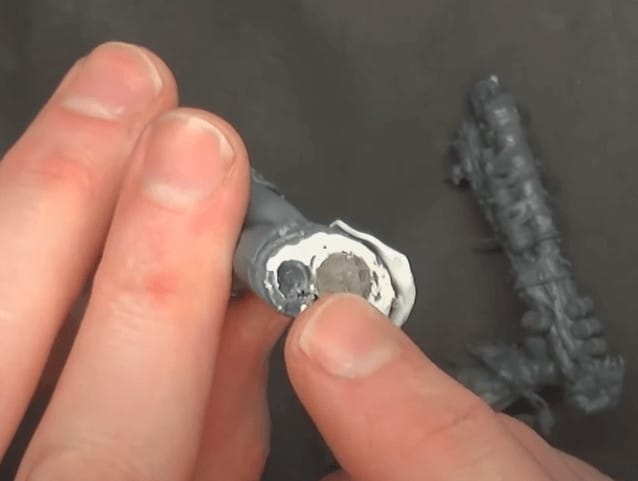
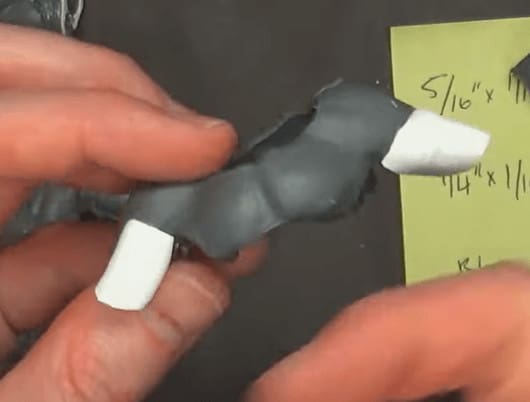
 Rob simply popped a 5/16 magnet (use coupon code SPIKEY10 to get 10% off magnets from the Magnet Baron) into the open area of the arm, then built a T structure with extra sprues to help it stay supported, and secured it with Vallejo plastic putty.
Don’t make the same mistake Rob made, and be sure to center the magnets! To keep the magnet in place, he used the leftover sprue bits and made a little T shape, and inserted it into the hollow space.
This gives it extra strength and won’t let the magnets move around. He also magnetized the different hand options so you can use the same arms and then change hands.
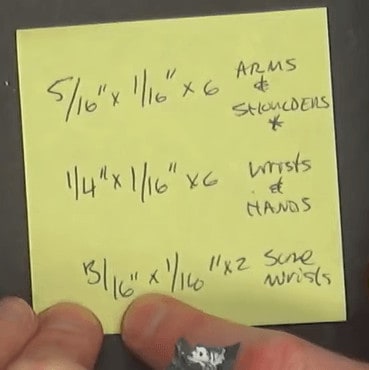 Here is Rob’s little cheat sheet, so you know how many of each magnet you need. Magnet Baron also has a magnetization kit you can buy (based on our tutorial) as well. You can check it out at this link, and remember to use coupon code SPIKEY10!
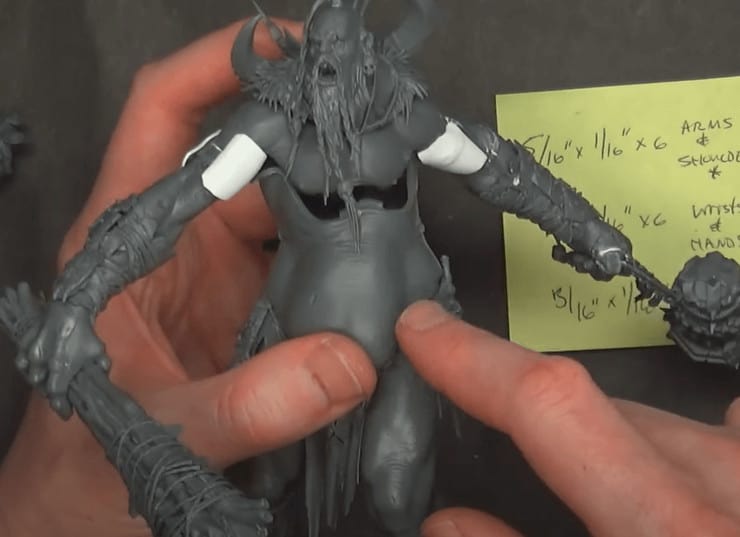
 He added some plasticard to the shoulders, this prevents the arms from torquing due to the magnets. You can paint this up as cloth or armor and heat it up to model it how you want. Just be careful when heating it. If the shoulder is not glued to the torso, it will shrink (much to Rob’s dismay)!
So just be very careful and make sure you don’t get any receding plastic. Rob didn’t do this, so he got a little gapping on the front from using a heat gun on the plastic card while attached to the model, but you can always just fill it in with more bits or putty.
Completed Giant
 You can see the gapping from not gluing it down before heating it, but now you know, so just ignore that. Please don’t make the same mistake! But this is the Warstomper variant, and, if the heating incident hadn’t happened, it would all just fit in easily and look great. This is, however, totally fixable with a little extra work.
Comparing it to the Kings of War Giant
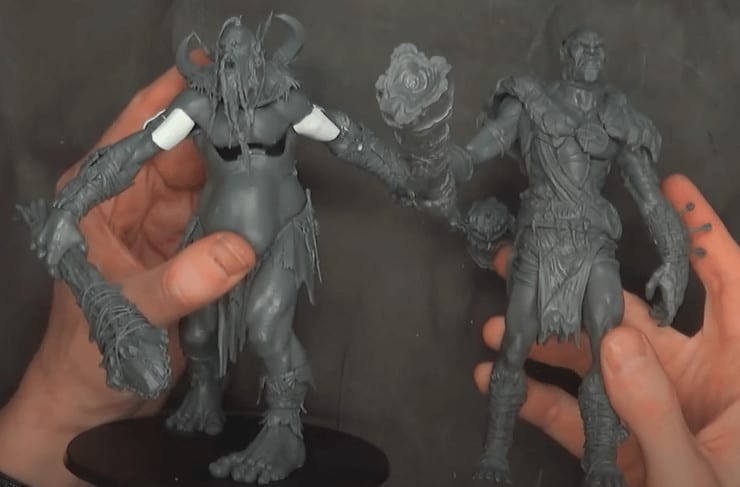 The Kings of war Giant does not come with a base, but you could easily grab a round 130mm base for the Kings of War one for very cheap. These models are almost identical in size, even the clubs are basically the exact same size.
The price differential is crazy, considering they are almost the exact same size!
That does it for how to make all five Mega-Gargant models out of one kit! Rob likes the model, but considering the price, the Kings of War Giant is basically the same size, looks great, and is way cheaper.
Get Your Mega Gargant or Mantic Giant At the Links Below:
What do you think about the Mega-Gargant? How do you think the Kings of War Giant compares?
Let us know in the comments of our Facebook Hobby Group, or our new Discord server, and make sure you enter the latest monthly giveaway for FREE today!
Get ad-free access to our hobby videos, a monthly drop of miniatures, and support some of the best creators out there for as little as $6 a month on Patreon!

This post contains affiliate links, as an Amazon and eBay Associate Spikey Bits earns from qualifying purchases.