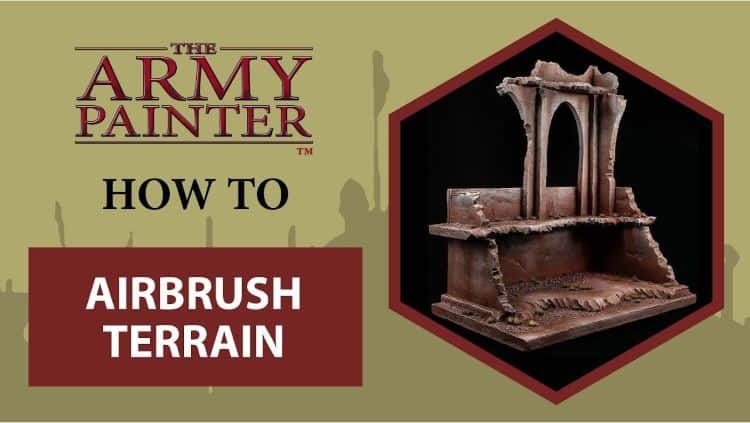
 Today The Army Painter walks us through how to airbrush terrain to get it looking good and on the table fast in their latest painting tutorial.
The Army Painter is known for having some of the best and most affordable paints on the market! But they also have an extensive collection of painting tutorials and paint guides- like this one on terrain.
Their tutorials are perfect for learning how to get your terrain on the table. If you want to see everything The Army Painter has been releasing and their other painting tutorials, check them out here.
If you’ve been struggling to get your terrain on the table, this is perfect for you! Just as a note, all the paints, and tools used in this video will be from them, which you can pick up all the colors here.
Let’s see how to do it!
How to Airbrush Terrain: Army Painter Painting Tutorial
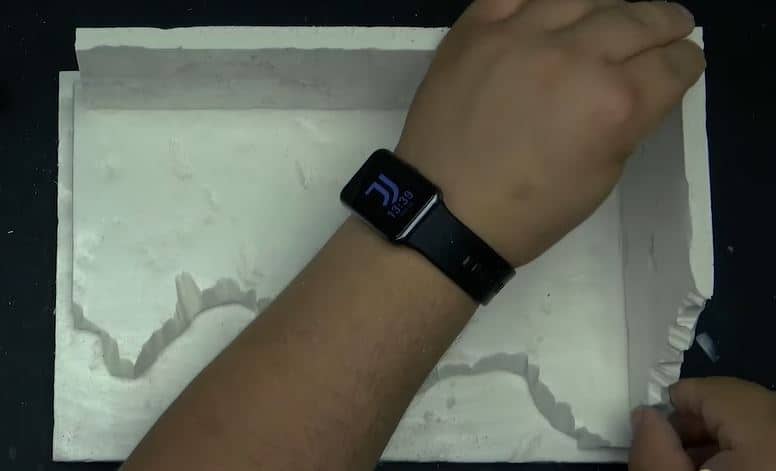
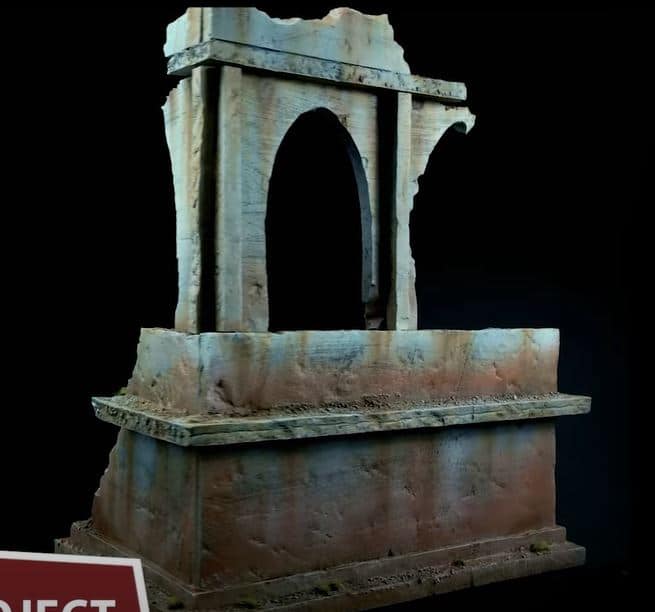
The Gamemaster Products they offer have everything a new or veteran hobbyist needs to make awesome terrain. To start, just think about the type of terrain you want, then use the tools inside to build out your walls, hills, or ruins in this case.
You can do this to any scale you want.
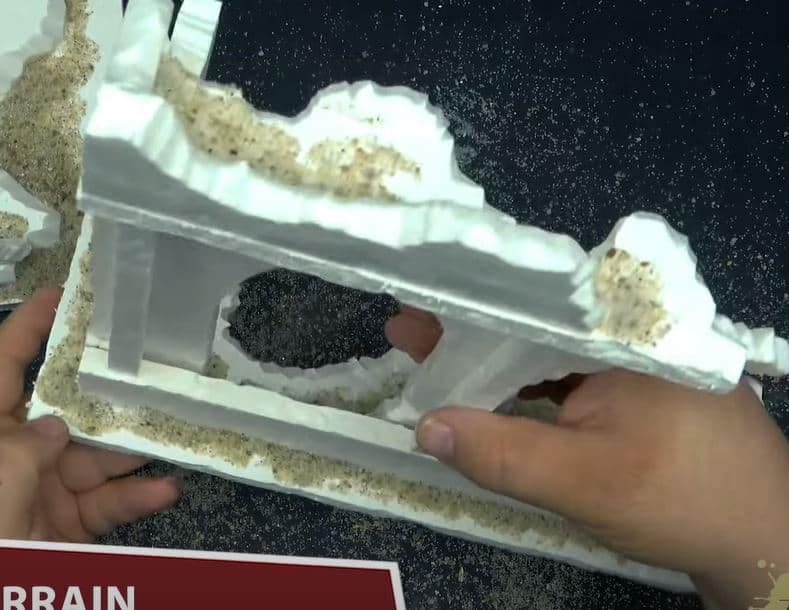
Priming Terrain
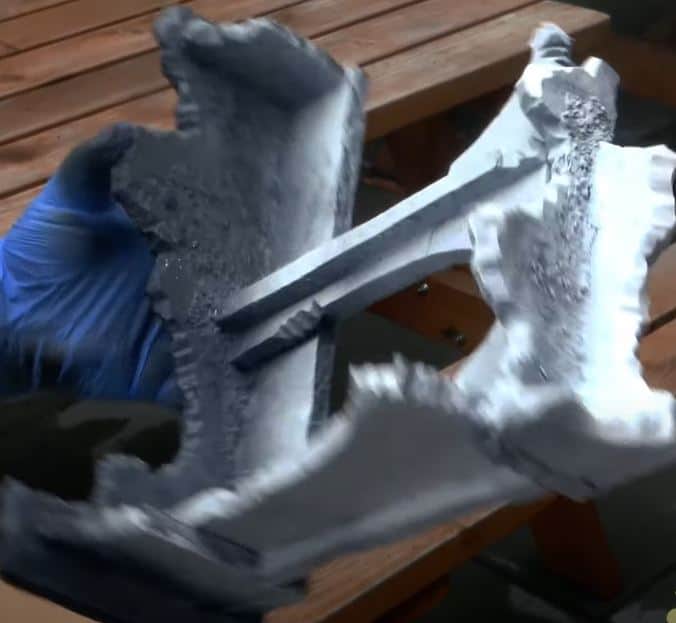
Airbrushing
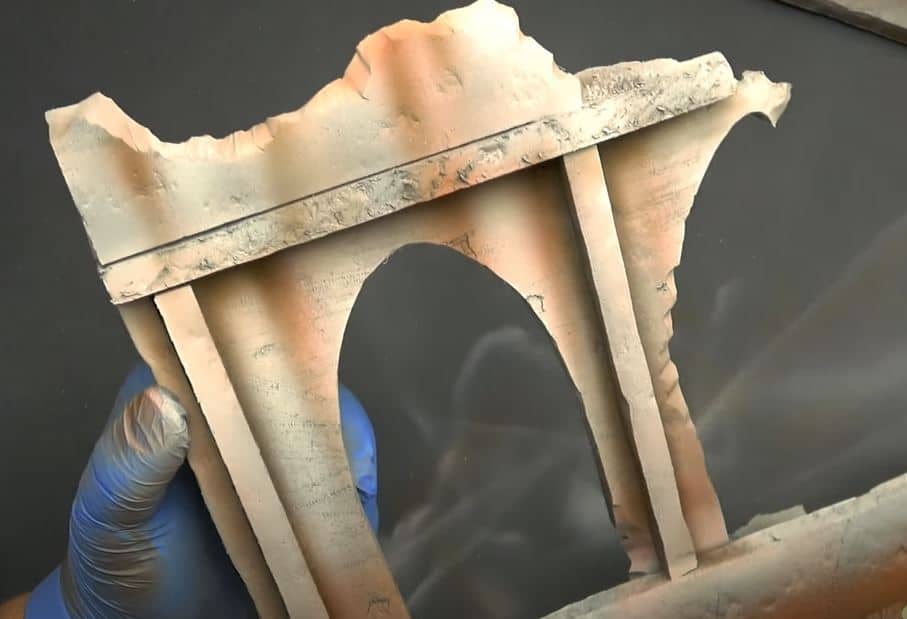
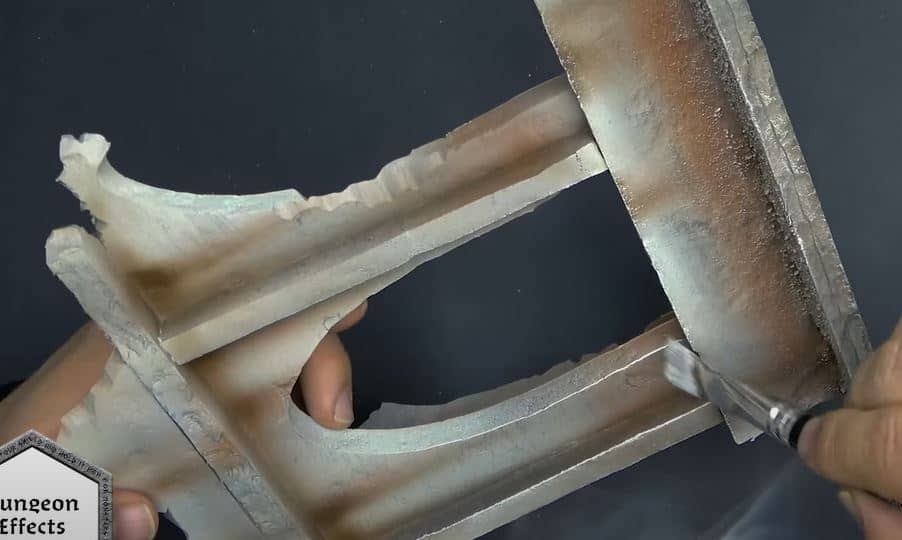
Next, take Molten Orange, and add some rust areas where you want it, mainly from the bottom of the ruins and some lines down from the top to give a great effect. After that, move to Bleached Bone and pull some streaks down from the walls and build up highlights. To add more depth, go with Oak Brown and build more streaks and shadows.
Drybrushing
Washes
Applying Tufts
Finished Terrain
Be sure to follow The Army Painter on Youtube for more great content like this.
