Fauxhammer has some unique Warhammer and tabletop hobby content, so if you need some sweet tips, you should follow him to get up on all your painting and conversion techniques!
When printing miniatures like Warhammer 40k, you can sometimes run into problems when setting up or using your printer, so instead of fumbling around, check out his tips first from his troubleshooting 3d printers video.
Troubleshooting Your 3D Printer For Printing Miniatures
Step 1:

This generally works as a guide for where to level your printer to. Some printers will need more, but a single sheet folded in half is a good starting point.

Lastly, you also want it to be tight, so make sure the screws up top are tight enough (but not too tight and throw off the leveling), or the whole thing will wobble and tell your printer this is where the zero point is.
Step 2:
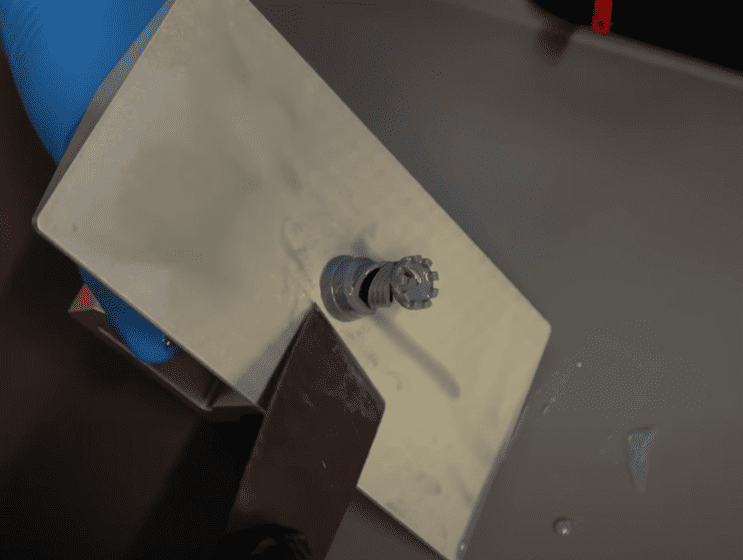
This proves that the printer works, so while you can change things later, you want to be sure that the printer can print an object.
If it’s not a success, here are some reasons why it may have failed:
- The resin you may have used was incorrect for that printer, so just use the resin that came with the printer.
- The main reason after that is temperature. The resin can fail if the temperature in the room you’re printing is too hot or cold. Most resin has a temperature range, and if you’re outside of that, this can all fail.
- Be sure to watch the video to see more on this.
Step 3:
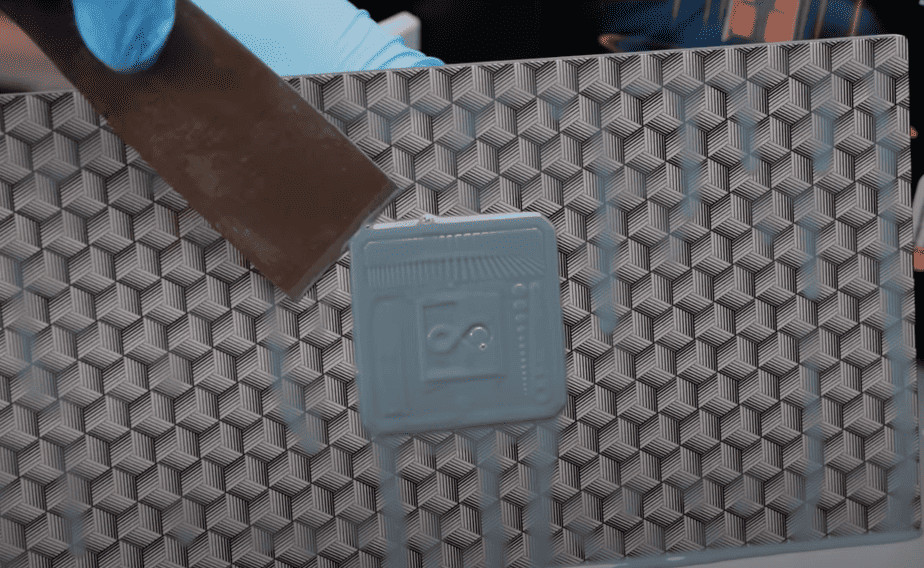
This is a starting point, and this should get you close to the correct exposure time. The next thing is to download an exposure file that you can print. Depending on how your print looks, you can either increase or decrease your exposure time (most files made for exposure show you which way to go).
Most exposure tests have posts and holes, so if you have more posts than holes, you have overexposed; if it’s the opposite, you need to increase it. Next up, you want to choose your layer height. 0.05mm or 0.02 mm are your best bets for miniatures.
However, you can go smaller depending on the micron printing capabilities of your printer.
Step 4:
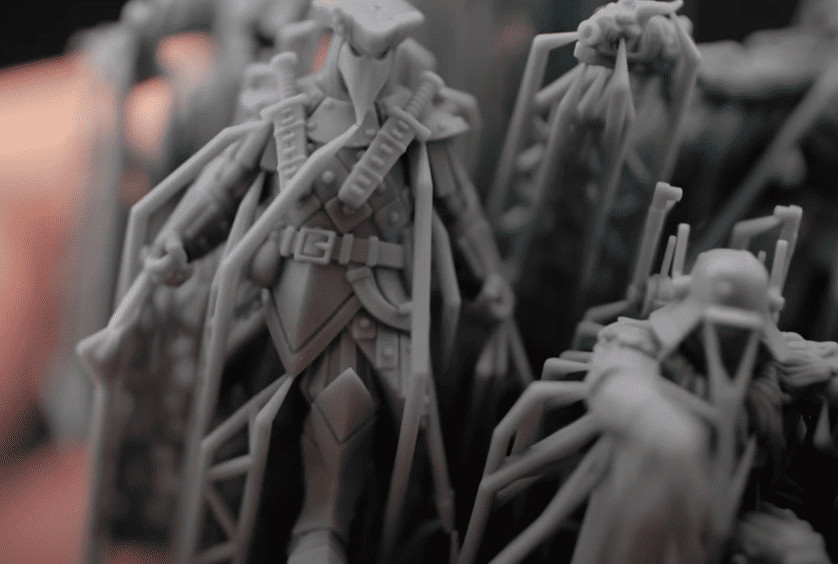
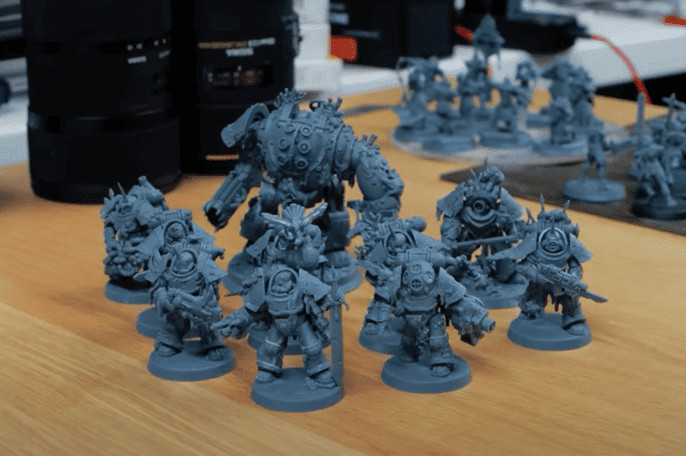
However, you want to print something that is pre-supported and supported very well to start because sometimes, your printer is working, but something isn’t supported correctly, and you might think something is wrong with your printer when it’s not.
If you can get something like the above miniature to print correctly, you are ready to go, and you can start printing pretty much whatever!
Step 5:

Be sure to watch the video below for all the details!
Click Here To Follow Fauxhammer on the Web or on YouTube
After watching this, did this help you with troubleshooting your 3d printer problems for printing miniatures?
Let us know in the comments of our Facebook Hobby Group, or our new Discord server, and make sure you enter the latest monthly giveaway for FREE today!
Get ad-free access to the site, a monthly crate of miniatures, and support some of the best creators out there for as little as $6 a month on Patreon!
This post contains affiliate links, as an Amazon Associate Spikey Bits earns from qualifying purchases.

