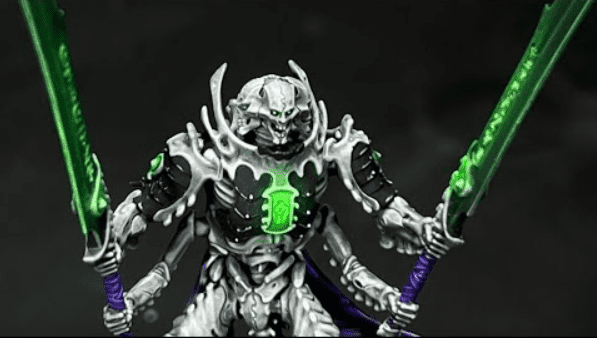
 Col Festus is here, and this time he’s showing us how to paint Ossiarch Bonereaper Necropolis Stalker in his latest painting tutorial!
Col Festus has some unique hobby content, and if you need some sweet painting tips, you should follow him to get up on all your painting and conversion techniques! He also paints up a ton of Makers Cult files, which are always fantastic, and you can score yours here!
This time, he shows how to paint up an Ossiarch Bonereaper Necropolis Stalker. Let’s see how to do it!
How To Paint an Ossiarch Bonereaper Necropolis Stalker: Painting Tutorial
Special Sauce Black Wash Recipe
- 25 Drops Monument Hobbies Glaze Medium
- 5 Drops Liquitex Flow Improver
- 1 Drop Liquitex Raw Umber Ink
- 1 Drop Liquitex Carbon Black Ink
Special Sauce Brown Wash Recipe
- 25 Drops Monument Hobbies Glaze Medium
- 5 Drops Liquitex Flow Improver
- 1 Drop Liquitex Carbon Black Ink
Now, let’s get into the true painting steps!
Step 1:
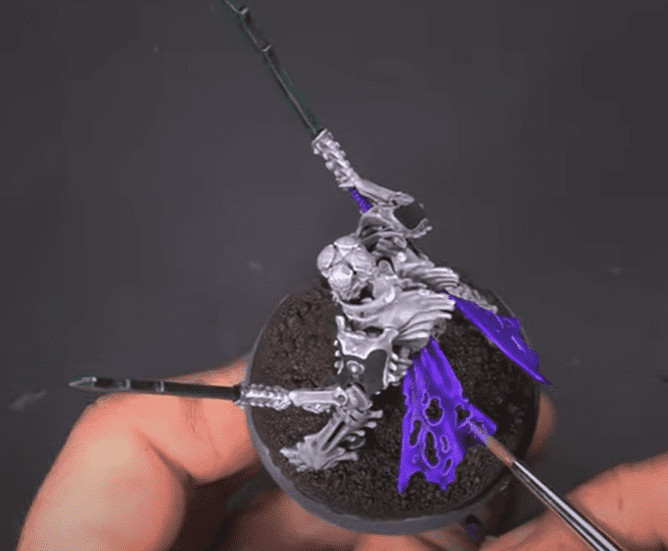
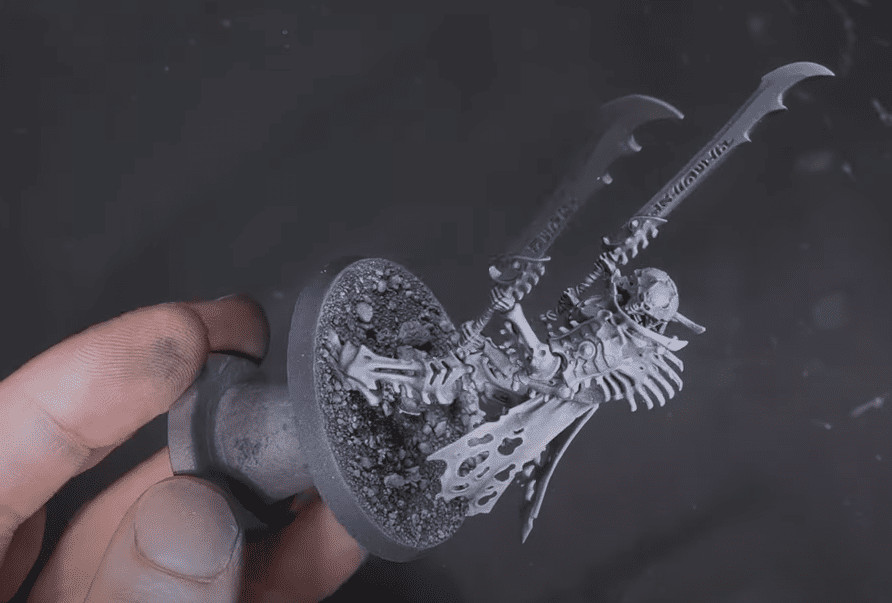
For the blades, he base coats them with Army Painter Absolution Green; this is a speed paint, so just be careful with too much pooling. Next up is the base, and he does a simple coat with Dark Wood. With the Zenithal Highlight and the washes, you already have all your base coats done, and the model looks decent already! Before you move on, he matte varnishes his models at this stage as he feels it helps keep the washes intact.
Step 2:
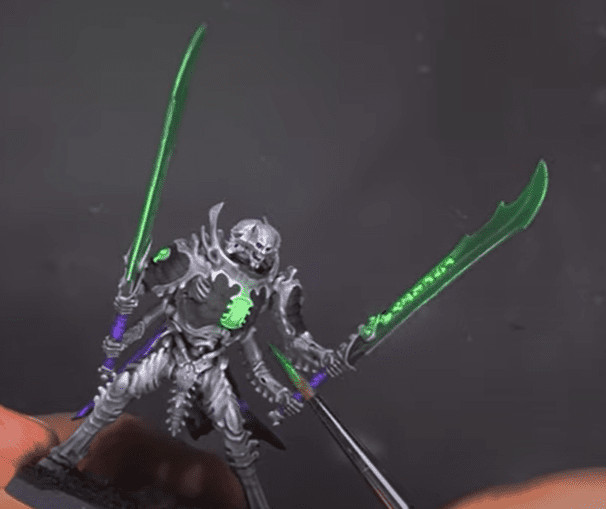
Next, for the blades, he loads Liquitex Fluorescent Green Ink into the airbrush, mainly hitting the runes and over the blades where he feels it works the best. He also hits the gems and such with it.
If you have any overspray, be sure to go back and touch it up.
Step 3:
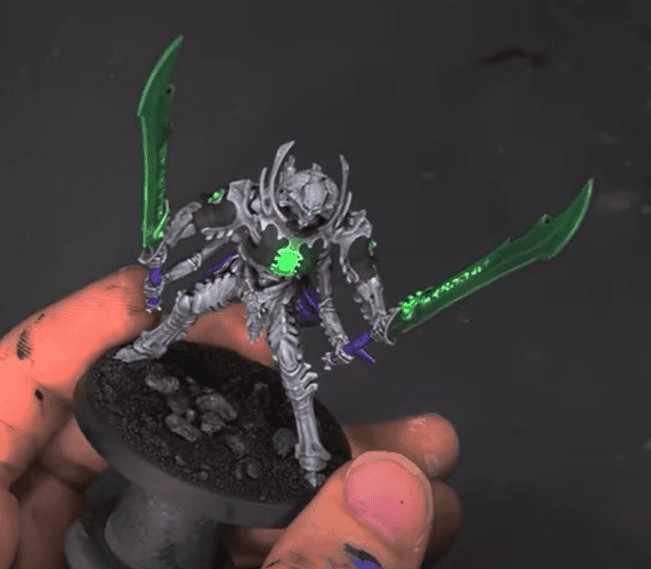
He starts with Intermediate Blue and picks out all the details, such as the rocks. He goes back to the Special Sauce wash from before and hits all the rocks with that.
Step 4:
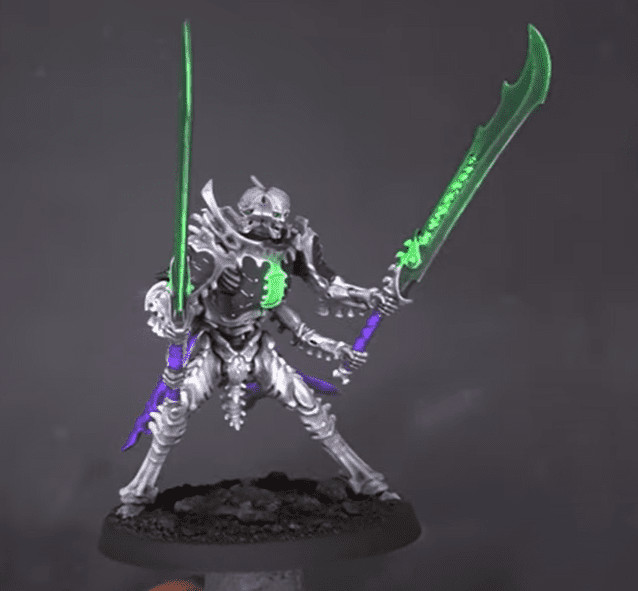
To finish the whole thing, he hits it with a gloss varnish to seal all the paint and puts some grass on the base.
Finished Model:

Be sure to check out the video below for all the tips!
Follow Col Festus on YouTube Here!
What do you think of how to paint an Ossiarch Bonereaper Necropolis Stalker in thispainting tutorial?
Let us know in the comments of our Facebook Hobby Group, or our new Discord server, and make sure you enter the latest monthly giveaway for FREE today!
Get ad-free access to the site, a monthly crate of miniatures, and support some of the best creators out there for as little as $6 a month on Patreon!
This post contains affiliate links, as an Amazon Associate Spikey Bits earns from qualifying purchases.

