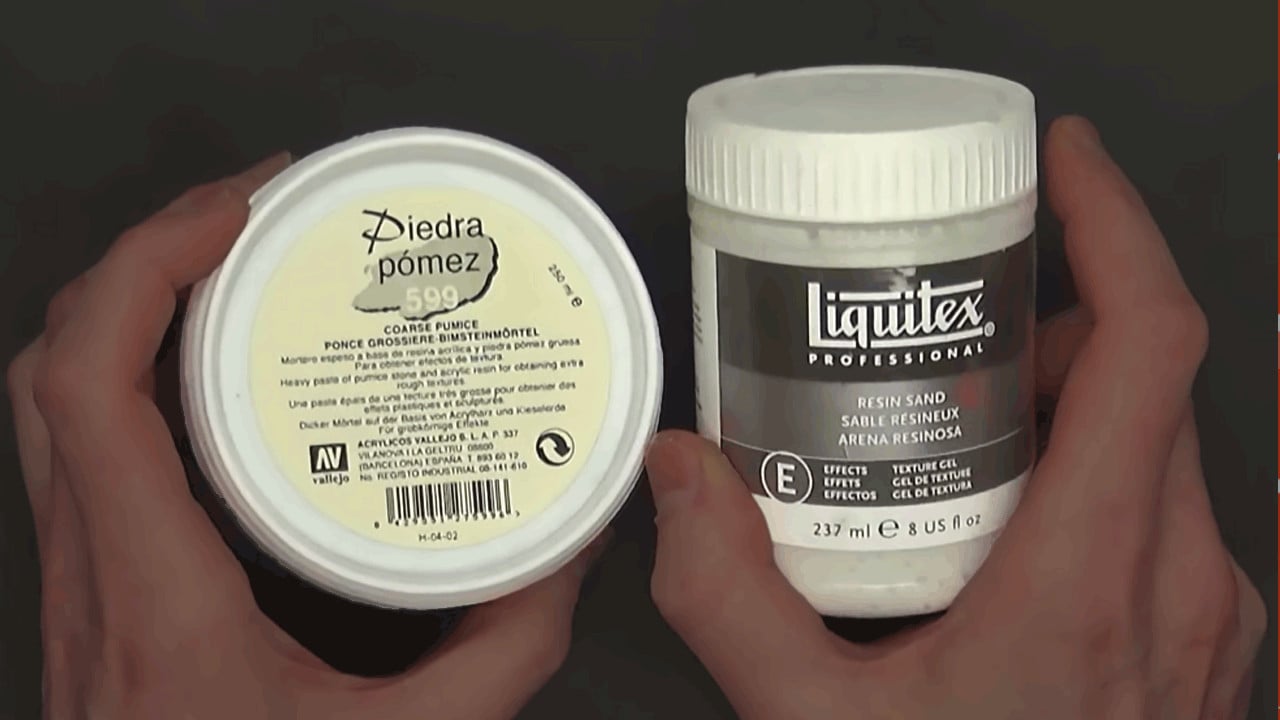
 Pumice vs. Resin Sand: see which is better for basing your miniatures and how to use both to fill in around terrain bits to create the perfect base!
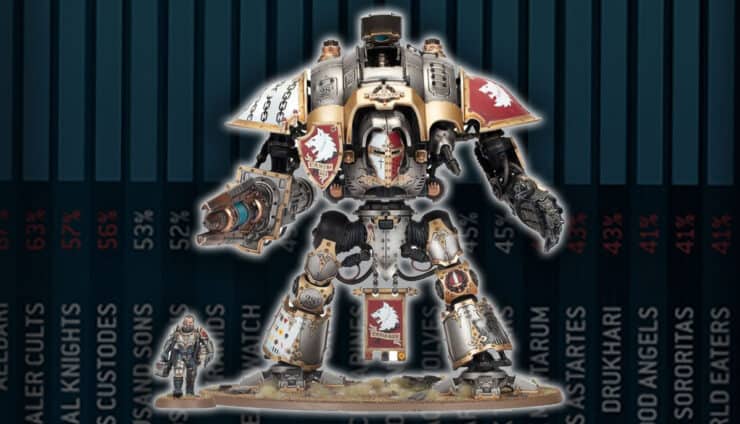
Games Workshop has had a habit lately of putting out themed basing attached to miniatures that don’t fully cover the surface of their beveled base. So, use these to cover the entire base and make your minis stand out on the tabletop and shelf.
You can get these basing bits or textures from the links below:
Pumice Vs. Resin Sand: Basing Your Miniatures
Whether you want to create bases from scratch or finish off the ground of your miniatures that are looking a little “bare,” you’ll probably want to use either Pumice or Resin Sand for basing. We’ll check out the difference between the two products and see which one is better for overall use!
Pumice
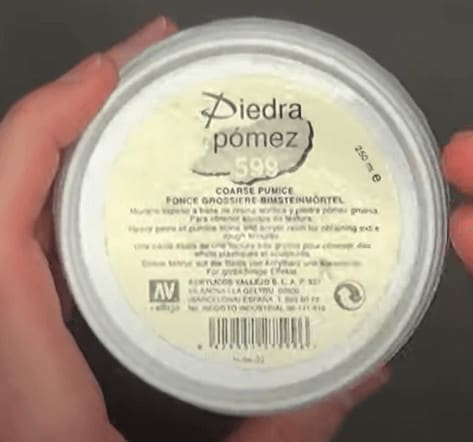
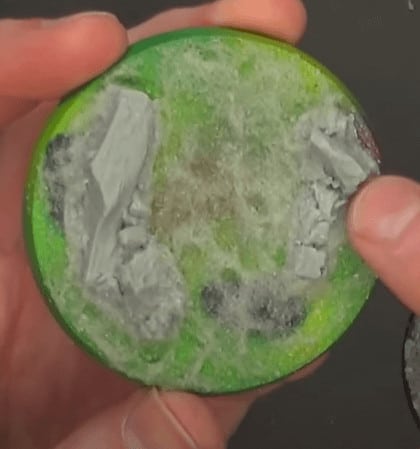
So, sometimes, you’ll lose a little of the overall depth. Still, if you want to create a textured base, this is an excellent general-use option for basing your miniatures. It will take some experimenting to get it the way you want, but it’s not that hard- it just may require multiple applications. If you want to learn more about how to apply it, check out this tutorial.
Resin Sand


It will perfectly match your bits into the base.
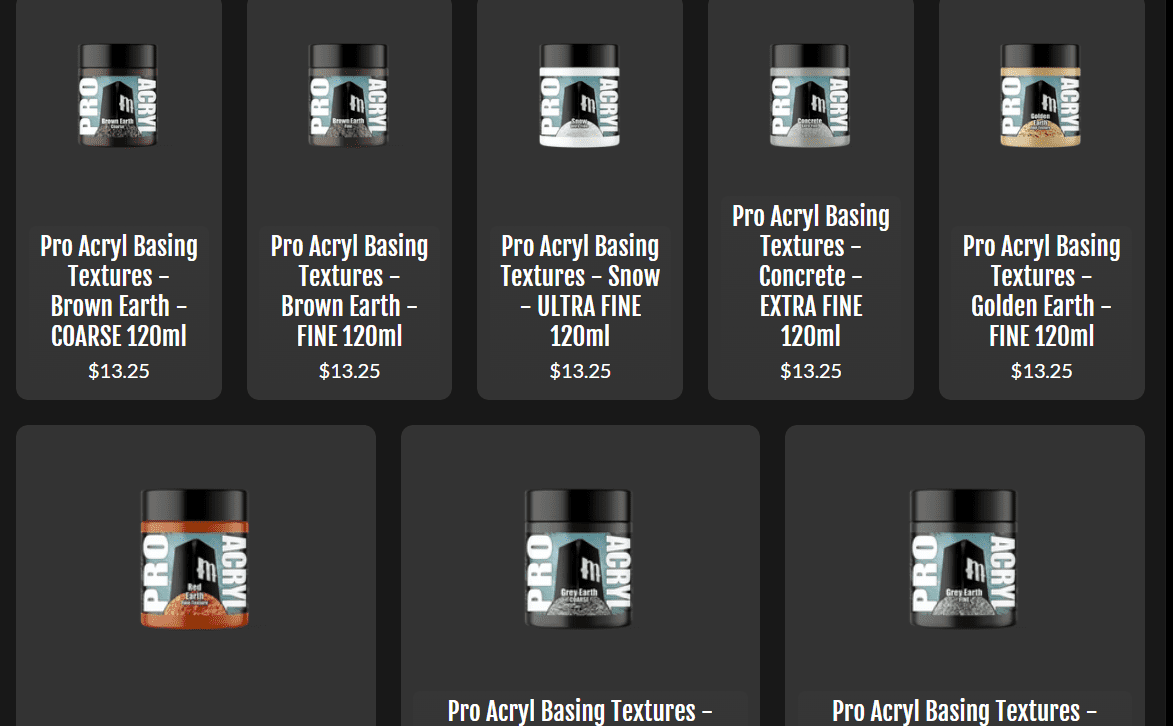
Basing Your Miniatures
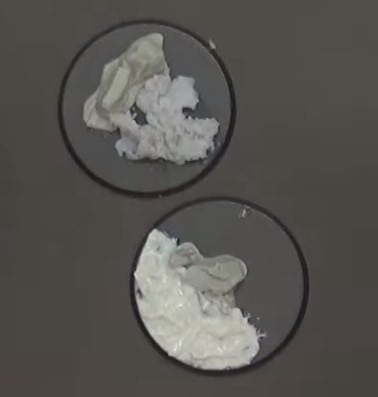
Overall, the resin sand, or Monument Textures, comes out as the winner when you’re trying to finish basing your miniatures that may have ground bits attached to their feet. These textures work exceptionally quickly, hold their shape better, and blend into the bits more.
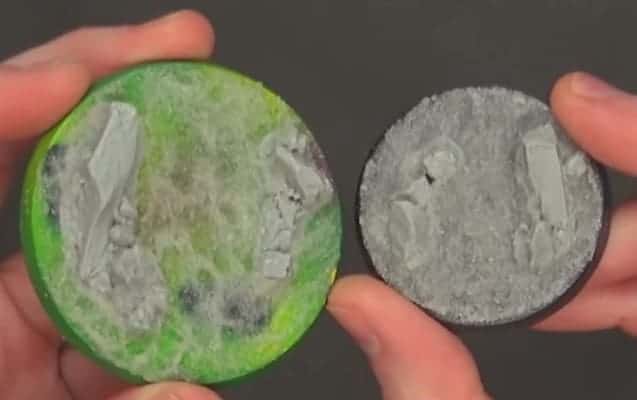
While the pumice is still great, the Resin Sand comes out as the clear winner to us. If you’ve been looking to make a purchase, we think Liquitex Resin Sand or Monument Hobbies Basing Textures are the way to go! Be sure to check out the video above for all the tips!
What do you like better for basing your miniatures, Vallejo Pumice, Liquitex Resin Sand, or Monument Hobbies Basing Textures?
Let us know in the comments of our Facebook Hobby Group, or our new Discord server. Make sure you enter the latest monthly giveaway for FREE today!
Click Here To Follow Us On Google News
Get ad-free access to our hobby videos and a monthly drop of miniatures. Plus, support some of the best creators out there for as little as $6 a month on Patreon!


