 This week Rob brings us a weapon glow tutorial for airbrush beginners, it will help you achieve amazing looking weapons without the hassle!
We are taking a look at one of our most popular tutorials out there! Not only is the info great, but it’s also been condensed and captioned for easy viewing and learning. If you’ve been struggling with getting a good glow effect, or just airbrushing in general, check this out!
Weapon Glow Tutorial for Airbrush Beginners!
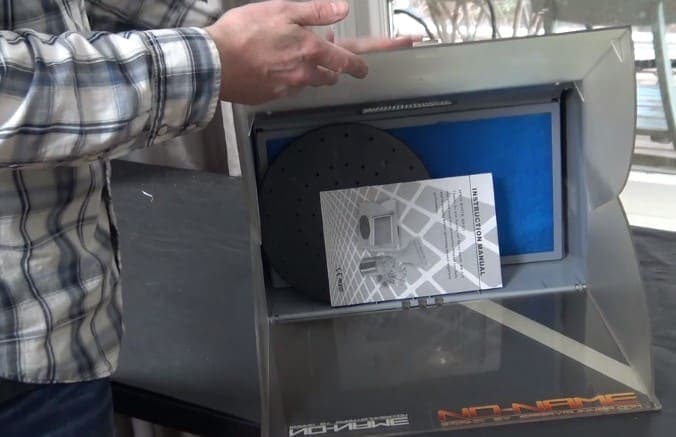 If you don’t have an airbrush yet, or all the extras, check out what products Rob thinks make a great starting point! If you already have your supplies, let’s get into the tutorial!
Step One:
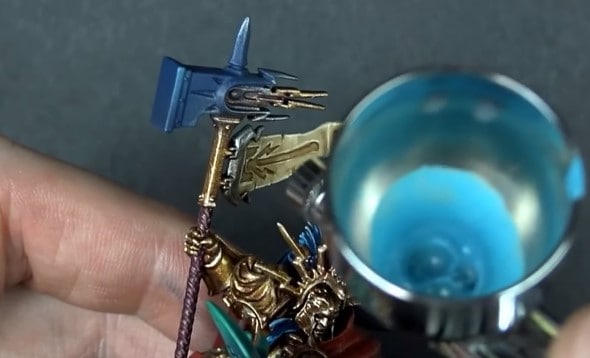
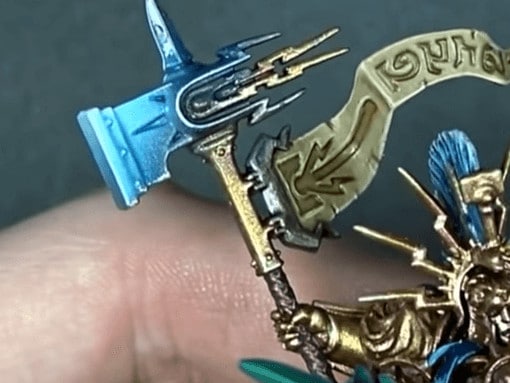
 The first step in laying down some sweet lighting effects is to get your airbrush and grab some Citadel Air Paint Kantor Blue. Add the Kantor Blue straight into your airbrush paint pot, since adding anything else will make it too a tad bit too watery, and that’s not what we want. The airbrush paint is very thin, so keep that in mind if you do want to use flow improver, do so sparingly.
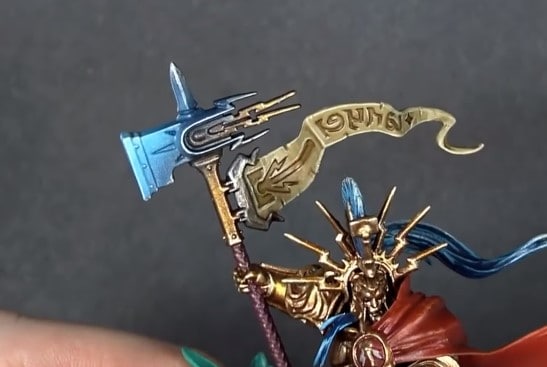
Once loaded in your airbrush, angle it down towards the front of the hammer, getting a nice overlap. We want a fade effect here, so the front of the hammer will have the most paint and least paint on the back. The Citadel Air paint has amazing coverage, but be careful about the paint drying out in your pot. Just keep moving and don’t spend too long on any spot. This will help keep paint from drying and reduce pooling. Alternatively, if you have problems with it drying, try using some airbrush thinner to help with that.
Step Two:
 Next, we want to get a great fade on the hammer and create a lighting effect that is emanating from the front of our Stormcast hammer. Add Lothern Blue from Citadel Air to the airbrush for the next highlight color. Note, Make sure all the paint from before is removed.
Sometimes you want to blend the colors, but not here. Start on the other end of the Kantor Blue fade and work the blues backward across each other. A few pulls across the hammer and this phase of your fade is complete. You don’t want to overdo it and get rid of the great darker blue you already applied. Also, make sure to not hit the gold in this stage, nobody wants to do more clean up painting than necessary!
Step Three:
 As a final step to the fading and airbrushing process, Ulthuan Gray from Citadel Air is used to add just a drop of a lighter color. Fade back from the front of the hammer to create a good gradient on its surface. Just don’t pull the fade too far back and muddle the other colors.
Step Four:
 The airbrushing phase is over, now use your paintbrush to highlight the hammer. For this, use Ulthuan Gray and do a simple but nice edge highlight on the hammer. Nothing fancy here, just make the edges pop a little bit. Step 4.5 is letting everything dry fully before moving on! If you don’t the glaze will run the paints together and ruin all of your hard work!
Glazing:
 Take Guilliman Blue and mix it in a 50/50 mix with water to turn it into a glaze. It should be pretty thin and very easy to apply. Simply glaze over the entire hammer in a very light pass, just making sure you don’t get buildup in any spot. This will make the colors pop while bringing out the details and making it all contrast.
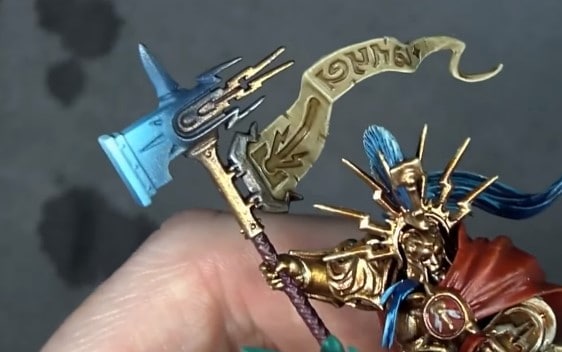
Finished Hammer
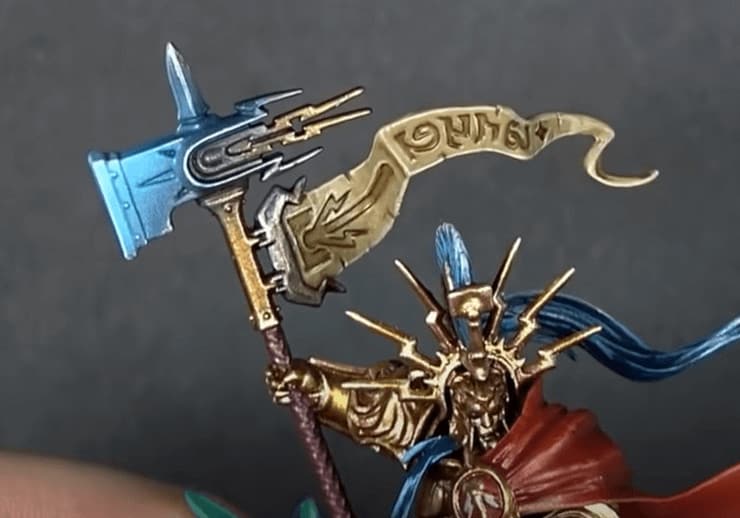 That does it for this one! You now have an amazing looking hammer that is ready to put down on the tabletop! Be sure to watch the video above to get all of Rob’s insight.
Have you made the jump to airbrushing yet? How has it changed your hobby?
Let us know in the comments of our Facebook Hobby Group, and make sure you enter the latest monthly giveaway for FREE today! You can also support us on Patreon and get ad-free access to the site, plus a ton of minis that helps support some of the best creators out there!
This post contains affiliate links, as an Amazon Associate Spikey Bits earns from qualifying purchases.