Hey guys, Rage of Khorne here from The Order of Chaos gaming society looking to paint up some banners for my loyalist Sons of Horus 30K army.
This step by step tutorial focuses on black banners with white detailing and minimal colours but the process I use can be substituted for many other colour combos.
Some other colour combos that come to mind are using a dark brown instead of black and a sepia colour as the base and starting with a dark red and working up to dark grey.
For both of my designs today I start without using a reference image to paint from, but most of the time it’s a good idea to print off some images of designs you want to copy elements from. I start off by fully basing, washing, and highlighting the banner cloth itself, as the free hand work is the last step in painting on the banner.
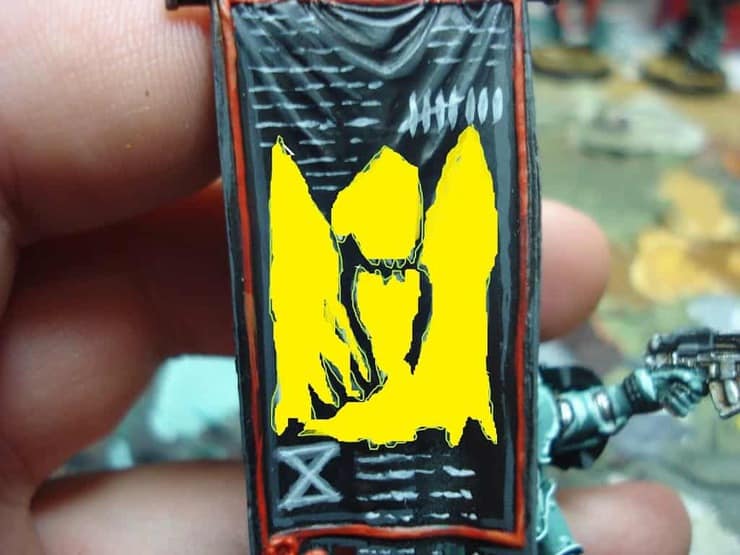
The design was then blocked onto the banner so that you have a clear area to work on. In the image below I have coloured in the approximate shape of the design with yellow so you get a basic idea of what shape to use. It’s not important that the basic shape is perfect, it’s more important that you get the general shape right.
The design was then blocked onto the banner so that you have a clear area to work on. In the image below I have coloured in the approximate shape of the design with yellow so you get a basic idea of what shape to use. It’s not important that the basic shape is perfect, it’s more important that you get the general shape right.
The next step is the lighten the colour you’re using the same way you’d do highlights on the rest of the model, for grey this means just adding white a touch at a time.
This works for most colours but adding yellow or light brown to red works better for red banner designs.
This works for most colours but adding yellow or light brown to red works better for red banner designs.
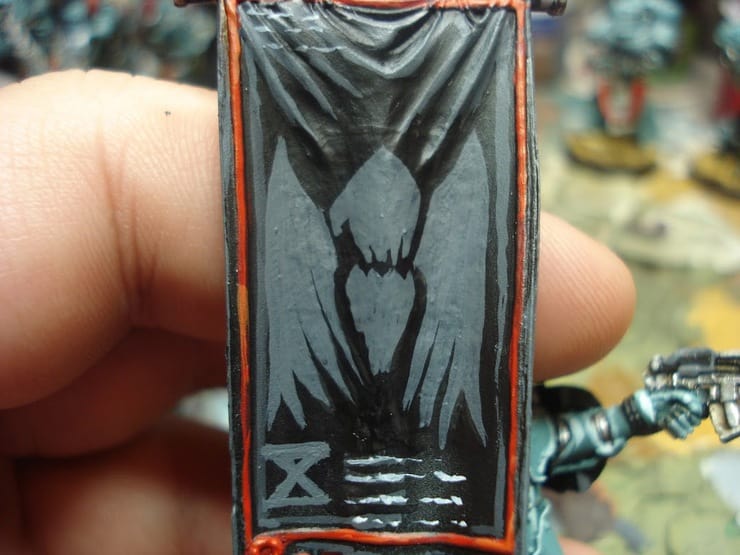
The more layers added, the more detail starts to take shape, and this is where you have to be more careful with the edges. Keeping the edges sharp and straight really helps bring the design together.
The final stage of highlights is pure white and should be applied very sparingly to the top edges to emphasize the shape. This is what makes the design stand out and look more 3D.
The last step is to clean up the outer edges and add small detail touches with pure black. This helps fix any mistakes that could have been made earlier and adds contrast to the edges of the design.
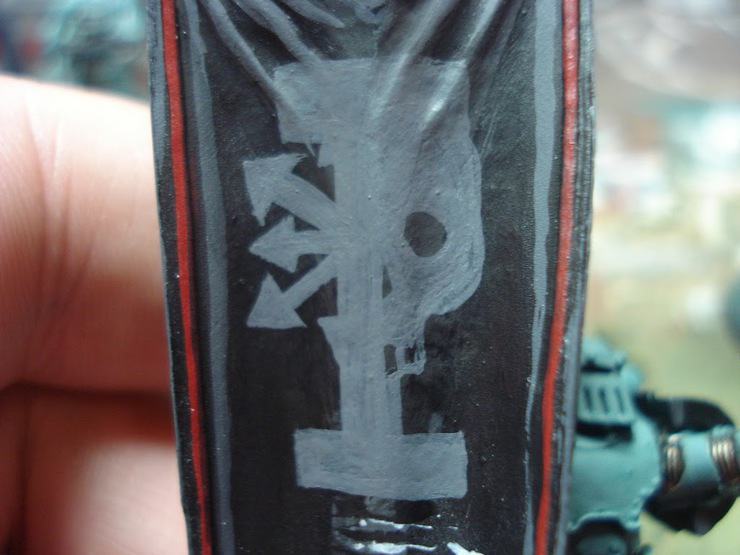
This is the second design I did with the same basic process. Enjoy 🙂

