Well it appears I may have impressed some folks with a few Work in Progress shots I put up last night on Facebook.
I like posting quick pictures to Facebook using my phone, cause it’s easy to make a small catalog of what I’m working on without stopping every five seconds and setting up photo equipment etc.
So as promised, I worked up an article tutorial to show you how to do some quick and easy carbon scoring for your guns (most notably Melta gun barrels).
This technique scales up really well too, so feel free to use it on your Super Heavy sized weapons on down to your squad level ones. Although at the larger level airbrushing would be way easier, this technique still works- and there is no airbrush required!
Black
Small Drybrush (not chisel tip)
Since the metal is so much darker that the first brown, you’re going to have to be a bit thicker on your application of paint than the normal drybrushing technique( where you get the majority of paint off your brush).
So load up the brush with the lightest brown, and only slightly dab it off on the paper towel (see above). Then apply the paint from the barrel tip backwards almost to the end of the Melta nozzle.
Next up is the same thing, using the darker brown.
Now since there is a lighter brown on the metal, the darker one will show better, so carefully drybrush back from the front of the barrel again, this time leaving some of the lighter brown showing towards the back of the barrel.
Also I forgot to mention above, try not to get into the vent holes on the barrel either. If you do just hit them with some black wash applied with a detail brush after you finish up the drybrushing.
Last is the application of black. This step is kinda hit or miss.
Depending on how much paint you have on your brush when you drybrush the tip of the barrel, decides if it applies itself to the outer weapon ring and no where else.
If it does this, just cautiously add more black to your mix and drybrush backwards down the barrel again until it looks more uniform, and not just on the raised edge of the tip.
You don’t have to drybrush the black back very far at all, maybe just back down 25% of the barrel is enough. Then make sure you have an even coat of black on the front of the nozzle and inside the barrel as well (if you drilled it out).
I just kinda smashed the drybrush into the barrel to make sure there wasn’t any metal showing anywhere.
When it’s appropriate temperature and humidity wise (it is summer after all), hit the weapons up with some clear coat to keep the drybrushing from flaking off over time.
And that’s it! I think it’s a quick and easy technique to make any weapon barrel look great!
Of course you can also paint the stock of the weapon or the grips etc. But this technique is pretty handy for all weapons, as the browns are “earth tones” they tend to match most paint and basing schemes as well.
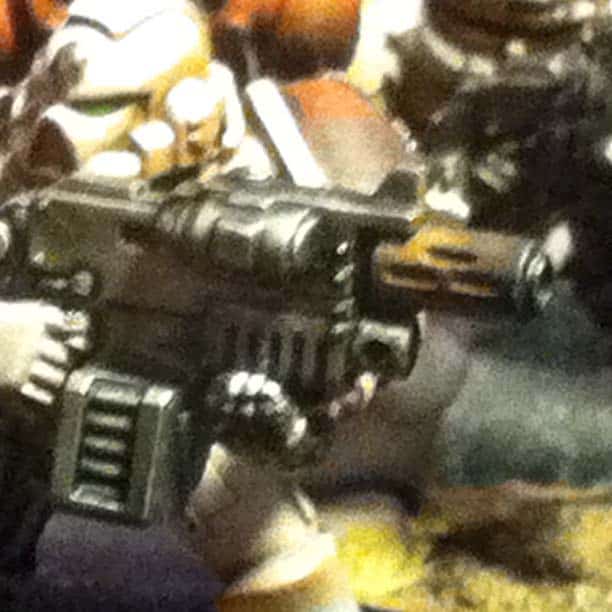
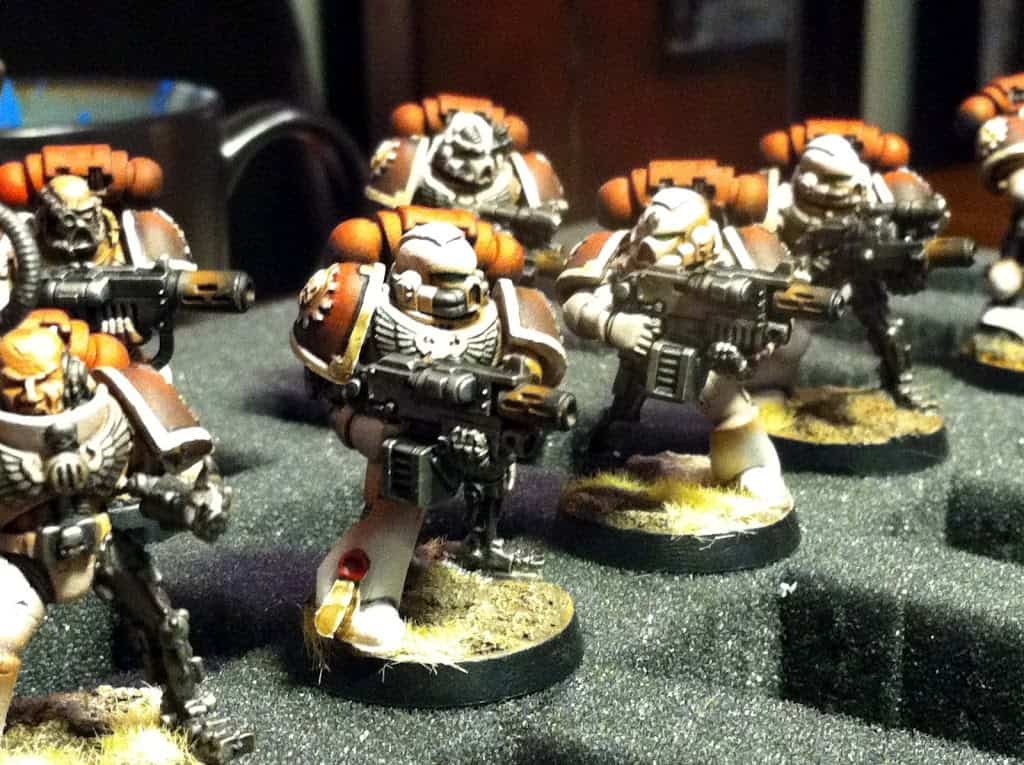
As you can see above the browns on the barrels really popped with my models’ red armor.
What do you think, easy or no? Do you have a similar technique that you favor?
 If you liked this tutorial, check out over 40 more How-To Articles HERE -MBG