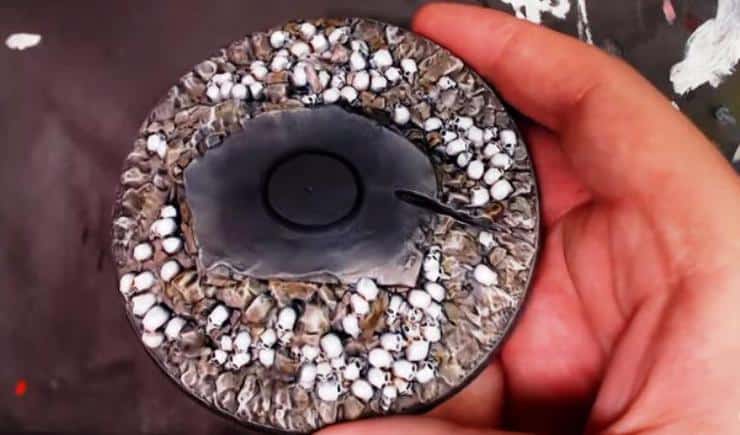
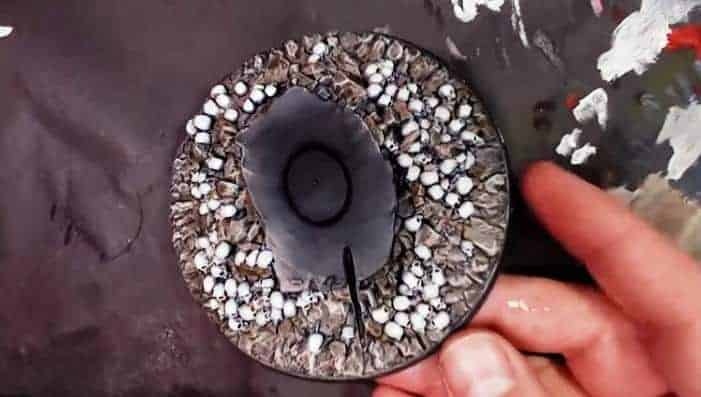
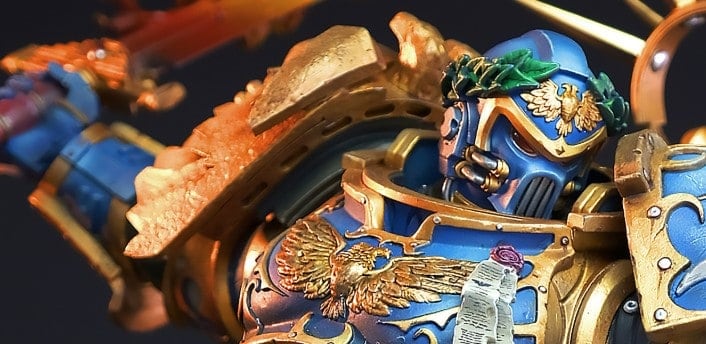
Get ready to add some painted skulls to your epic bases with this awesome Next Level Painting tutorial using the Creature Caster King of War resin base.
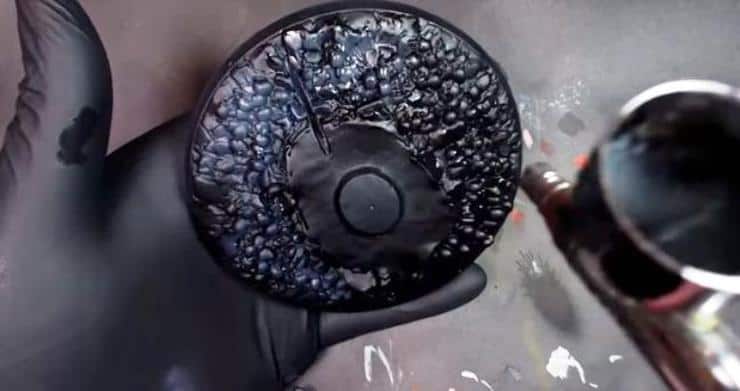
To start this off we are using a rattle can base coat black on our base. We then use a black paint from P3 to add to the black to set up for a pre-highlight of grey. That will lead to a progressive addition of more white, leaving less grey each time we hit this base.
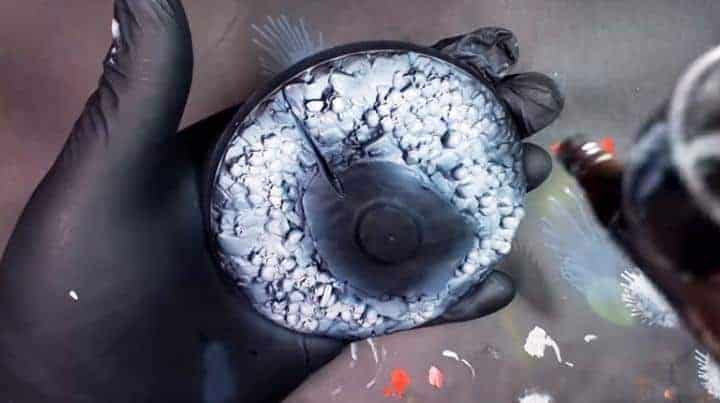
Use your flow improver here to keep it going, eventually landing on pure white for our highlight.
This is our first push toward pure white. Make sure to keep the airbrush tip clean and remember to thin it down a little more than usual. Focusing on the skulls and less on the rocks is the key to this next step. The thing to keep in mind about pure white is that it will need many coats because it will always be more transparent than with a paintbrush.
We’re gonna mix up some flow improver, thin it down, keep the tip clean, and add another pass of pure white. We like the cool bone look, but we want to warm up these skulls to achieve a weathered look.
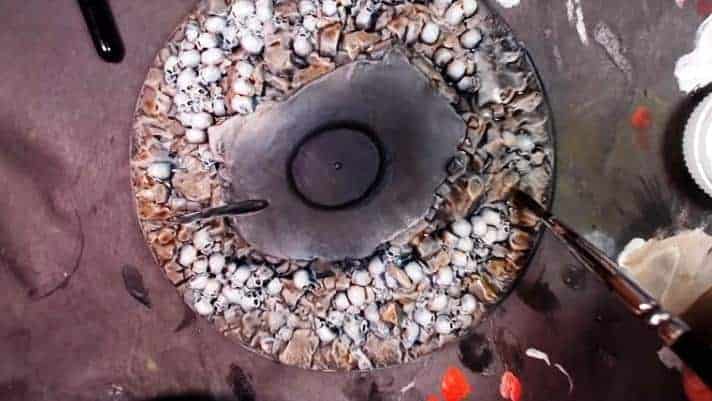
A flesh wash from Army Painter will add some rapid-fire streaks of brown. A wash glaze in this step will add an organic hue to the base to be accentuated later with dry brushing. You can use these washes on the fly, feeling out how your painting looks as you go.
Adding a little green here can help you get out some more color in your rocks since they are not monochromatic. With each step, we get a little more focused to achieve our final result. Use broad strokes in the beginning so you can focus later on different elements of the base.
To finish out this base, add a final highlight in the same direction as your previous highlights. Grab some leftover flesh wash and add a final effect of contrast by washing in the areas where the skulls touch.
This will warm up the skulls off the pure white color from before. Explore your painting to see where it all goes, and make sure to watch the tutorial video from Next Level Painting!
