Get in the festive spirit with this painting tutorial using the Holiday Hell Boy miniature to learn pre-shading with Next Level Painting!
Yo dawg! Get ready for Next Level Paintings debut of some new pre-highlighting techniques with the only Holiday Hellboy model in the hobby business! Mantic’s Holiday Hellboy will be getting painted up with some new Pro-Acryl paints from the new Creature Caster paint set.
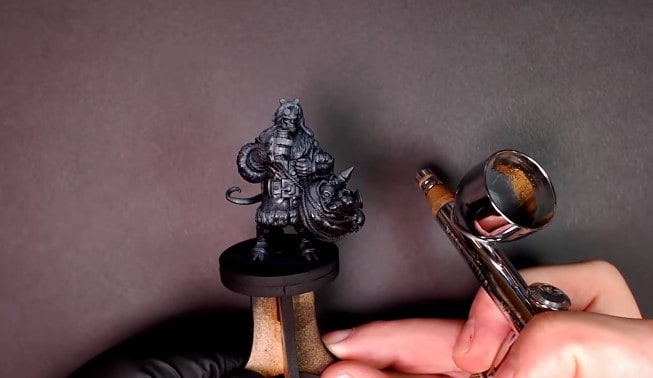
The Hellboy model has been painted with a black primer from Army Painter, and a top-down highlight will be added to create a pre-highlight to glaze the details and paints on this model. Grey mixed from black and white from the Pro-Acryl paint set is the base for this first highlight. All of the airbrush details used here will pave the way for more glaze techniques to bring in more colors later with muted reds and skin tones to get this model painted up right!
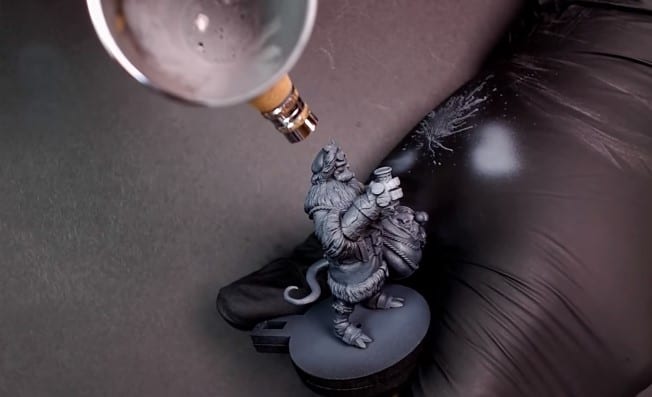
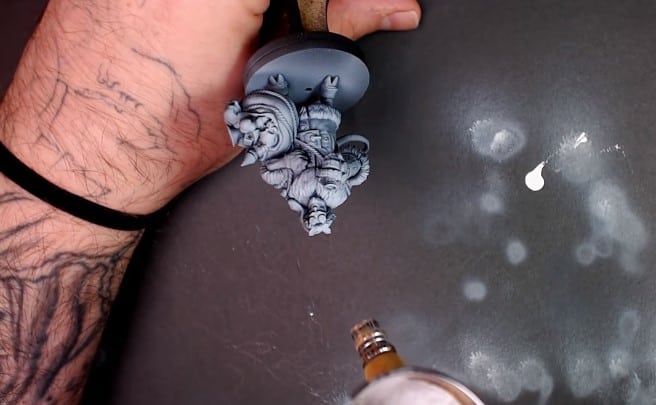
After the grey highlight, add some more white to give you more coverage, keeping the paint nice and thin. This allows super easy transitions. Always keep the tip of your airbrush clean when using white paints. Use a lot of air and only a little paint to give this model a touch of light grey, building it up slowly. This pre-highlight helps you figure out where you like what you see on this model. It achieves a lighting technique and adds shadows to Hellboy. Build up the furs and his hat.
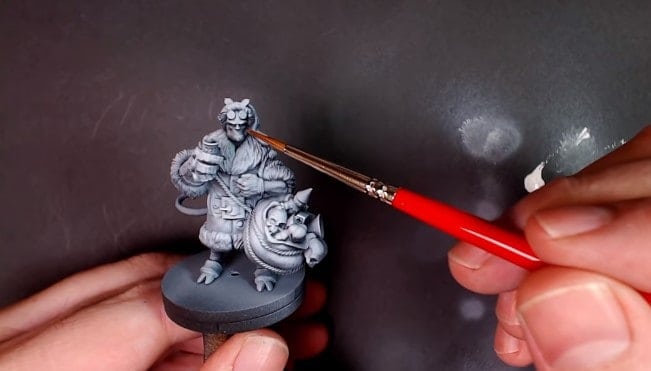
The techniques for this airbrush tutorial afford you a simple way to use your airbrush to get some pre-highlights on the fabrics and add a lighting effect to your models. This emulates a spotlight or moonlight shining down on Hellboy. Airbrushing is always more transparent, it never leaves an opaque layer on your models. This can help your paint transitions flow more smoothly.
After your airbrush pre-highlight, you can plan out your game on how you will glaze on the other accentuating colors to give this Holiday Hellboy the paint job he deserves!

