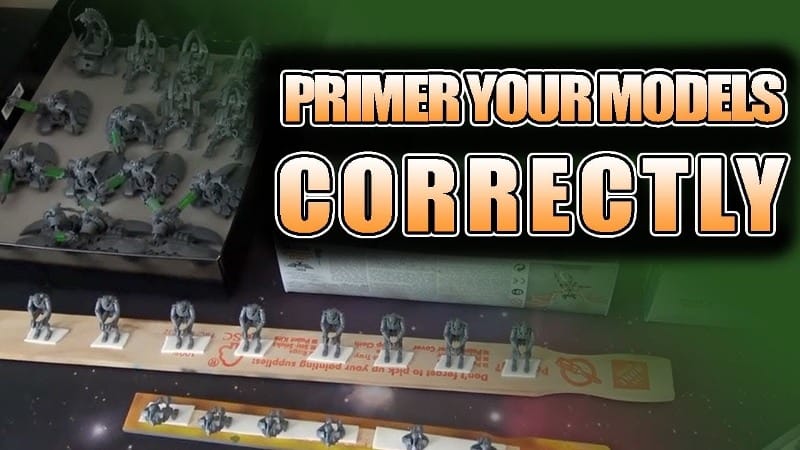
Check out this super quick tutorial on how to prime your miniatures quickly and effectively. Make the most of your hobby by learning how the pros do it!
Priming your miniatures before painting is crucial to ensure that the paint adheres well to the surface and doesn’t flake or chip off easily. It involves applying a thin layer of primer, which not only improves paint adhesion but also helps hide any imperfections or blemishes on the surface and changes the color of the paint on top.
Additionally, priming allows for a smoother and more even paint application, resulting in a more professional-looking finish. Overall, priming is an important preparatory step that can significantly enhance the quality and longevity of your miniature painting project.
This tutorial has some great tips on how to prime your miniatures and tricks for setting up your projects for faster and easier painting times overall.
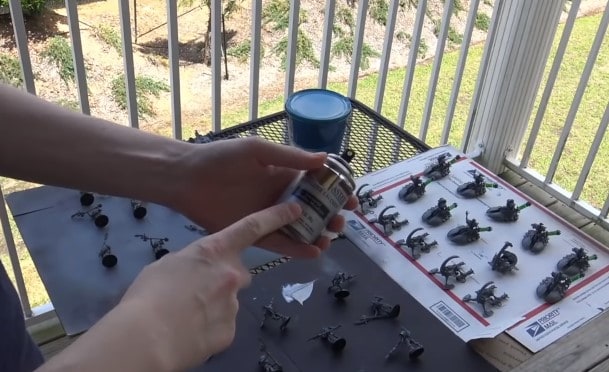
A great product for priming miniatures in a metal color is Gunmetal Buffing Metalizer from Model Master. This product is a lacquer, but you can successfully prime your models in any weather.
Humidity and rain can affect your priming and how the paint sticks to your minis, but Model Master works great despite the weather. A keynote is to make sure you keep your spray can at a good distance to avoid fuzzing your models.
The first step in priming with any can of primer is to shake the paint thoroughly in the can. Make sure you shake up the ball bearing inside the can to get an even mix and get the ball to rotate around the bottom. A good shake of about 30 seconds, going back and forth, up and down, and round and round, will get you going.
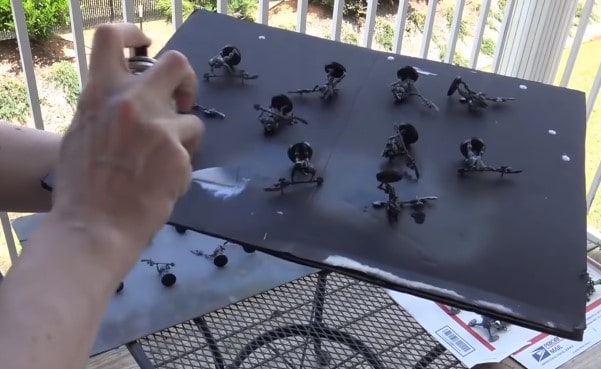
Once you are ready to start priming, press the nozzle quickly back and forth while simultaneously moving the can back and forth. You can also rotate your pallet or the piece of cardboard your miniatures are resting on to get the paint in all the crevices for an even coat.
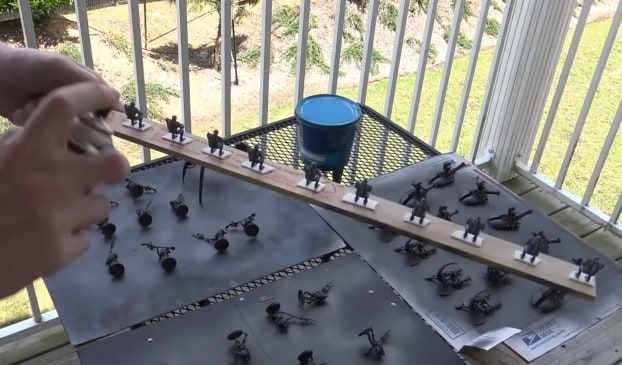
A paint stir stick with your models lined up is another great and quick way to prime your minis. Keep your paint can approximately 4-6 inches away, making sure to quickly press the nozzle back and forth, and your models will be primed in no time!
