Not sure how to finish those Necrons and have them look fantastic? Take a look at this extremely easy basing hack to wrap up that project!
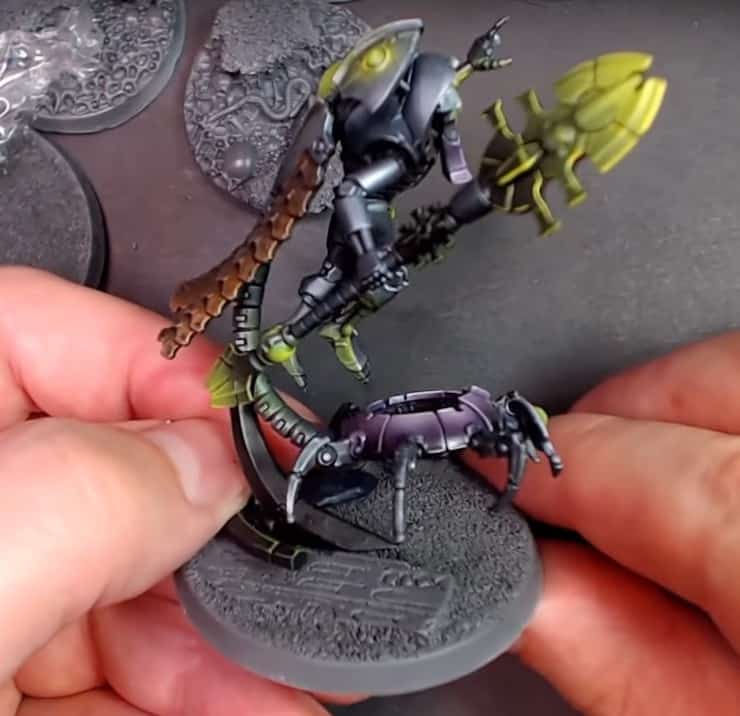
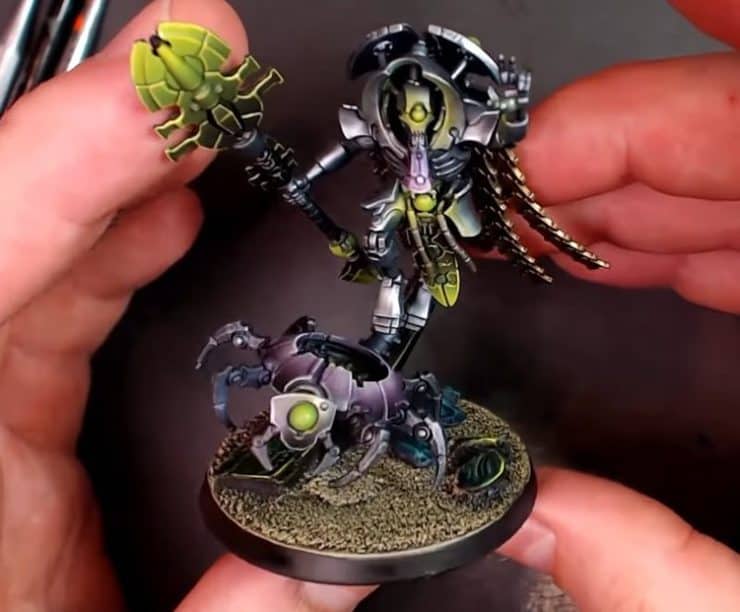
Bases make the finished project! Using some amazing bases by Elrik’s Hobbies, models can look absolutely fantastic and really tell a story. Take a look at how to get these bases to work for you by checking out this quick overview then watch the full video below!
Match Resin Bases To Your Painted Minis!
When starting to pick out a precast base, dry fit the model onto the base first to see which one will match the theme you are trying to achieve. You can do this prior to painting or once the painting is completed. Dry fitting also allows you to paint the base completely prior to the model being attached. This way the base will not have unpainted parts. Once you decide on the base, get it primed!
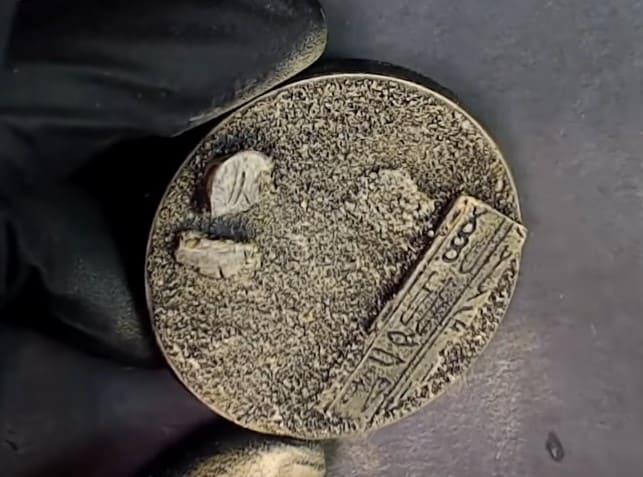
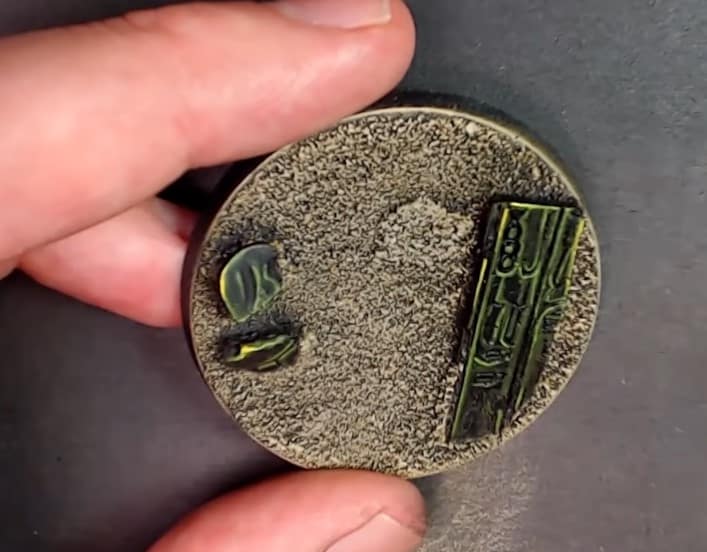
For the desert base, first prime it black. Then, dry brush Army Painter Desert Yellow across the sand and rocks with a large brush. Cover the entire brush. Dry brush Army Painter Skeleton Bone over the top of the base as a highlight. Continue to build up the highlight.
The monument ruins are base-coated black to match the color scheme of the Cryptek. Sketch Army Painter Jungle Green into the lines and hieroglyphics. Build out the Jungle Green slowly to make things brighter in some spots. Then brush Flash Gitz Yellow by Citadel over the angles to make spots of the green even brighter. Once these are done to your liking, glue the model onto the base!
With the model now attached, time to add details to make the model pop! Drybrush some of the model’s base features and blend it into the rocks. In this case, using a turquoise makes everything look interesting and stand out. After that, add any other basing elements you want and he’s completed!
For amazing resin bases, check out Elrik’s Hobbies. Be sure to watch the video below to see the entire process!
