Everyone starts somewhere in the hobby, and what better place to start than the basics. This guide sets you up for success from the beginning!
Back to Basics brings the hobby full circle and shows the easy way to assemble and prime models prior to painting them. Volume 1 of this guide goes through assembling and all steps needed to put models together. You will need: clippers, an X-acto blade, a pinning set with matching brass rod (or equivalent), Insta-set and super glue, Vallejo Plastic Putty, plastic cement (Tamiya Extra Thin Cement used here), and whatever model you are looking to assemble.
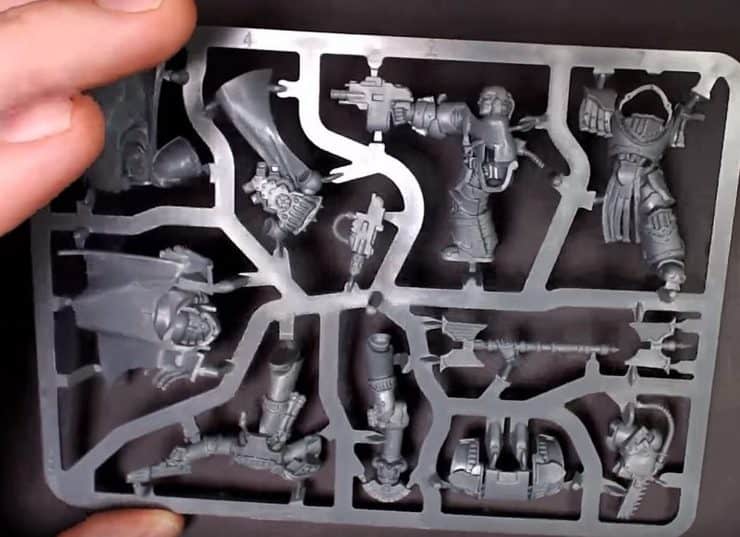
From the sprue, start clipping the bigger areas off to get access to the model bits easier. Clipping the sprue down into smaller pieces can also help prevent damaging the model from not clipping the model properly. Once in smaller, more manageable pieces, use the flat edge of the clippers to guide against the model and clip the model from the sprue. Sometimes, you will need to clip the bit of the sprue directly then remove the remaining flash. When that happens, get the flat edge of the clippers against the model to create a flush cut.
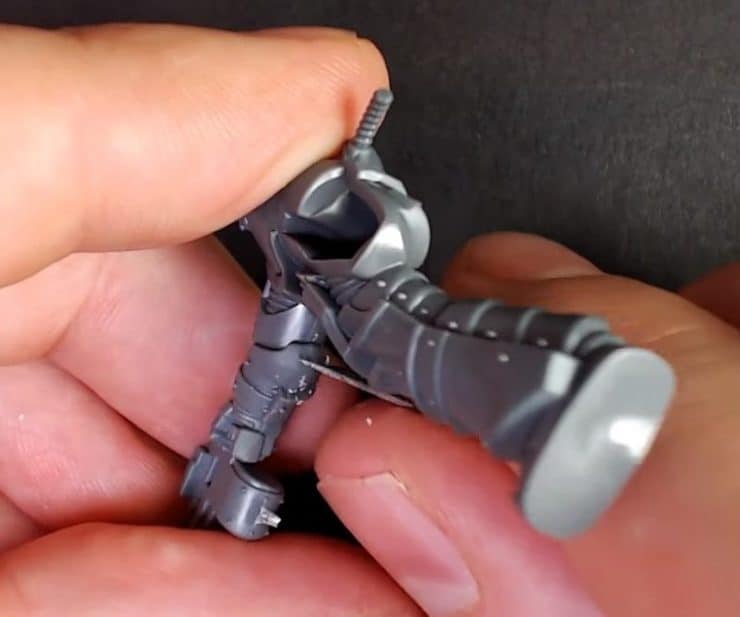
Once pieces are cut, mold lines need to be cleaned up. Using the X-acto blade, carefully, the mold lines and remaining pieces of the sprue will be removed. Gently scrape the blade against the mold line to scrape it down. Don’t carve into the model, or you will have to sculpt around the gouge to flatten it out again. The goal is to remove the least amount of plastic possible. For pieces that are stick out, you will have to carve them off, but only those pieces. Go slowly so you don’t cut yourself or cut off too much from the model. Going slowly and working in small areas will help maintain control and get a great, clean model. On large tabs on flat areas, sweeping strokes helps to smooth the lines and tabs off.
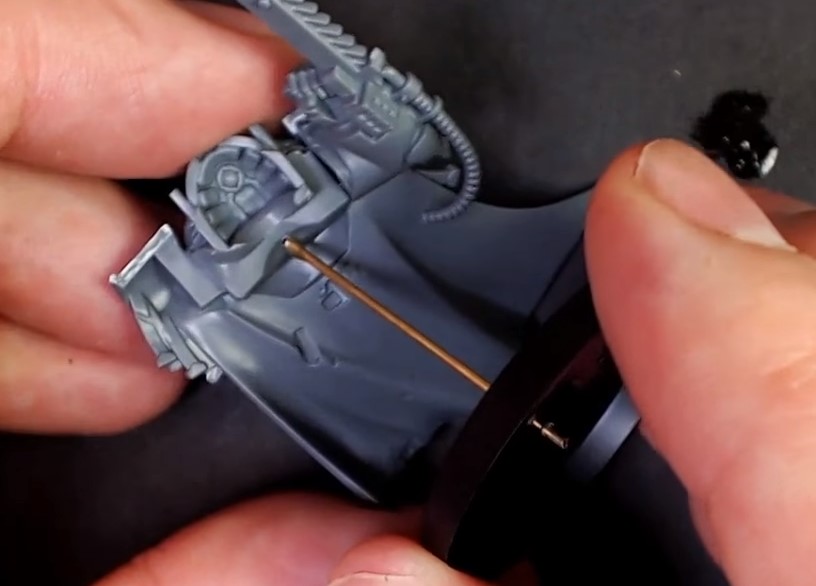
Dry fit the models to see the best way to sub-assemble for ease in painting. With the bolters and guns, taking the time to clean them up makes things much nicer. At the same time, you can use the X-acto knife to start the hole for drilling out the barrel. Using a small hand drill, the rest of the hole can be drilled out in various sizes. This makes the models look even better.
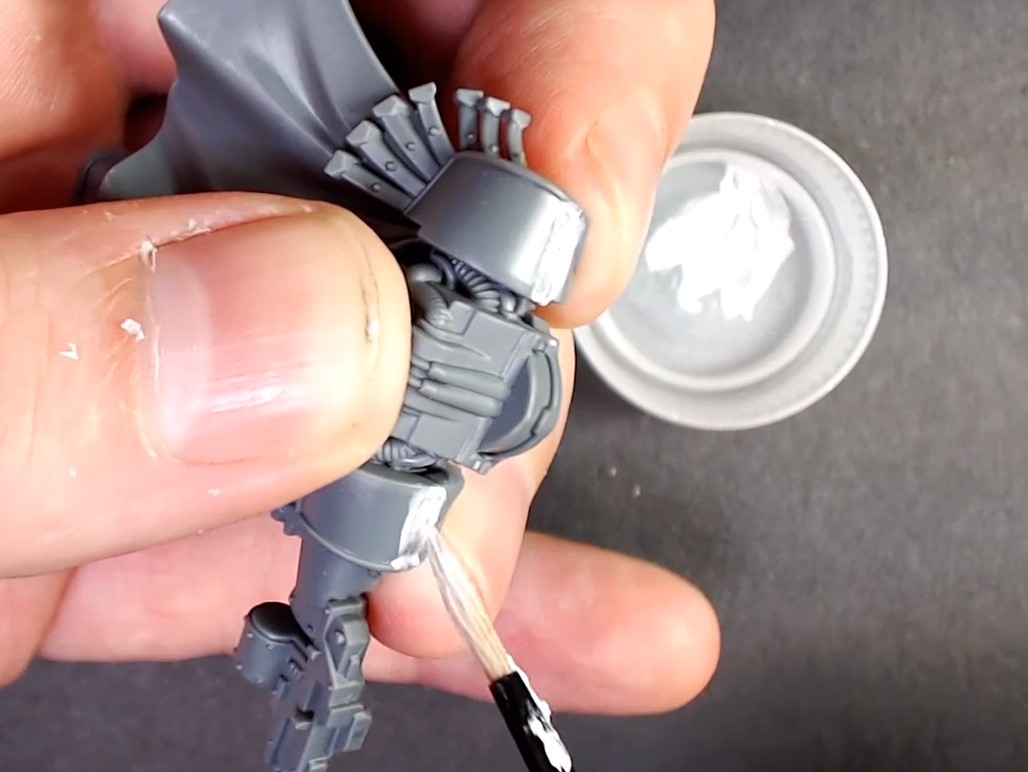
Sometimes, mold lines and tabs have issues and the model does get damaged during clean up. Vallejo Plastic Putty is fantastic for cleaning those gaps and smoothing out lines. The putty works well both painted on thin or slathered on thick then scraped off later. You can thin it with water and do multiple thin coats on various parts with a paintbrush – especially shoulder pieces! If you put it on too thick, it will dry oddly. After it dries hard, though, you can scrape down all the uneven sections again. If you are sub-assembling, you can still do this step
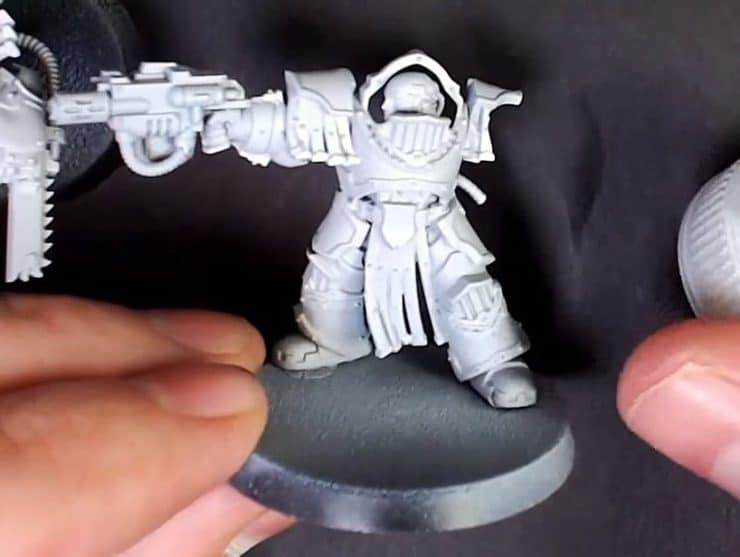
Using plastic cement, you can then glue the model together, leaving off all bits that will be painted separately. For ease in priming and painting, glue the pieces to old plastic bases, even if you will use a resin base later. Apply superglue to the feet and apply insta-set to the base. Then put the model on immediately and the insta-set will dry the glue and create a brittle bond, perfect for breaking off later. You can use bases and bottle caps instead of cork, as well, to pin the other parts of the model.
Finally, time to prime! Vallejo Airbrush Thinner and Ghost Grey Primer combined in the airbrush are perfect. Don’t add too much thinner, though. Then, spray away!
The first part of assembling and setting up a model to paint is done! The next step will be painting yellow and bringing the models to table-top standard. Be sure to press play on the video below to see the entire process and get your hobby on!
