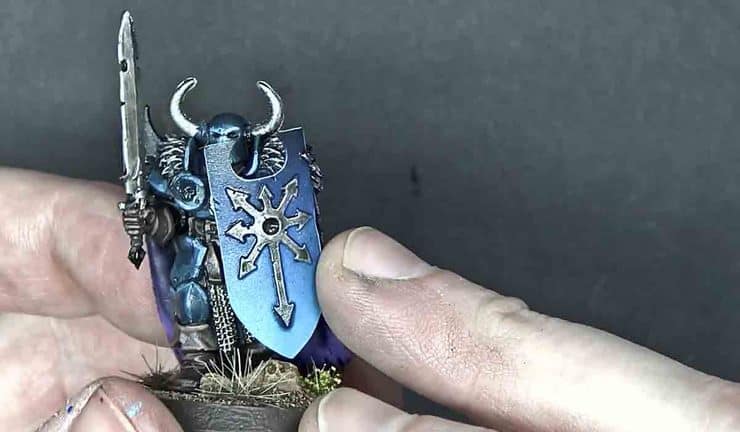
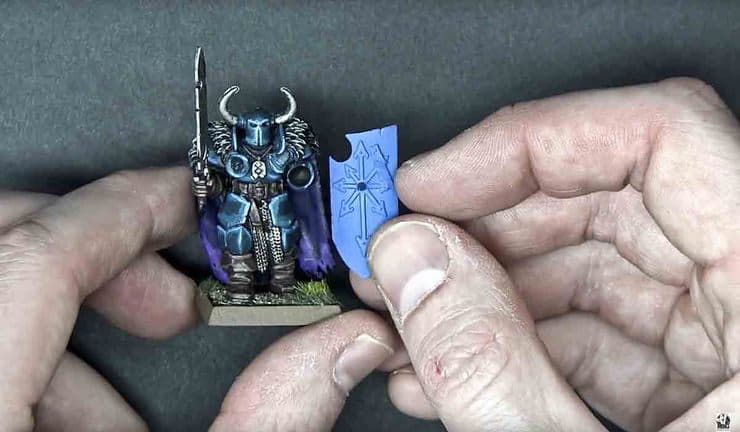
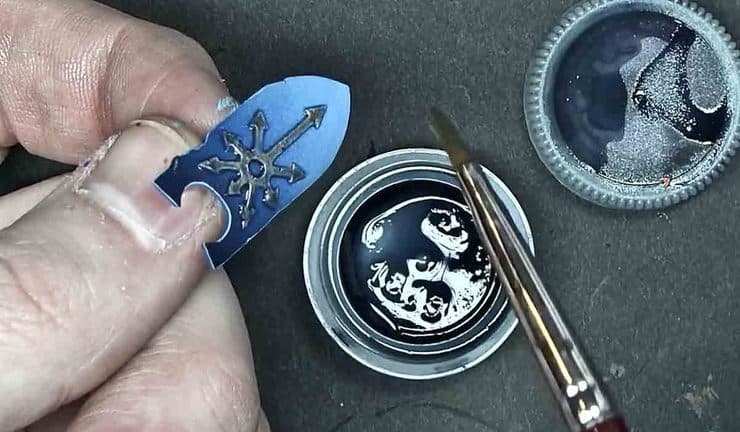
I’m going to show you how to get a sweet looking fade on your minis. This is a great example of something you might find that’s just not quite finished.
The Right Tools for the Job
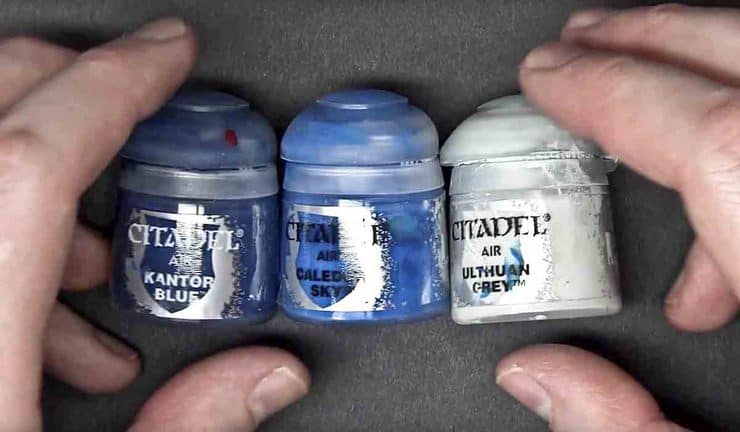
Truth Be told, I’m not a fan of the Citadel Air line as they seem to be just watered down versions. This same effect can be achieved with airbrush flow improver. Regardless, we’ll be using: Kantor Blue, Caledor Sky, Ulthuan Grey
These do go through the brush super well, no flow improver needed, but it will dry out on you inside the brush; that’s how thin it is.
Now the Step by Step
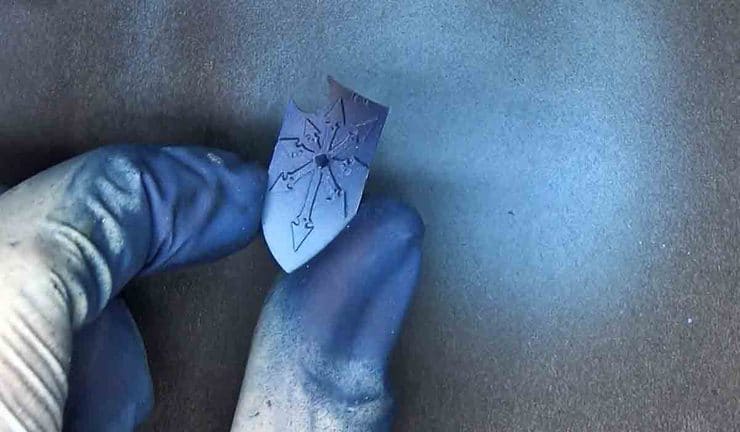
Step 1. The first thing we’re going to do is coat it with a solid layer of Kantor Blue. We’re going to go over this blue base because I want a lot of contrast on this and the blue that was on it was very middle of the road; we need to fix that.
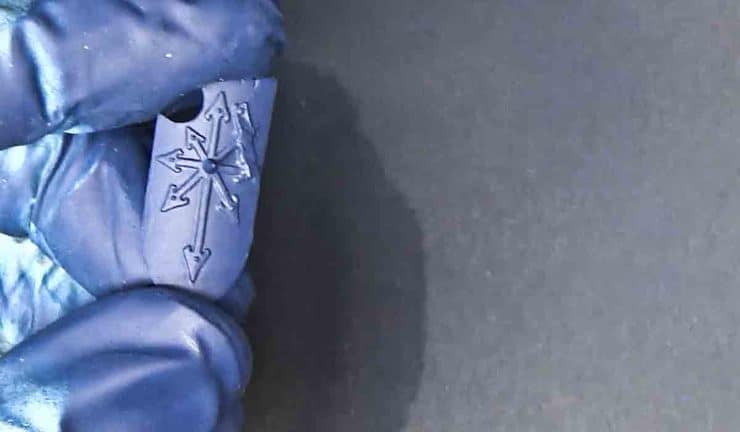
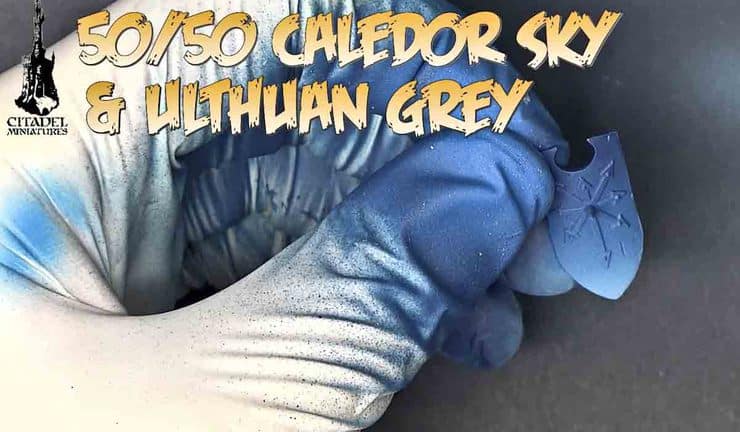
Step 3. Next I’m going to use Ulthuan Grey and Caledor Sky in a 50/50 combo that gives us an electric blue. Again, I’m going from the bottom up.
Step 4. Now I’m going to take black, any black you got, and we’re going to hit the top with black. You’ll see it goes from super bright to super dark and unlock some amazing contrast.
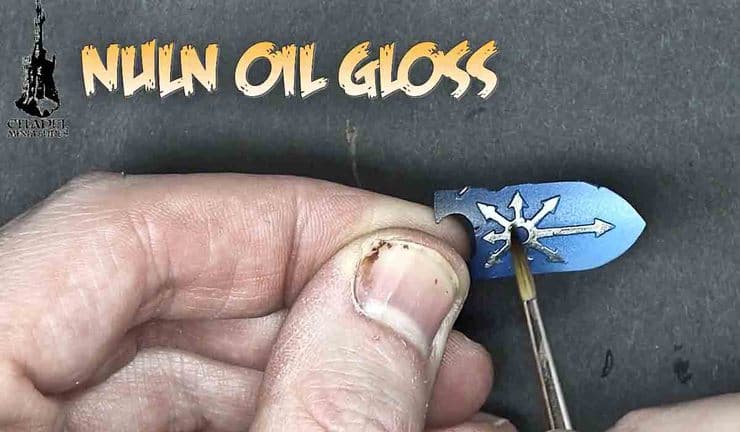
Step 5. Next up, details. I’m going to use P3 Metals and hit it with silver.
Pro-Tip: If you get a bit of spillage you can cover it up with a wash that will go in and cover that up.
Theory Time: You could semi-gloss it and go cray on the wash usual. However, I think you can just brush on some Nuln Oil being careful and drawing it in.
Step 6. We’re going to use Nuln Oil Gloss and just paint it on like we did with the silver. We’re not going to go too crazy because we’re going to use a glaze to bring it all together.
Step 7. Let it dry.
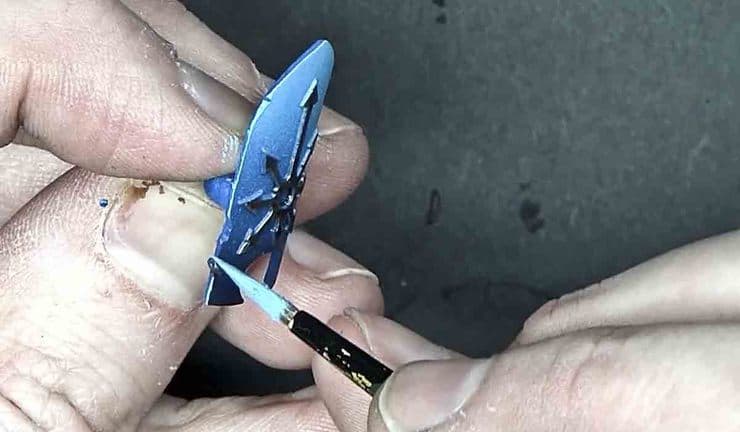
Step 8. Lothern Blue will give us the final highlight. Yes, this is pretty much the 50/50 combo we made with Grey and Sky in Step 3; so if you have all the paints you can just use this or make another mix. Regardless, we’re going to brush on the highlights in certain key spots to make it pop.
Pro-Tip: Always pull the paint towards you to maximize control.
Step 9. Glaze of Drakenof Nightshade using our water bottle pallet, a bit of shade and our 50/50 future floor wax and water to make our glaze. We’re just going to apply it all over and let the glaze do the work.
Pro-Tip: Glazes give us a nice filter on our colors, it’s supposed to be translucent and this gives us a great effect.
Pro-Tip: I like to use a flat chiseled brush for this step.
And we’re done. As usual if you want to see this happen in real time I highly suggest you click the link and watch the video!
