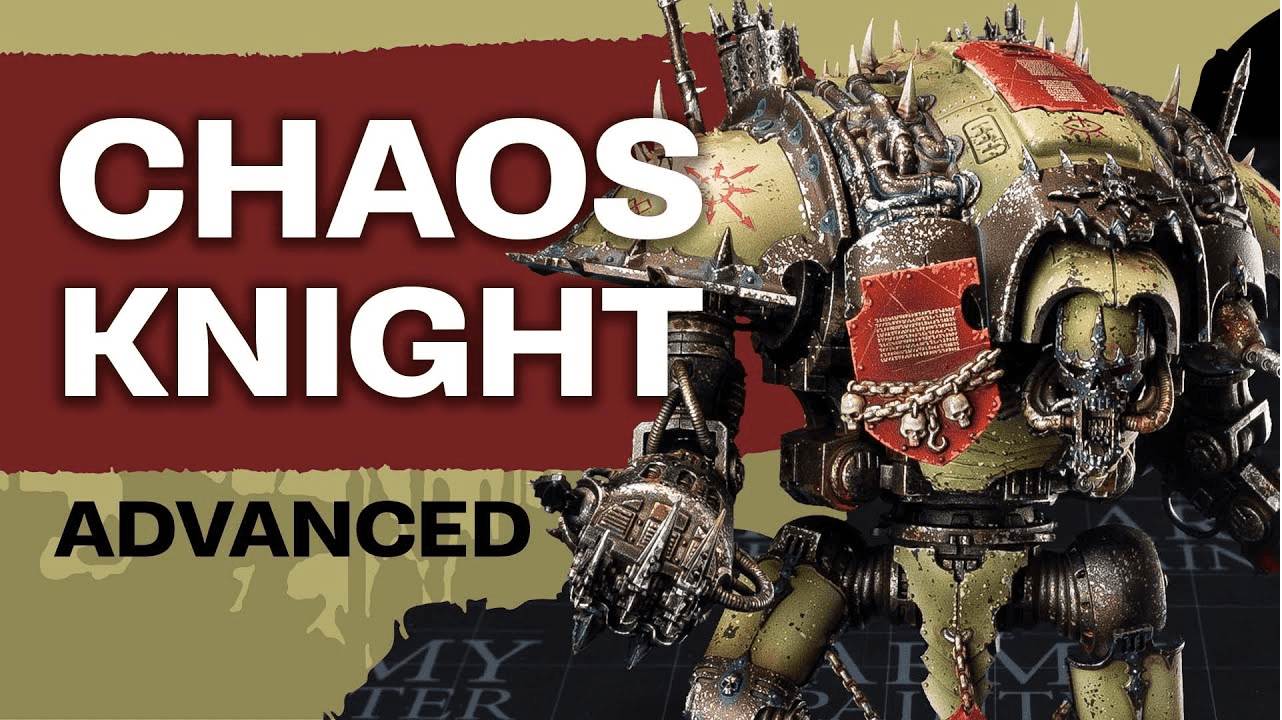
 The Army Painter is back with an advanced Chaos Knights painting tutorial, which follows up on their “how-to paint” speed paint video!
The Army Painter is known for having some of the best and most affordable paints on the market! But they also have an extensive collection of painting tutorials and paint guides- like this one on getting your minis looking great with Speedpaints.
Their tutorials are perfect for learning how to get your models on the table and looking great. This is more for advanced painters out there, if you just want to get your knight done fast, check out their tutorial on that here. This is a follow-up to that video, so if you have time, you should check it out!
Just as a note, all the paints, and tools used in this video will be from them, and you can pick up all the colors and Speedpaint here. Let’s see how to do it!
How to Paint Chaos Knights Miniature Painting Tutorial
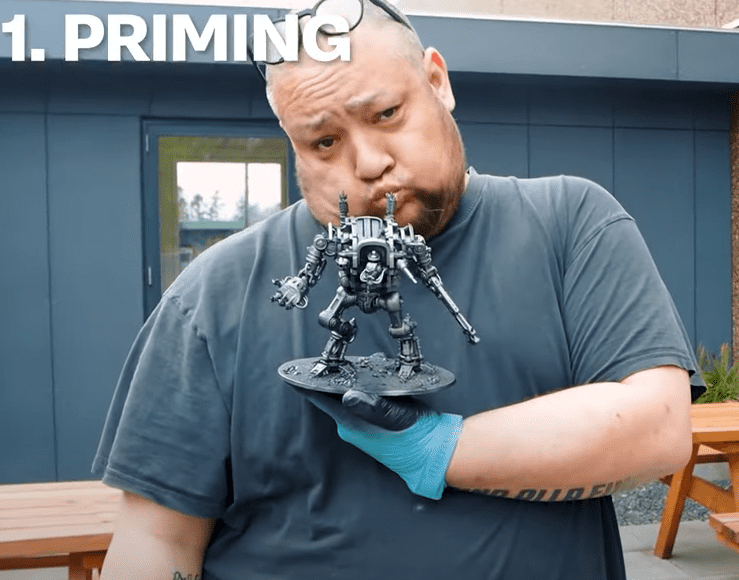 They are going to prime the exo-skeleton in silver and the rest with the Matt Black. Once the black is on, he then does a top-down spray with Gun Metal on the exoskeleton.
Step 2:
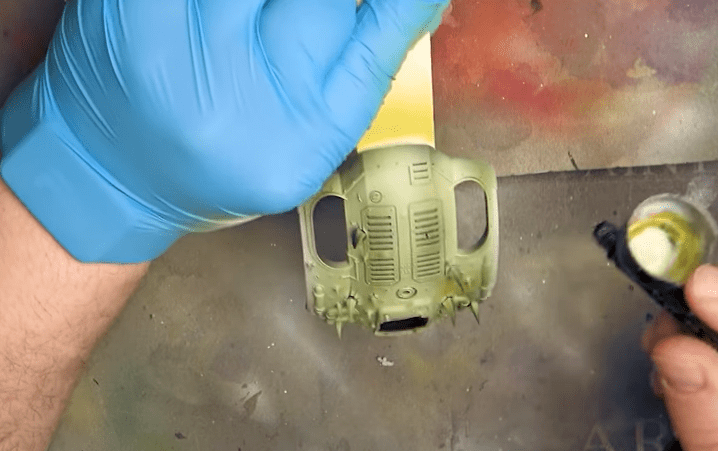 Now onto airbrushing. Starting with Pestilent Flesh, he hits all the shoulder pads and armor plates. Then he cleans out the brush and puts in Necrotic Flesh in a panel lighting style. Where he hits it from the middle of the piece and not the outsides. Then finishes in the same style with zombie Flesh.
Step 3:
 Now onto all the red areas (including the sword), starting with Encarmine Red through the airbrush which does a similar style of a highlight as above with Pure Red, and does a final highlight of Archangel Red.
Step 4:
 Now it’s time to get all the metal bits painted and decals on. Starting with Rough Iron he sprays over every area he wants to be the more gold style and in this stage, he also trims everything with the brush here as well. Then, he adds a Satin varnish to all the previous areas to save his work at this point.
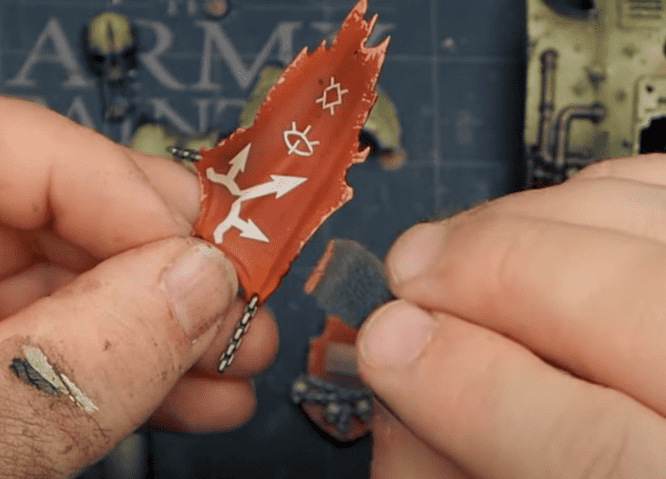
Now apply the decals. Just soak your transfers in some warm water until they are ready. Once it’s nice and damp, he slides the sheet off and straightens it off with a hobby knife. To help cure it, he uses a Matt Varnish.
Step 5:
 Now he moves to Gun Metal and goes back over everything he primed this color and cleans up any overspray from the steps before. While that dries he moves onto Brainmatter Beige and does a base coat of all the spikes. Now he applies an all-over wash of Dark Tone on all the metallic areas.
Step 6:
 Next, he thins out some Strong Tone and washes all the flesh tones from before, some metal, and all the spikes. Next, he applies some Magnolia Brown to a sponge and just hits this as battle damage all over the mini. He then moves to Zombie Flesh and does the same thing. to finish off the battle damage, he moves to Tanned Flesh and does the same thing but to all the red areas.
 He then does the same thing with the sponge, but this time with Shining Silver on all the metal areas.
Step 7:
 Now, he moves to the Red Tone and instead of using it as a wash, uses it to stipple it on and give a really cool effect anywhere the spikes breakthrough. Now, to show some oxidization, he super waters down Hydra Turquise and applies it to the recesses of the metallic areas to give it a patina effect. Just do this in the deepest darkest areas, and a few other areas you think looks good.
To finish this step off, He uses the Dry Rust effect over top of the Turquise and all the other areas of the model where there are deep recesses.
Finished Model
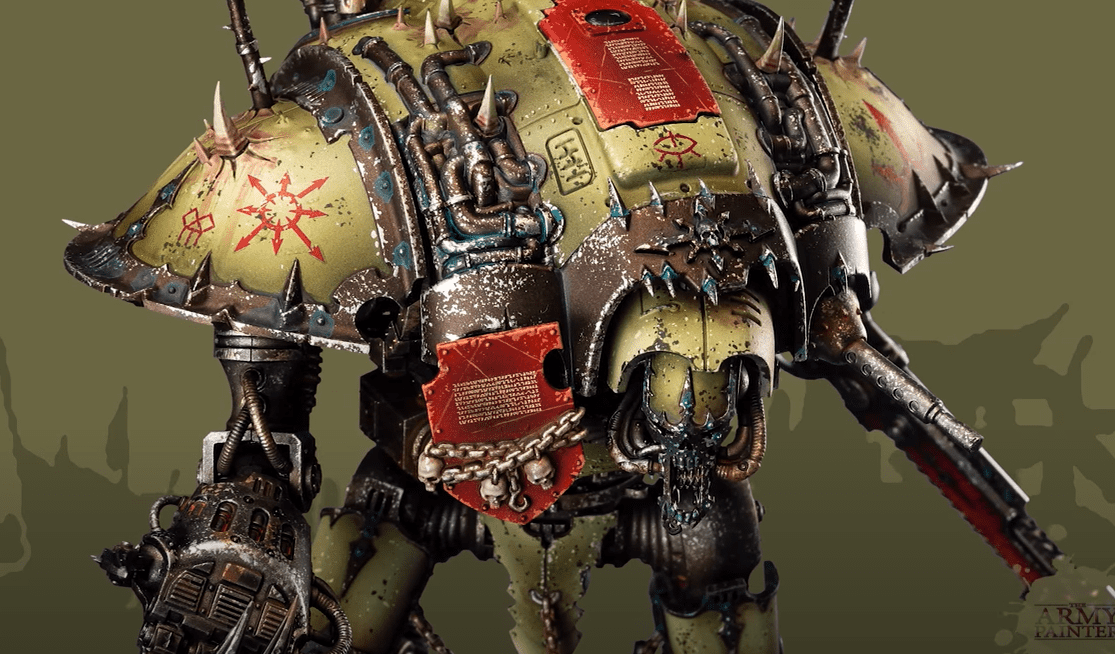 Obviously, this is a little more in-depth and all about getting some cool effects. If you just want to paint yours up fast, check out the previous video on it!
That does it for this one, a pretty fast paint job that looks great on the tabletop!
Be sure to follow The Army Painter on Youtube for more great content like this.
Click Here To Get Your Army Painter Paints!
About the Author: Travis Pasch
Travis Pasch
 Job Title: Head Writer & Editor
Joined: 2019
Socials: @paschbass
Bio: Dark Eldar Dracon and Warhammer 40k hobbyist since the third edition in 1998. He also loves camping because you can only paint so much! He joined the Spikey Bits team in 2019 and has been the main daily writer since 2020.
Maybe one day, he’ll finish converting all his Ad Mech models and turn into a true tech enjoyer, complete with sad and happy robot noises!