Like most of you, I have played Warhammer on everything from dining room tables, ping pong tables, to the floor.
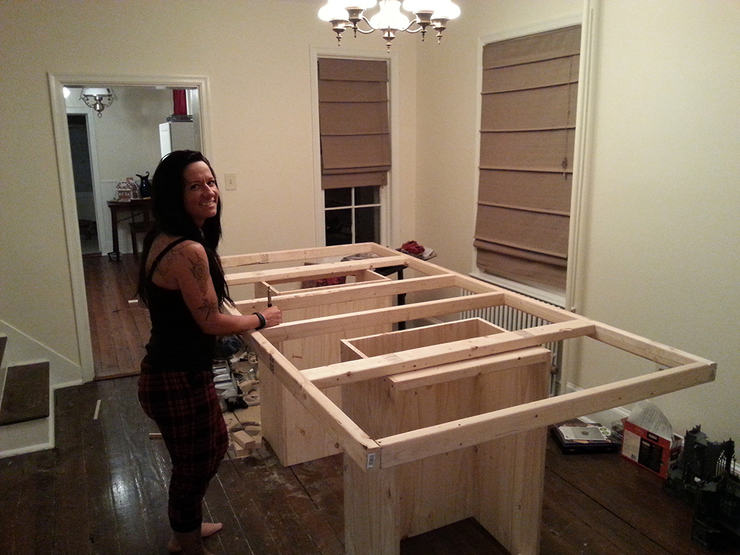
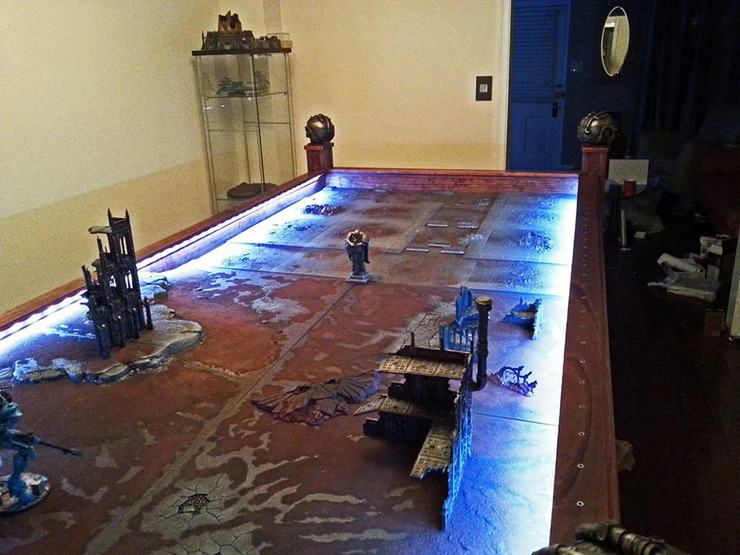
When I recently moved to a larger place I finally had the room to have a room that can be dedicated to nothing but the grim dark, so instead of going out and just buying a dining room table or some kind of make shift “it will work well enough” product I decided I wanted something that looked the part of a 40k table and gave players a sense of awe when they saw it.
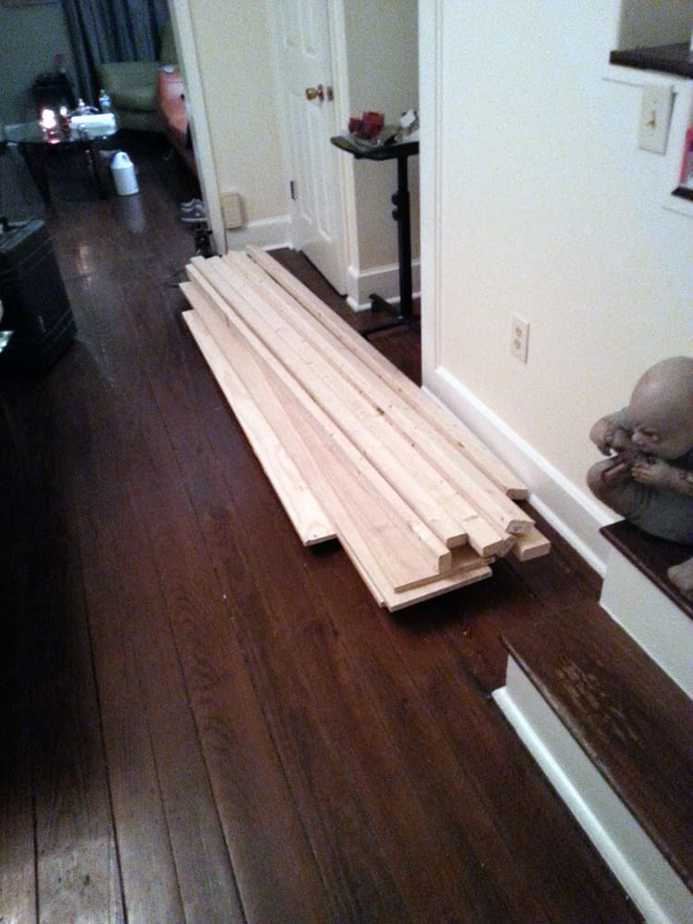
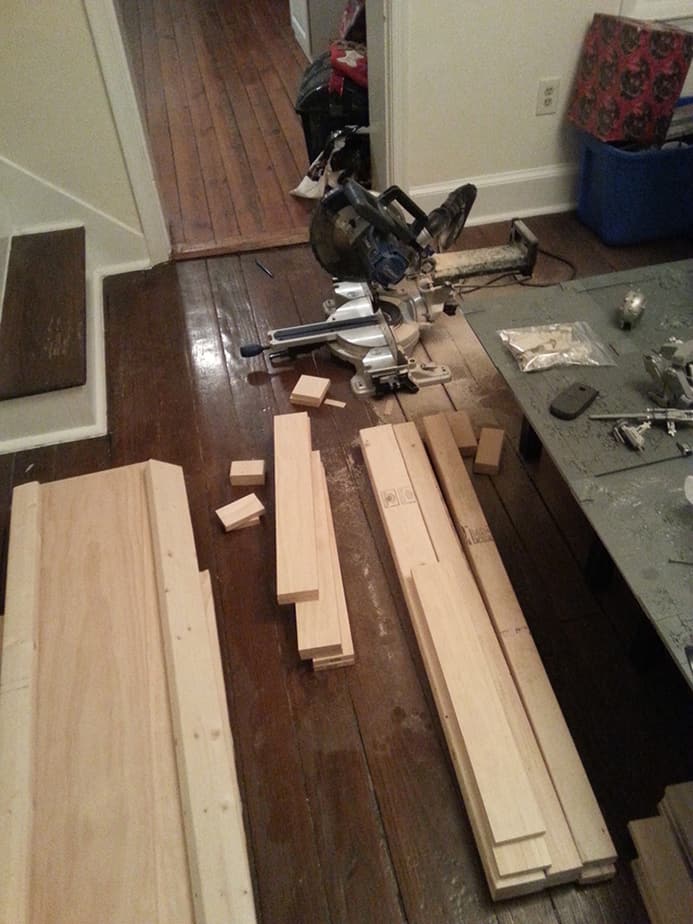
So this is the first part of my project log for producing said table. I have never made anything out of wood or tried to make any kind of furniture before, so it has been quite the learning experience.
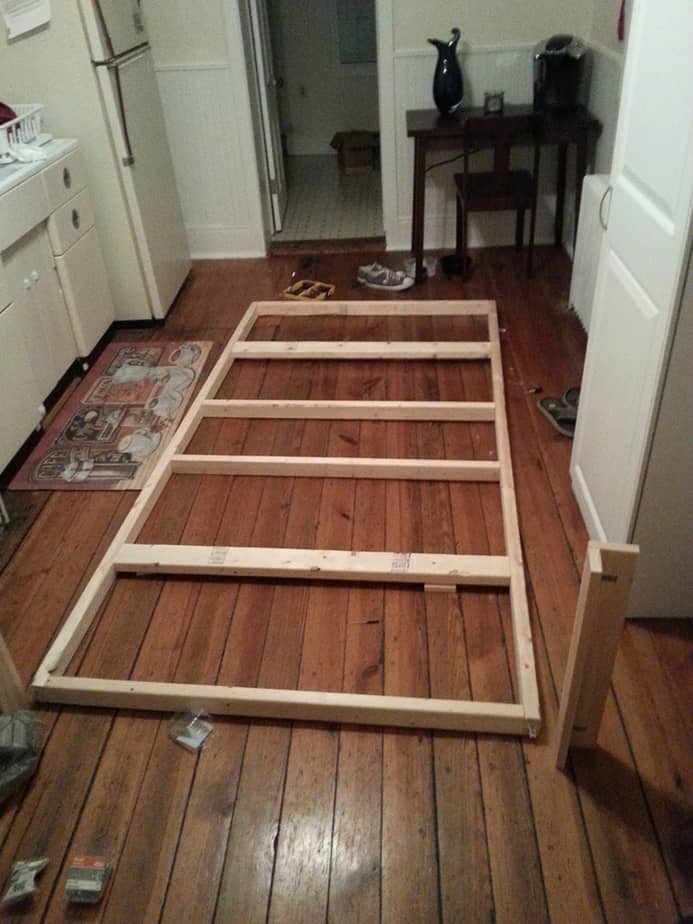
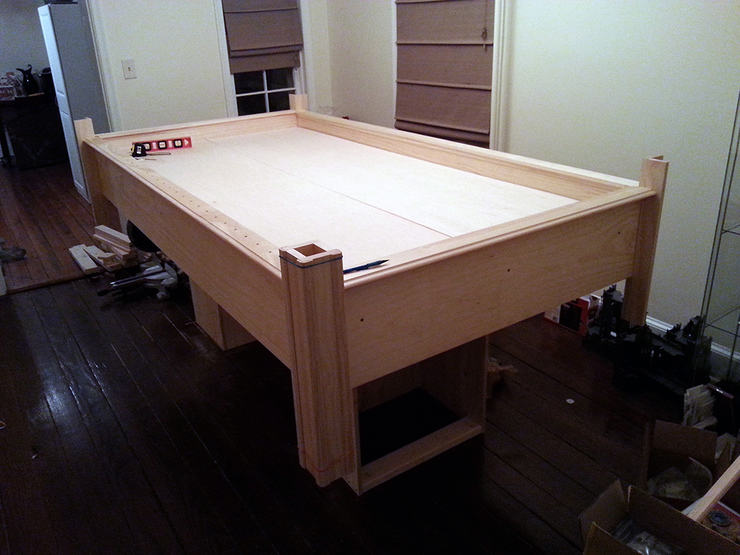
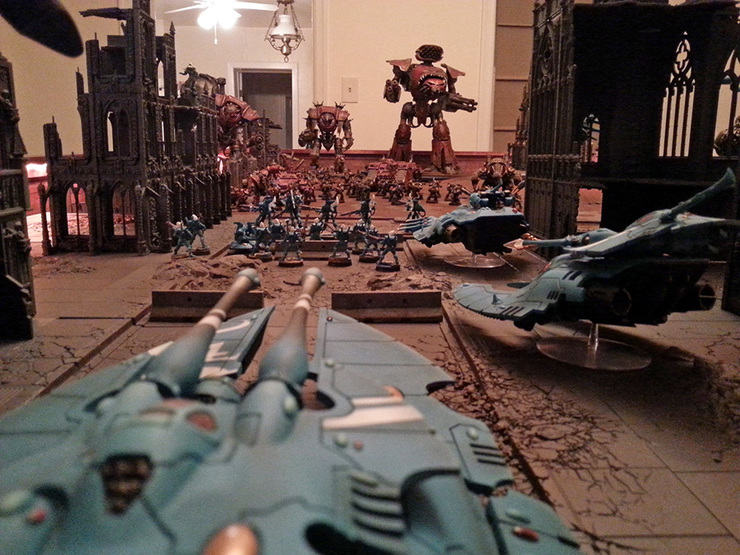
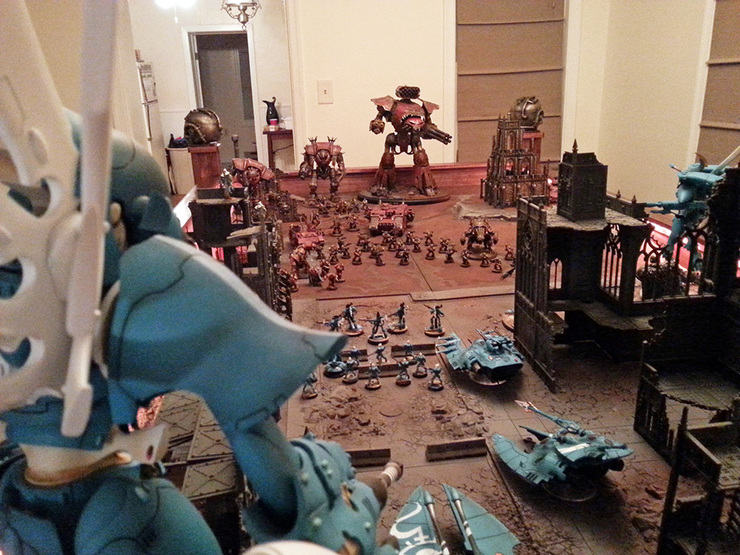
I knew I wanted a larger table as my local group tends to play larger games with super heavies regularly. The biggest the room could support was 8x4ft, so that is what I went with. I also wanted it to be counter or bar height as I feel it will be much more comfortable to play with out having to lean over all the time.
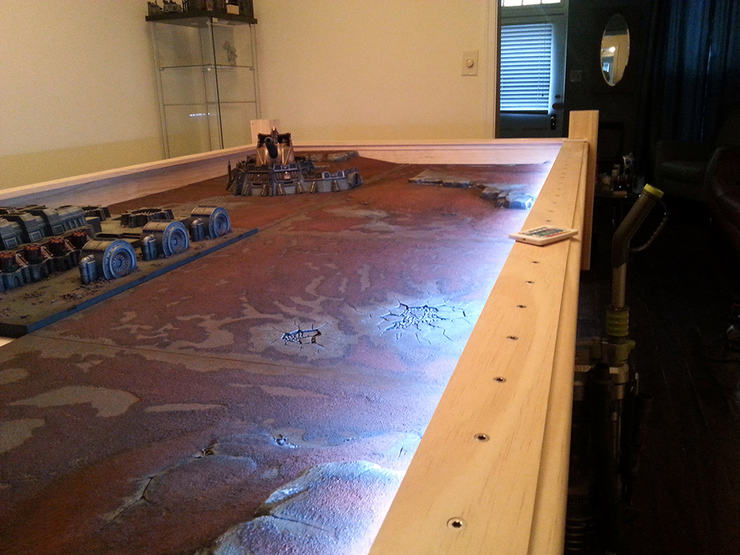
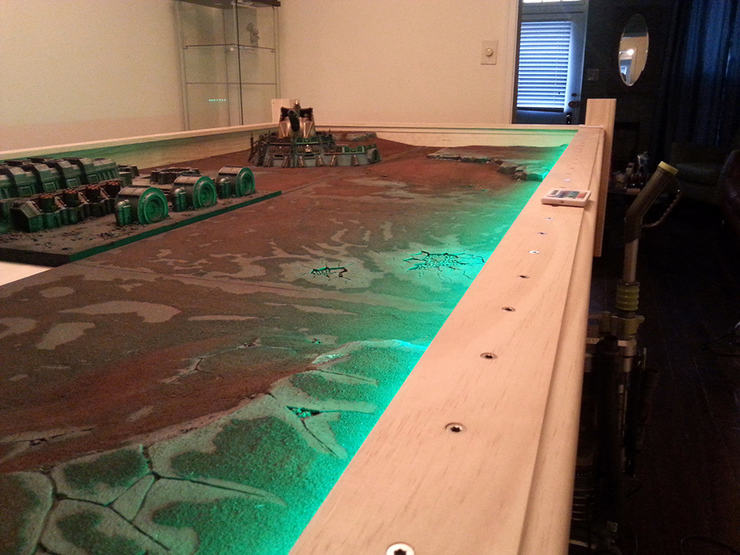
I wanted LED lighting and also really wanted to have some kind of fog effect but have thus far not been able to come up with a viable solution. Fog machines get very hot and the liquid they work with can leave an oily residue, not good for painted miniatures. I also looked into ultrasonic foggers but they don’t seem to work very well from what I have read. In the end I decided to just build some terrain at a later date that would be able to hold dry ice and produce fog that way.
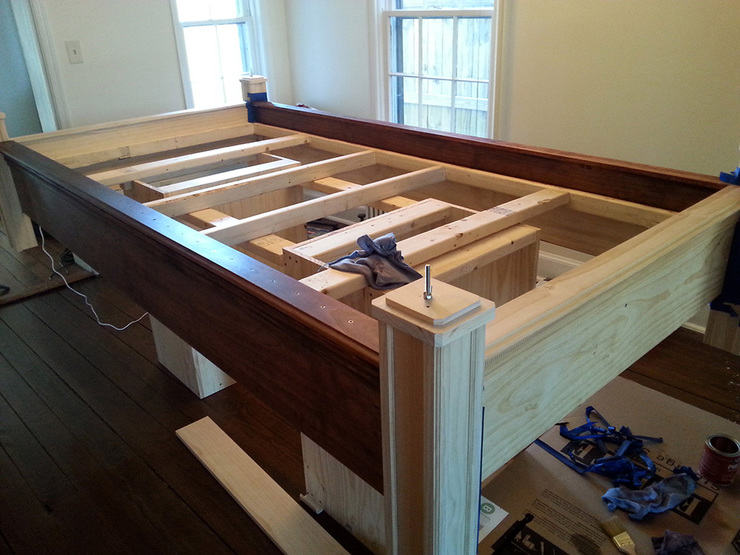
The height of the battlefield is 40″, the railing sits about 6″ above that leaving enough room for terrain with varying heights to fit nicely.
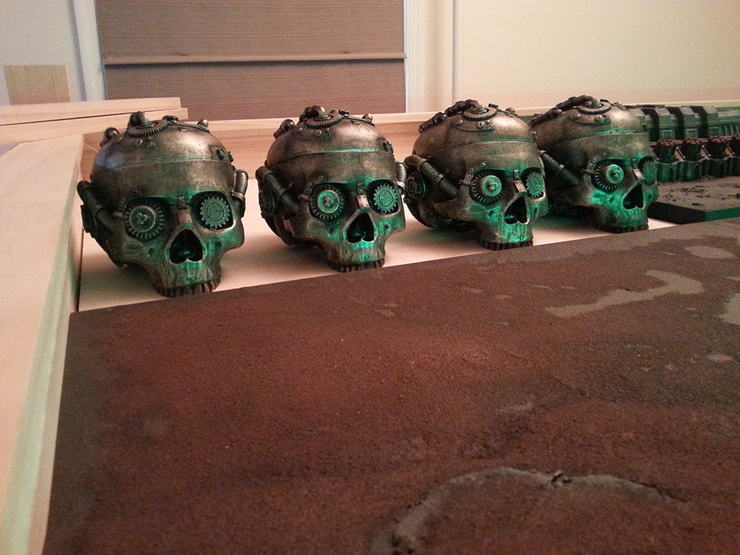
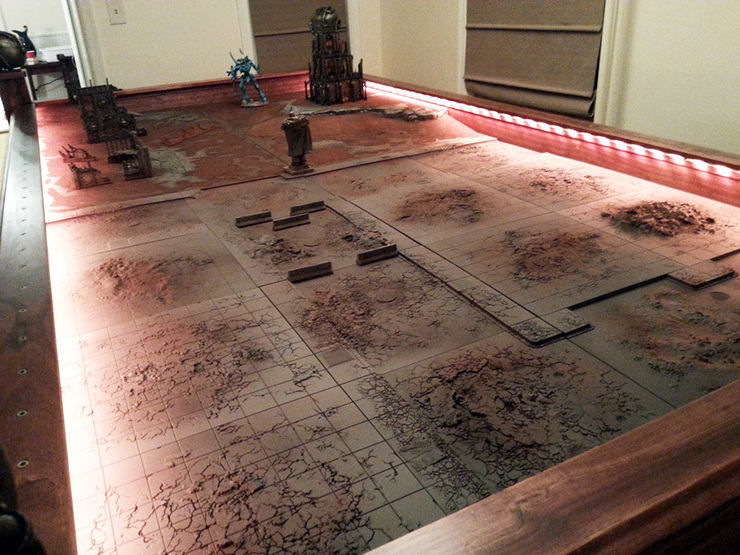
The LED systems are independent of each other and can be set to different colors or patterns. The control boxes are mounted in the posts and can be controlled wirelessly via remote.
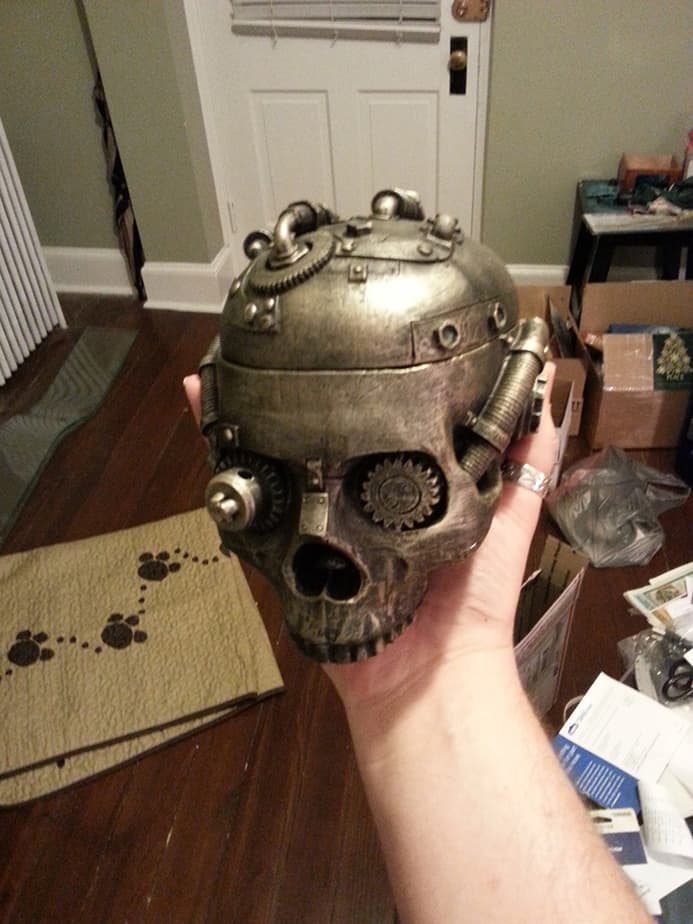
The Servo skulls open to hold dice, laser pointers, measuring tapes and anything else you might need in the heat of battle.
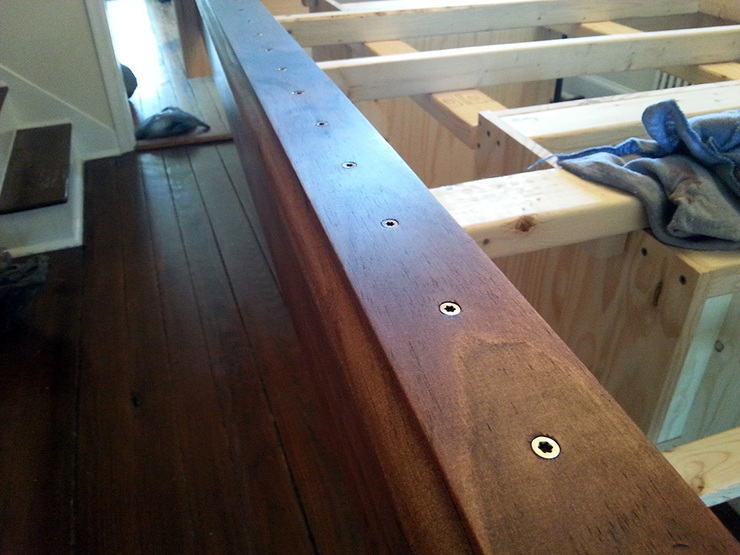
The railing is inset with screws ever 3″ mostly for visual detail, but is also works great for quick distance guesses.
The city half of the board is made up of Secret Weapon Tablescapes and the desert is a good old battle of the ream board.
I will post an update once I get the legs of the board finished up with shelves/drawers and stained to perfection.
