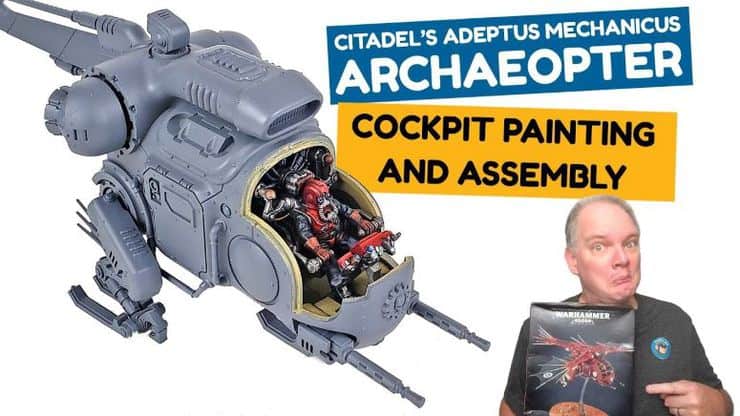
 Jon Bius has been putting out some really great beginner-friendly GW videos recently, and today he’s building the Archaeopter.
Jon Bius puts out some pretty good modeling content! He is all about helping you be a better modeler and painter! His channel has all kinds of stuff on it as well, so if 40k isn’t your thing, he has tons of other content to check out. Even though his stuff is focused on newer builders, you can really learn a lot from him! Let’s jump into the video.
Building the Archaeopter: Assembly Tutorial
Warhammer 40k Adeptus Mechanicus: Archaeopter
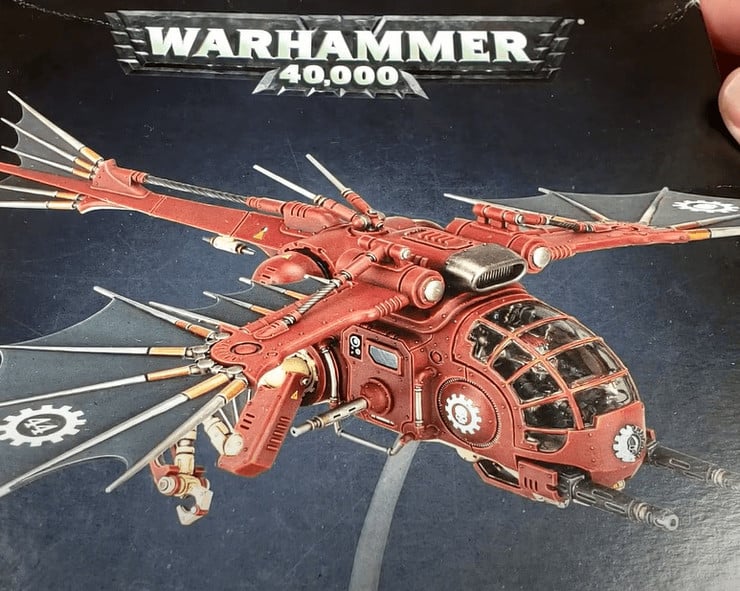 He loves the wings on this thing, it just looks really cool. The box comes with three variants, but he’s not sticking to anyone in particular.
Sprue and Instructions

 Both the sprue and instructions are very well done, other than GW’s numbering system that is… But all the bits look amazing and the instructions are easily laid out for all three variants.
Assembly in Sections

 To make painting easy he built everything into sub-assemblies. He highly recommends this for painting it or could be a real pain. The main sub-assemblies are the wings and the Cockpit.
Painting the Cockpit
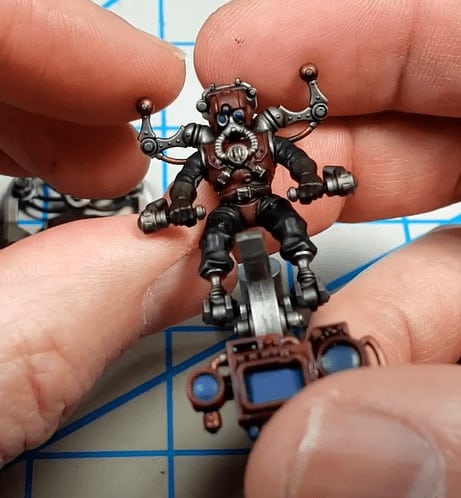 He starts with a gray prime coat and makes sure everything is dry before moving on. For the base coat, he starts with Citadel Abaddon Black to hit all the areas he wants to be black, like tubes, etc…. The next step is to hit Leadbelcher on all the metal bits, there’s a lot of metal so take your time. Next hit all the leather with Rhinox Hide and then paint the uniform and the highlight areas with Khorne Red. The last step of the base coating is to hit the eyes and lenses with a Dark Blue. To make it all pop, he hits the whole mini with a Nuln Oil Shade.
 Moving onto highlighting, he stars with Khorne Red and hits a highlight like the light is coming from in front and above. He just does little layers here, nothing too crazy just a quick highlight of all the red. Then takes Mephiston Red and does another layer of highlights on all the red with the idea of light coming from in front and above. The last red highlight is Evil Suns Scarlet and does a very tiny highlight to the top. He also goes back and hits some greys on the cloth, he doesn’t really show the step, just says to add some grey highlights.
Building the Mini
 He dry fits everything together before gluing it. Just make sure you also add in the landing gear now! You can’t do it later unless you want to clip a bunch of stuff off. It fits really well, you won’t even need much glue to hold it all together. Once he knows it all fits, he glues it together. Just make sure you take off the few pesky mold lines. He even goes a step further and sands down the lines as well.
 Next, he puts Tamiya putty into any remaining gaps. He puts it on fairly thick and then sands it down till it’s smooth. This will really make your mini look much cleaner in the end.
 To fill the gaps on the top he uses a different technique so the gap remains but it’s not so deep. He puts Mr. Surfacer 500 in the gaps and lets it dry. Then he takes a Q-tip and dips it in Isopropyl Alchohol and rubs it down until there is only some of the surfacer left in the gap. This leaves some gaps, just not nearly as deep.
 To attach the canopy he dry fits it to start. Once he knows it fits he takes some Thin Tamiya Cement and does tiny lines of it on the connecting parts of the canopy. This will allows the colors from inside the canopy to show through from all angles. Once it’s all together, he masks it off with tape so he can spray the whole thing. To finish it up, he sprays the whole thing with the same gray primer he used on the cockpit.
 That does it for this one! He will cover the painting and decals in the next video so be sure to come back for that one! If you like what he is doing, check what else he has going on.
Building the Archaeopter: Assembly Tutorial
If you want to keep watching and figure out how to paint it all, go check out Part two here!
This post contains affiliate links, as an Amazon Associate Spikey Bits earns from qualifying purchases.

About the Author: Travis Pasch

Travis Pasch
Job Title: Head Writer & Editor
Socials: @paschbass
About Travis Pasch: Travis has been a Warhammer 40k hobbyist since the 1990s, playing the game since Third Edition. Through extensive traveling, he’s seen a lot of the miniatures hobby from across the world, giving him a unique perspective on the latest gaming topics and trends.
Travis’s brother even owns a commission painting studio, where he’s picked up a lot of good advice and techniques for painting Warhammer and tabletop miniatures over the years, as well. Travis joined the Spikey Bits team in 2019 and has been the lead writer since 2020.
Currently, he’s working on converting all his 40k Adeptus Mechanicus models and becoming a true tech enjoyer, complete with both sad and happy robot noises!