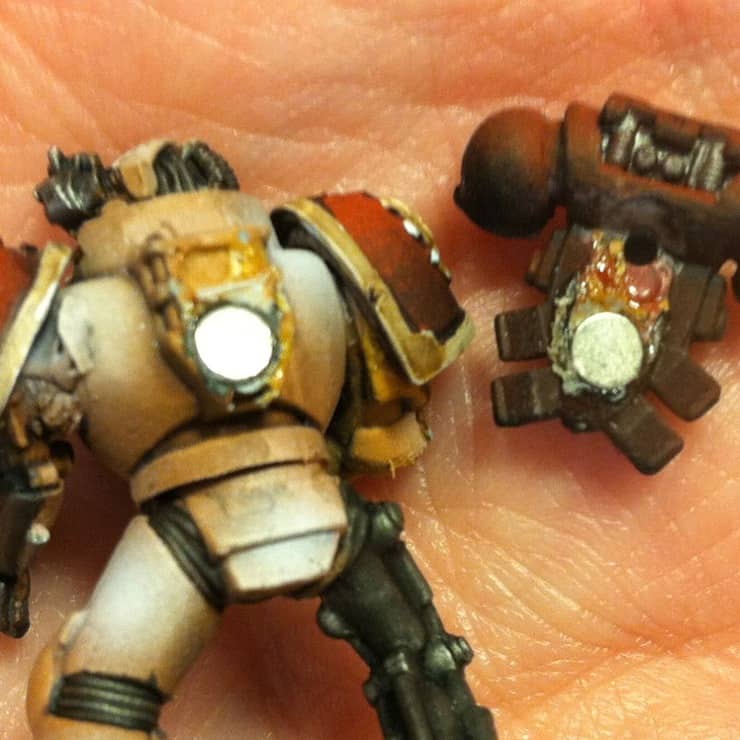
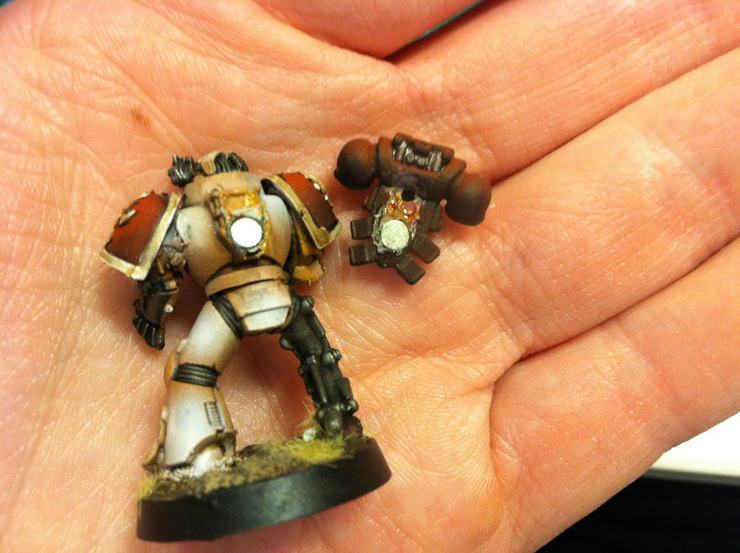
Here’s a little tutorial on how to swap out backpacks, so you can switch up Marines between Jump and Regular infantry.
Why would you ever even want to do a thing like that?
Well there comes a time, especially now, with a new edition of the rules looming in the distance, that sometimes it’s better to plan ahead when you build your minis.
Not to mention the fact of never getting caught up on projects… magnets may be a great way to retrofit you miniatures to make them work in the now, so to speak.
Lately I’ve been going back and re-doing all the backpacks on my Blood Angels so I can make them either Jump or Regular infantry cause hey who knows with sixth coming out right?
Part List
- Several 1/8″ magnets for the main weapons
- Pin vice with 1/8″ and 1/16″ Drill Bits
- Various Backpack you want to attach.
For the jump packs in my Adeptus Mechanicus themed Iron Hands I used Grey Knight Interceptor Backpacks, which are technically jump packs just not as boxy.
How I did it
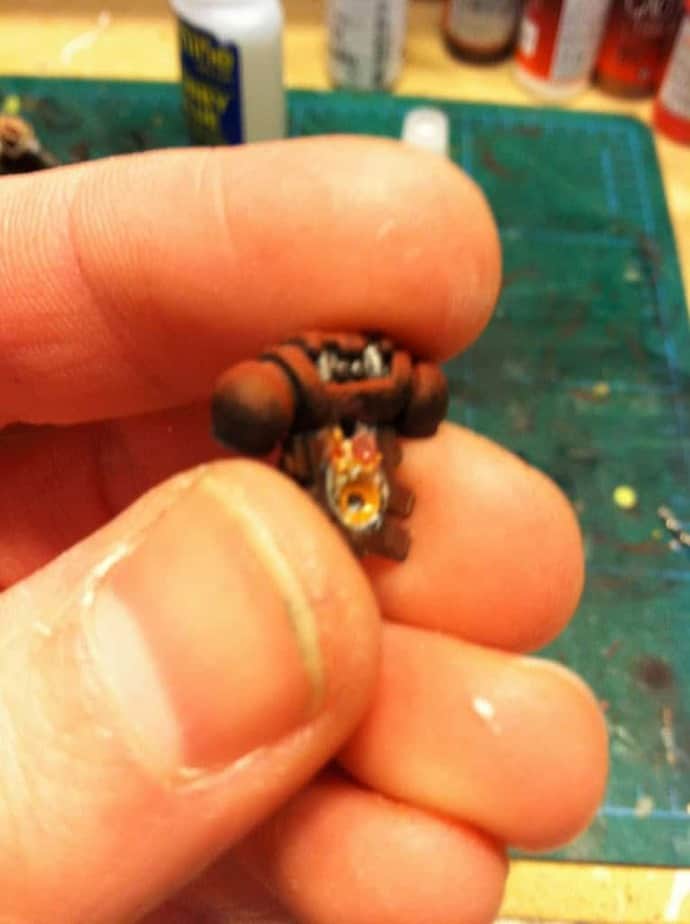 I grabbed a big long stack of magnets, and a model that I had already finished magnetizing.
This way I could keep all the polarities of my backpacks the same throughout the army.
First off I carefully drilled a 1/16″ pilot hole first, then used a 1/8″ drill bit to enlarge the hole for the magnet. Drilling pilot holes first gives you better control (smaller bit), and reduces the chance for error with the bigger drill bit as it’s doing less work.
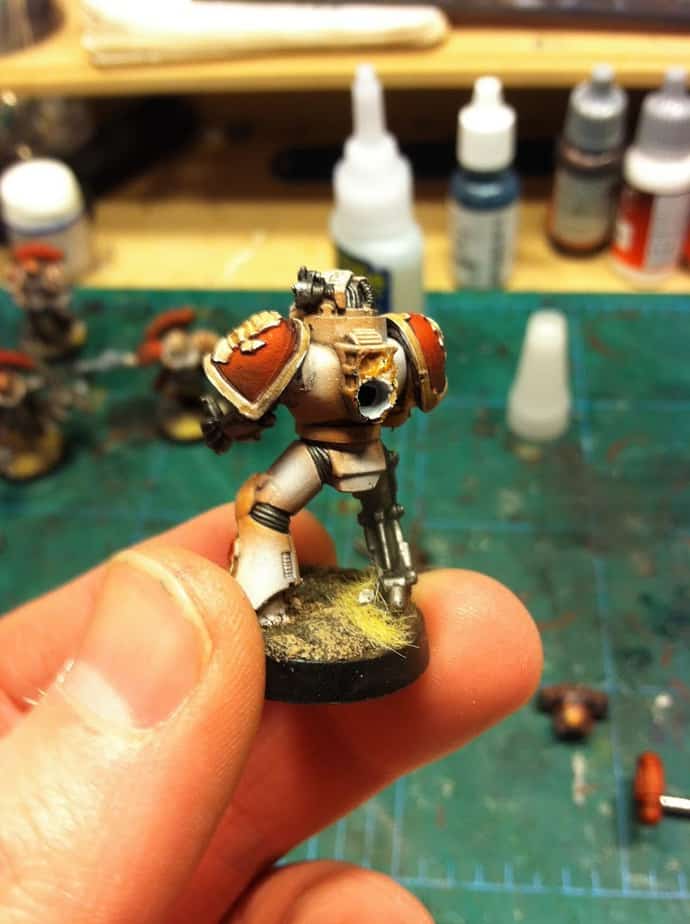
Then I after checking the polarity of the backpacks I had already done, I attached the first magnet into the hole I had bored using superglue and kicker.
When you use kicker to accelerate the drying process, I’ve found that it’s better to apply it from the bottom of the tube leading to the nozzle (that is normally inside the bottle).
This way you don’t actually spray the kicker and get it everywhere, which at least for me tends to make me nauseous.

Keeping the magnets attached together in a long shaft also makes it easier to control as well.
After the first magnet dries, glue another in the opposite piece you are attaching (checking first to make sure the magnets attract).
From here, it’s just wash, rinse, repeat for all the backpacks that need magnets!
Hit me up with any questions, and if there are any other kits would you like to see a feature on magnetizing? -MBG?
Get 20% OFF Bits, and FREE SHIPPING??!! Over at the Spikey Bits Online Store, all bits are 20% OFF, and ship for FREE! We also have reduced shipping for overseas customers, as well as a special rate for shipping to Canada!
