Kenny is no stranger to all things painting as he cranks out streams and videos every week to help other hobbyists learn to paint better. This time he’s showing off the techniques to get your Grey Knights done quickly and easily! If you want to see more of his great content, you can go check out his Patreon here! Or if you want to see his previous tutorials, you can check them out here!
How to Paint Warhammer 40k Grey Knights: Next Level Painting
He also gives a list of all the paint if you want to gather your supplies together beforehand:
- Primer: Vallejo Ghost Grey
- Base: Pro Acryl (Creature Caster) Dark Blue, Silver, and Metallic Medium thinned with Vallejo Flow Improver
- Gold Decor: whatever you have
- Parchment: random brown, Citadel Ushabti Bone
- Purity Seal: Pro Acryl Burnt Red
- Eyes: Pro Acryl Sky Blue
- Wash: Mr. Hobby Mr. Weathering Multi Black + Mr. Weathering Solvent 110
- Pop Highlights: Pro Acryl Silver
- Sword Base: Pro Acryl Sky Blue and White
- Sword Shadow: Pro Acryl Transparent Black
- Sword Highlights: Pro Acryl White
Base Coats

Go over the seals with Citadel Ushabti Bone after the brown, and use Burnt Red on the wax.
Washing & Details
Use Transparent Black on some of the black details like the bolter casing. Use Sky Blue on the eyes and move straight into the wash. Coat the model with Mr. Weathering Multi Black then use the Mr. Weathering Solvent to move and remove the wash where it pools up.
Do edge highlights with some more Silver or any steel color you like.
Painting the Sword
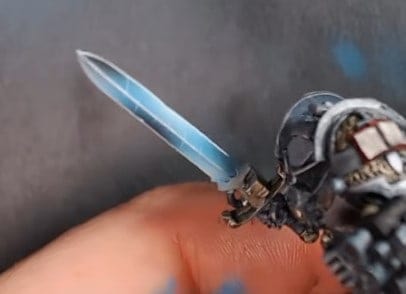
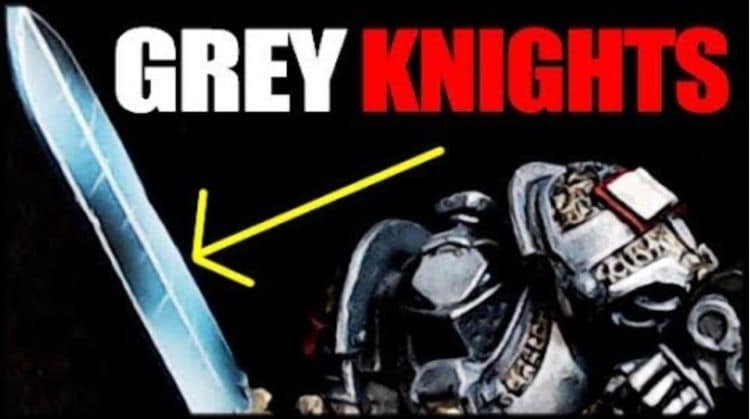
Base the sword with Sky Blue, followed by adding White into the pot, and apply some alternating highlights on the blade. After that, do a more concentrated highlight with pure White.
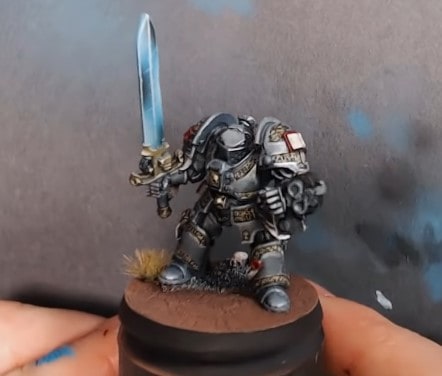
With that, your model is complete!
If you want to see how to take it to the next level with all his other awesome videos, check out Kenny’s Patreon!
Join The 101 Painting Curriculum From Kenny
This post contains affiliate links, as an Amazon Associate Spikey Bits earns from qualifying purchases.

